The Alocasia, commonly known as the Elephant Ear Plant, is a striking and exotic addition to any plant collection. Renowned for its large, arrow-shaped leaves that can grow up to several feet in length, Alocasia plants bring a touch of tropical flair to both indoor and outdoor gardens.
These plants belong to the Araceae family and are native to the tropical rainforests of Southeast Asia, where they thrive in humid and shaded environments.
Alocasia varieties are numerous, each with unique characteristics that appeal to different tastes and growing conditions. Some popular varieties include Alocasia Amazonica, Alocasia Polly, and Alocasia Zebrina, each offering distinct leaf shapes and patterns.
Choosing the Right Alocasia Variety
When selecting an Alocasia variety for your home or garden, it’s essential to consider the specific characteristics and needs of each type. Alocasia plants vary widely in size, leaf shape, color, and growth habits, so choosing the right one depends on your environment and personal preferences. Here are some popular Alocasia varieties and factors to consider when making your selection:
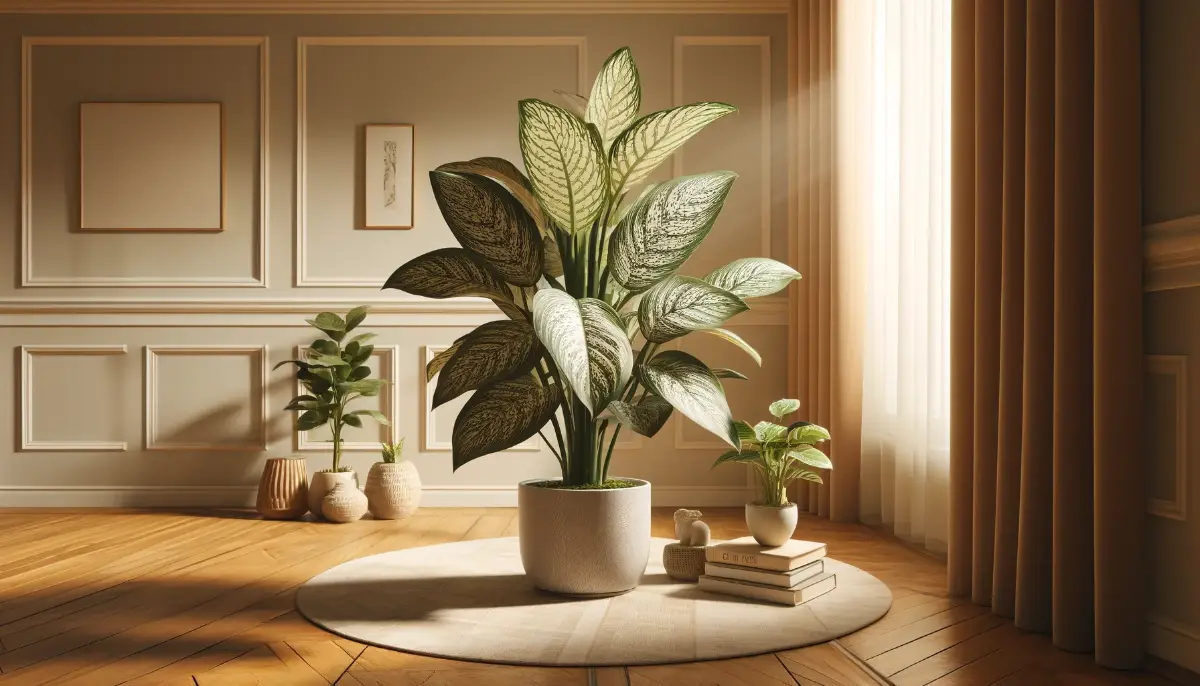
Alocasia Amazonica (African Mask Plant)
- Features: Dark green leaves with striking white veins, arrowhead shape.
- Size: Typically grows up to 2-3 feet tall.
- Ideal for: Indoor spaces with bright, indirect light.
Alocasia Polly
- Features: Compact version of Alocasia Amazonica, similar leaf pattern.
- Size: Smaller stature, reaching about 1-2 feet in height.
- Ideal for: Small spaces and indoor environments.
Alocasia Zebrina
- Features: Unique zebra-striped stems, large arrow-shaped leaves.
- Size: Can grow up to 3-5 feet tall.
- Ideal for: Larger indoor areas or shaded outdoor spots.
Alocasia Macrorrhiza (Giant Taro)
- Features: Very large, glossy green leaves, heart-shaped.
- Size: Can reach heights of 8-10 feet in optimal conditions.
- Ideal for: Spacious indoor environments or outdoor gardens in warm climates.
Alocasia Cuprea (Mirror Plant)
- Features: Metallic, coppery leaves with a unique sheen.
- Size: Smaller plant, usually up to 2 feet tall.
- Ideal for: Indoor spaces with bright, indirect light.
Alocasia Silver Dragon
- Features: Silvery, textured leaves with dark green veins.
- Size: Typically grows up to 1-2 feet tall.
- Ideal for: Indoor settings with moderate light and humidity.
Optimal Growing Conditions for Alocasia
To ensure your Alocasia plants thrive, it’s important to recreate their natural tropical environment as closely as possible. Here are the key factors for providing optimal growing conditions:
Light Requirements
- Indirect Light: Alocasia plants prefer bright, indirect light. Direct sunlight can cause the leaves to scorch and lose their vibrant color.
- Indoor Placement: Place the plant near a north or east-facing window where it can receive filtered light. A sheer curtain can help diffuse direct sunlight.
- Outdoor Placement: If grown outdoors, ensure the plant is in a shaded area where it is protected from harsh, direct sunlight.
Temperature
- Warm Temperatures: Alocasia plants thrive in temperatures between 65°F and 80°F (18°C to 27°C).
- Avoid Cold: Protect the plant from temperatures below 60°F (15°C) and from drafts, especially in winter. Cold temperatures can cause leaf damage and slow growth.
- Consistent Conditions: Maintain a stable temperature environment to prevent stress on the plant.
Humidity
- High Humidity: Alocasia plants require high humidity levels, ideally between 60% and 80%.
- Indoor Humidity: Use a humidifier to increase the humidity around the plant, or place the pot on a humidity tray filled with water and pebbles.
- Misting: Regularly misting the leaves can also help maintain humidity, but ensure good air circulation to prevent fungal issues.
Watering
- Consistent Moisture: Keep the soil consistently moist but not waterlogged. Alocasia plants do not tolerate drought or waterlogged conditions.
- Watering Schedule: Water the plant thoroughly when the top 1-2 inches of soil feel dry to the touch. Reduce watering frequency in the winter months when the plant’s growth slows down.
- Drainage: Ensure the pot has drainage holes to prevent standing water, which can lead to root rot.
Soil
- Well-Draining Soil: Use a rich, well-draining potting mix. A mix designed for aroids or a combination of potting soil, perlite, and orchid bark works well.
- Soil Composition: Aim for a mix that retains moisture but allows excess water to drain away easily.
Air Circulation
- Good Air Flow: Ensure the plant is placed in an area with good air circulation to prevent fungal infections and promote healthy growth.
- Avoid Crowding: Avoid placing the plant too close to other plants or objects that can obstruct airflow.
Additional Tips
- Cleaning Leaves: Regularly clean the leaves with a damp cloth to remove dust and improve photosynthesis.
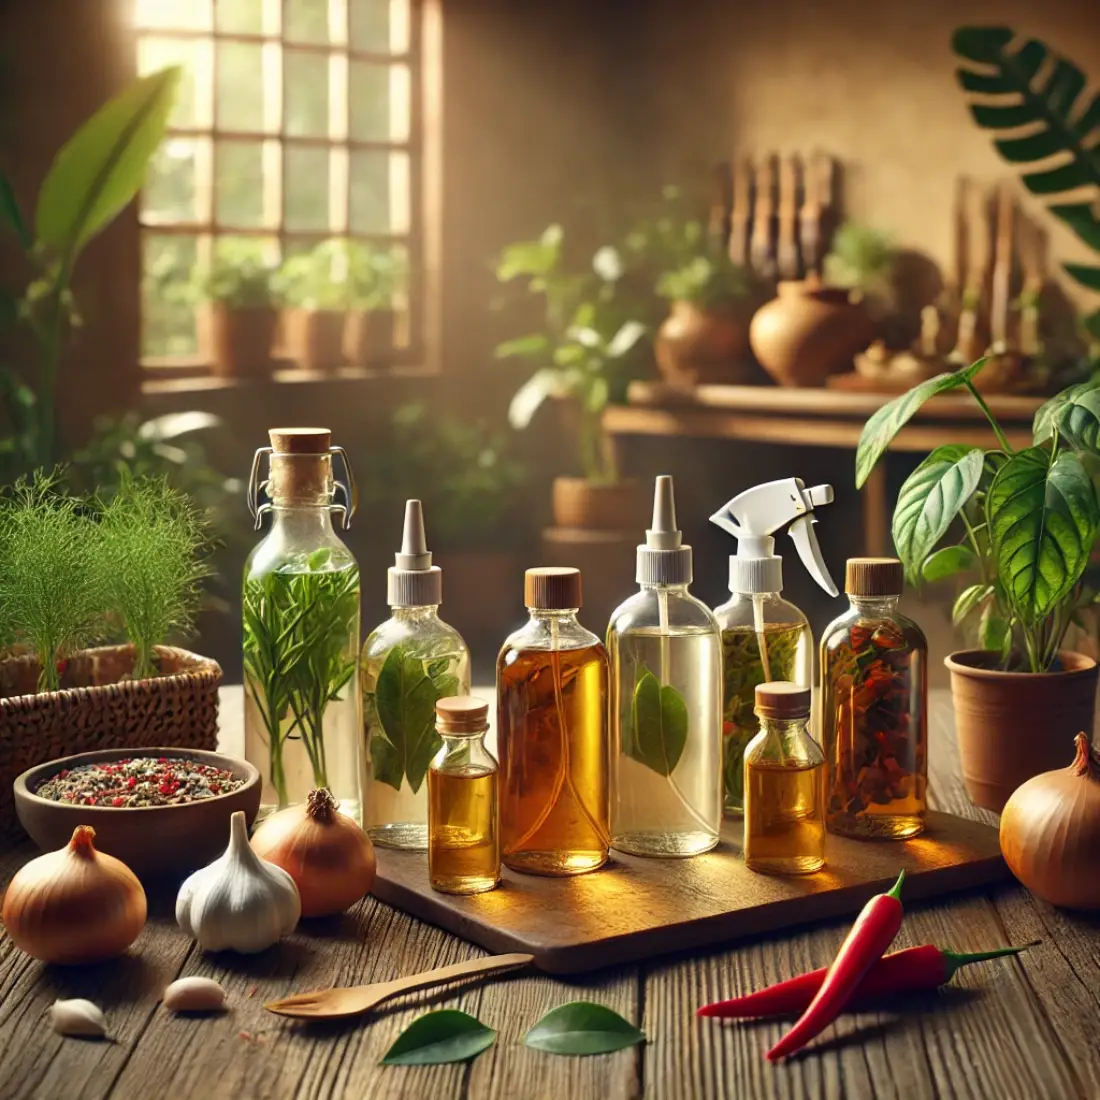
- Pest Management: Keep an eye out for common pests such as spider mites, aphids, and mealybugs. Treat infestations promptly with insecticidal soap or neem oil.
By providing these optimal growing conditions, you can ensure your Alocasia plants remain healthy and vibrant, showcasing their stunning foliage and enhancing the beauty of your indoor or outdoor space.
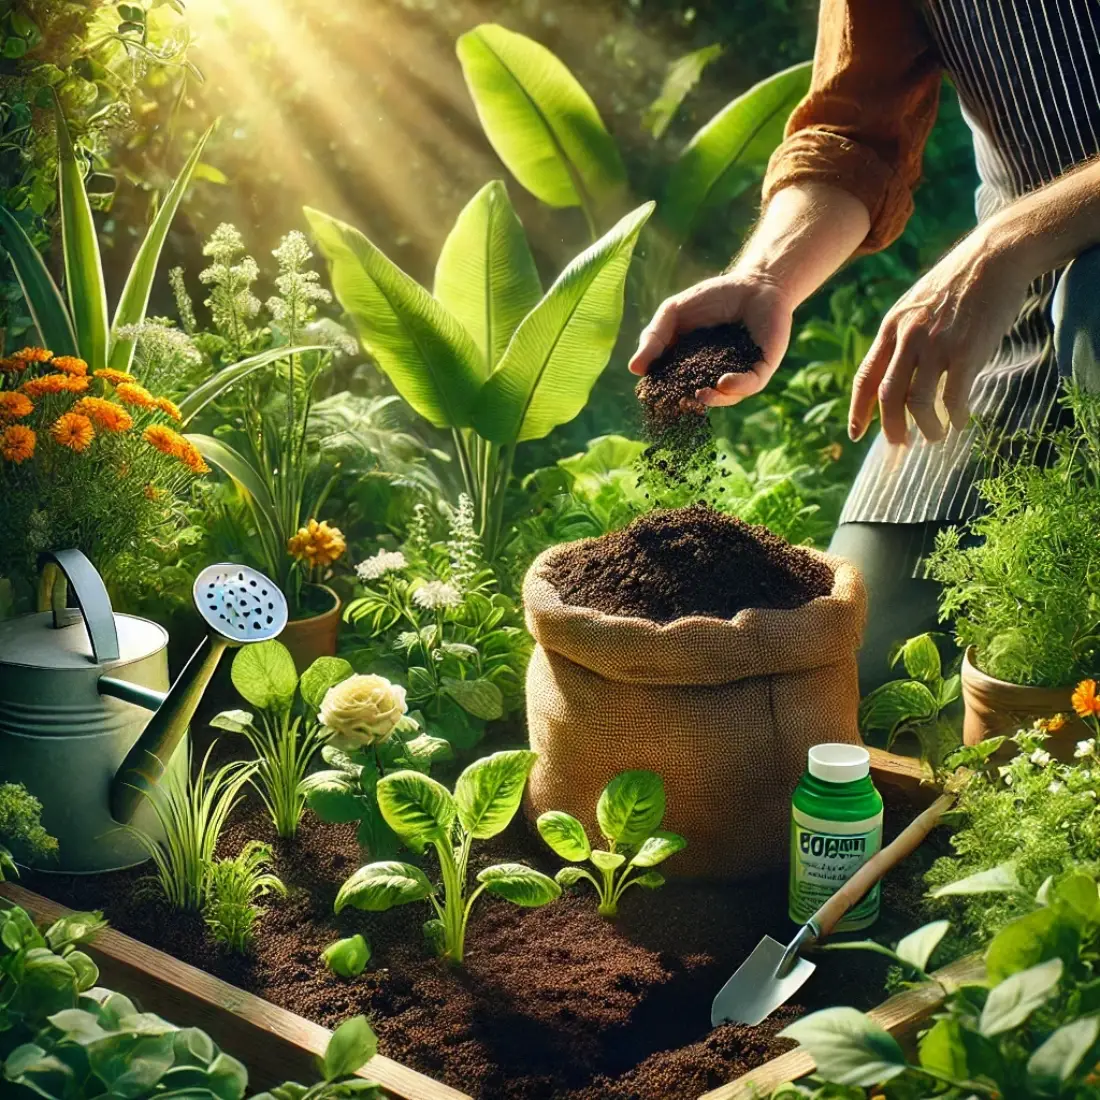
Organic Fertilization for Alocasia
Using organic fertilizers benefits Alocasia plants by providing essential nutrients naturally and improving soil health. Here are effective organic methods:
- Compost : Enhances soil structure. Mix into potting soil or top-dress. Reapply every few months.
- Worm Castings : Promotes healthy root growth. Add to soil or potting mix. Reapply every 2-3 months.
- Fish Emulsion : Provides nitrogen, phosphorus, and potassium. Dilute as instructed. Apply every 4-6 weeks during the growing season.
- Seaweed Extract : Boosts overall plant health. Dilute and apply as a foliar spray or soil drench every 4-6 weeks.
- Comfrey Tea : Supports strong growth. Dilute comfrey tea and water plants every 4-6 weeks.
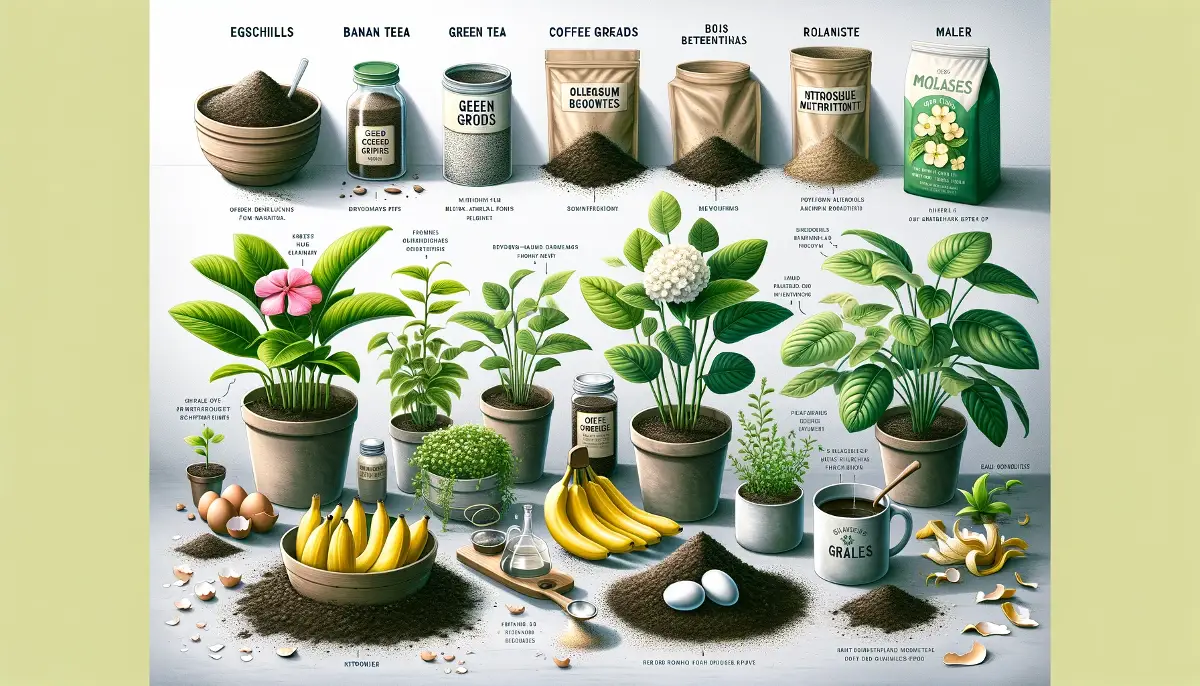
- Banana Peel Fertilizer : Simple and effective. Bury chopped peels in soil or soak in water and use as a liquid fertilizer.
- Bone Meal : Enhances root development. Sprinkle in soil during planting. Reapply yearly.
- Coffee Grounds : Improves soil structure. Mix into soil. Use sparingly to avoid acidity.
- Eggshells : Calcium Source; strengthens cell walls. Crush and mix into soil or steep in water and use the liquid.
These organic methods provide essential nutrients and maintain a healthy growing environment for your Alocasia plants. Regular feeding will keep them vibrant and thriving.
Pruning and Maintenance for Alocasia
Proper pruning and maintenance are essential for keeping your Alocasia plants healthy and attractive. Here are key practices:
Pruning Techniques
- Remove Dead or Damaged Leaves: Regularly cut off yellowing, dead, or damaged leaves at the base to encourage new growth and prevent disease.
- Trim Leggy Growth: If the plant becomes leggy, trim back the stems to promote bushier growth.
Cleaning the Leaves
- Dust Removal: Wipe leaves with a damp cloth regularly to remove dust and improve photosynthesis.
- Pest Prevention: Inspect leaves for pests like spider mites and aphids. Clean leaves to prevent infestations.
Repotting
- When to Repot: Repot every 1-2 years or when the plant outgrows its pot. Signs include roots growing out of the drainage holes or soil drying out quickly.
- How to Repot: Choose a slightly larger pot, refresh the potting mix, and carefully transplant the plant.
General Maintenance
Watering: Maintain consistent soil moisture. Adjust watering frequency based on the season, reducing in winter.
Fertilization: Use organic fertilizers like compost or worm castings during the growing season to promote healthy growth.
Humidity: Ensure high humidity levels by misting the leaves or using a humidifier.
Propagation Techniques for Alocasia
Propagating Alocasia plants allows you to expand your collection and share these beautiful plants with others. Here are the most effective propagation methods:
Division
- Ideal Method: Division is the most common and effective way to propagate Alocasia.
- Timing: Best done during the growing season (spring or early summer).
- Remove Plant: Gently remove the plant from its pot.
- Separate Rhizomes: Carefully separate the clumps of rhizomes (underground stems) with roots attached. Ensure each division has at least one or two leaves and a healthy root system.
- Repot: Plant each division in a separate pot with fresh, well-draining potting mix.
- Water: Water thoroughly and place in a warm, humid environment with indirect light.
Offsets
- Natural Offshoots: Alocasia plants often produce offsets (baby plants) around the base.
- Identify Offsets: Look for small plants growing near the base of the parent plant.
- Remove Offsets: Gently separate the offsets from the parent plant, ensuring they have their own roots.
- Potting: Plant the offsets in small pots with a well-draining potting mix.
- Care: Keep the soil moist and place the pots in a warm, humid area with indirect light.
Stem Cuttings (Less Common)
- Cuttings Method: While less common, Alocasia can sometimes be propagated from stem cuttings.
- Select a Stem: Choose a healthy stem with a few leaves.
- Cut the Stem: Cut a section of the stem just below a node (where the leaf meets the stem).
- Rooting Medium: Place the cutting in water or a moist potting mix.
- Environment: Keep the cutting in a warm, humid place with indirect light. If using water, change it regularly to prevent stagnation.
- Root Development: Once roots develop, transfer the cutting to a pot with soil.
By using these propagation techniques, you can successfully grow new Alocasia plants and enjoy the process of expanding your collection. Each method requires careful handling and attention to detail to ensure the new plants establish well and thrive.
Pest and Disease Management for Alocasia
Proper pest and disease management is crucial to maintain the health and beauty of your Alocasia plants. Here are common issues and their management techniques:
Common Pests
Spider Mites
- Symptoms: Fine webbing on leaves, yellow or brown spots.
- Spray: Use insecticidal soap or neem oil spray.
- Clean: Wipe leaves with a damp cloth.
- Humidity: Increase humidity around the plant.
Aphids
- Symptoms: Sticky residue on leaves, yellowing, and distorted growth.
- Spray: Use a strong stream of water to dislodge aphids or apply insecticidal soap.
- Neem Oil: Regular application can prevent infestations.
Mealybugs
- Symptoms: White, cotton-like masses on leaves and stems.
- Manual Removal: Wipe off with a cotton swab dipped in rubbing alcohol.
- Insecticidal Soap: Apply regularly until infestation is controlled.
Scale Insects
- Symptoms: Brown, shell-like bumps on stems and leaves.
- Manual Removal: Scrape off with a soft brush or cloth.
- Neem Oil: Apply to affected areas to prevent recurrence.
Common Diseases
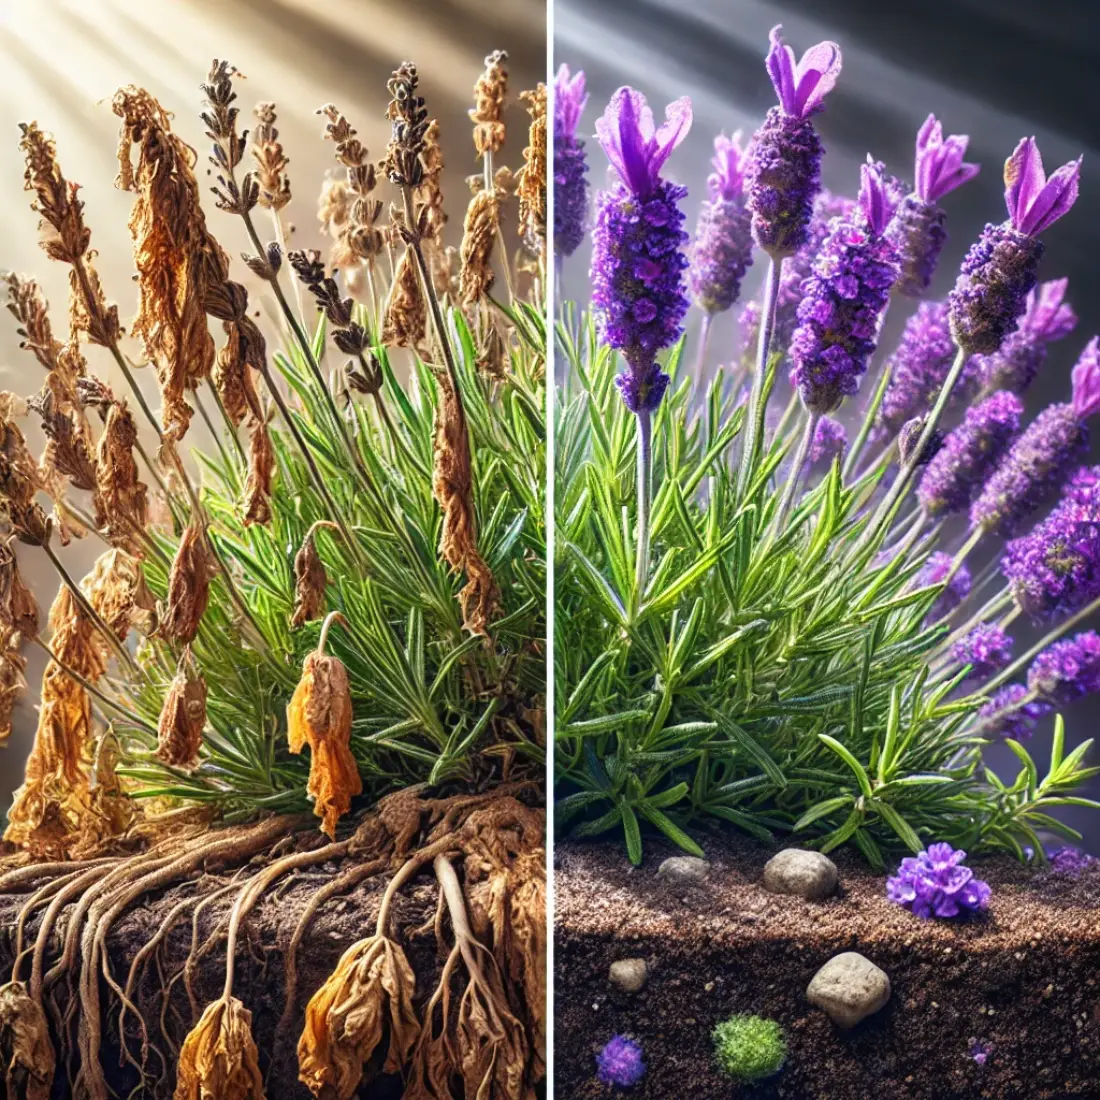
Root Rot
- Symptoms: Wilting, yellowing leaves, and mushy roots.
- Watering: Avoid overwatering and ensure proper drainage.
- Soil: Use well-draining soil.
- Treatment: Remove affected roots and repot the plant in fresh, dry soil.
Leaf Spot
- Symptoms: Brown or black spots on leaves.
- Watering: Avoid overhead watering; water at the base.
- Air Circulation: Ensure good airflow around the plant.
- Treatment: Remove affected leaves and apply a fungicide if necessary.
Powdery Mildew
- Symptoms: White, powdery substance on leaves.
- Humidity: Maintain moderate humidity and avoid overcrowding plants.
- Treatment: Apply a fungicide and improve air circulation.
General Pest and Disease Prevention Tips
- Regular Inspection: Check your plants frequently for signs of pests and diseases.
- Quarantine New Plants: Isolate new plants for a few weeks to ensure they are pest-free before introducing them to your collection.
- Cleanliness: Keep the growing area clean and free of fallen leaves or debris.
- Healthy Plants: Maintain plant health through proper watering, feeding, and humidity to make them more resistant to pests and diseases.
- Isolation: If an infestation or infection occurs, isolate the affected plant to prevent it from spreading to others.
Troubleshooting Common Problems with Alocasia
Proper care of Alocasia plants includes being able to diagnose and treat common issues that may arise. Here are some typical problems and their solutions:
Yellowing Leaves
Possible Causes
- Overwatering: Excess water can cause root rot, leading to yellow leaves.
- Underwatering: Inadequate water can cause leaves to turn yellow and wilt.
- Nutrient Deficiency: Lack of essential nutrients like nitrogen.
Solutions
- Overwatering: Allow the soil to dry out between waterings. Ensure proper drainage.
- Underwatering: Water the plant thoroughly and consistently.
- Nutrient Deficiency: Apply a balanced, organic fertilizer.
Drooping or Wilting
Possible Causes
- Underwatering: The plant is not receiving enough moisture.
- Overwatering: Roots are waterlogged and rotting.
- Low Humidity: Dry air can cause leaves to droop.
Solutions
- Underwatering: Increase watering frequency and ensure the soil remains consistently moist.
- Overwatering: Improve drainage and reduce watering frequency.
- Low Humidity: Increase humidity using a humidifier or by misting the plant.
Brown Leaf Tips or Edges
Possible Causes
- Low Humidity: Dry air can cause leaf edges to brown.
- Salt Build-Up: Excess fertilizer salts in the soil.
- Water Quality: Chlorine or fluoride in tap water.
Solutions
- Low Humidity: Raise humidity levels around the plant.
- Salt Build-Up: Flush the soil with distilled water to remove excess salts.
- Water Quality: Use filtered or distilled water.
Slow Growth
Possible Causes
- Low Light: Insufficient light can slow growth.
- Nutrient Deficiency: Lack of essential nutrients.
- Temperature: Temperatures that are too low can inhibit growth.
Solutions
- Low Light: Move the plant to a brighter location with indirect light.
- Nutrient Deficiency: Feed the plant with an organic fertilizer.
- Temperature: Ensure the plant is in a warm environment, ideally between 65°F and 80°F (18°C to 27°C).
Leaf Curling
Possible Causes
- Pest Infestation: Pests such as spider mites or aphids.
- Environmental Stress: Sudden changes in temperature or humidity.
Solutions
- Pest Infestation: Inspect the plant and treat with insecticidal soap or neem oil.
- Environmental Stress: Keep the plant in a stable environment with consistent temperature and humidity.
Root Rot
Possible Causes
- Overwatering: Excessive water causing roots to rot.
Solutions
- Overwatering: Remove the plant from the pot, trim off rotten roots, and repot in fresh, well-draining soil. Adjust watering practices to allow soil to dry out between waterings.
FAQs on Alocasia (Elephant Ear Plant) Care
How often should I water my Alocasia plant?
Alocasia plants prefer consistently moist soil. Water them thoroughly when the top 1-2 inches of soil feel dry. Reduce watering in the winter when the plant’s growth slows down.
What type of light is best for Alocasia plants?
Alocasia plants thrive in bright, indirect light. Direct sunlight can scorch their leaves, so place them near a north or east-facing window with filtered light.
How do I increase humidity for my Alocasia?
Increase humidity by misting the leaves regularly, using a humidifier, or placing the plant on a humidity tray with water and pebbles. Grouping plants together can also help raise humidity levels.
Why are the leaves on my Alocasia turning yellow?
Yellow leaves can be caused by overwatering, underwatering, or nutrient deficiencies. Ensure the plant is watered properly and consider feeding it with a balanced, organic fertilizer.
How can I propagate my Alocasia plant?
The most effective way to propagate Alocasia is through division. Carefully separate the rhizomes and plant each division in its own pot with fresh, well-draining soil.
What should I do if my Alocasia has pests?
For common pests like spider mites, aphids, and mealybugs, treat the plant with insecticidal soap or neem oil. Regularly inspect the plant and clean the leaves to prevent infestations.
When should I repot my Alocasia?
Repot your Alocasia every 1-2 years or when it outgrows its current pot. Signs that it needs repotting include roots growing out of drainage holes or soil that dries out quickly.
Why are the edges of my Alocasia’s leaves turning brown?
Brown leaf edges can be caused by low humidity, salt build-up in the soil, or poor water quality. Increase humidity, flush the soil with distilled water, and use filtered or distilled water for watering.
How can I prevent root rot in my Alocasia?
Prevent root rot by ensuring the soil is well-draining and not overwatering the plant. Allow the top layer of soil to dry out between waterings and ensure the pot has drainage holes.
What is the best soil mix for Alocasia plants?
Alocasia plants prefer a rich, well-draining soil mix. A mix designed for aroids or a combination of potting soil, perlite, and orchid bark works well. This ensures proper drainage and aeration for the roots.


