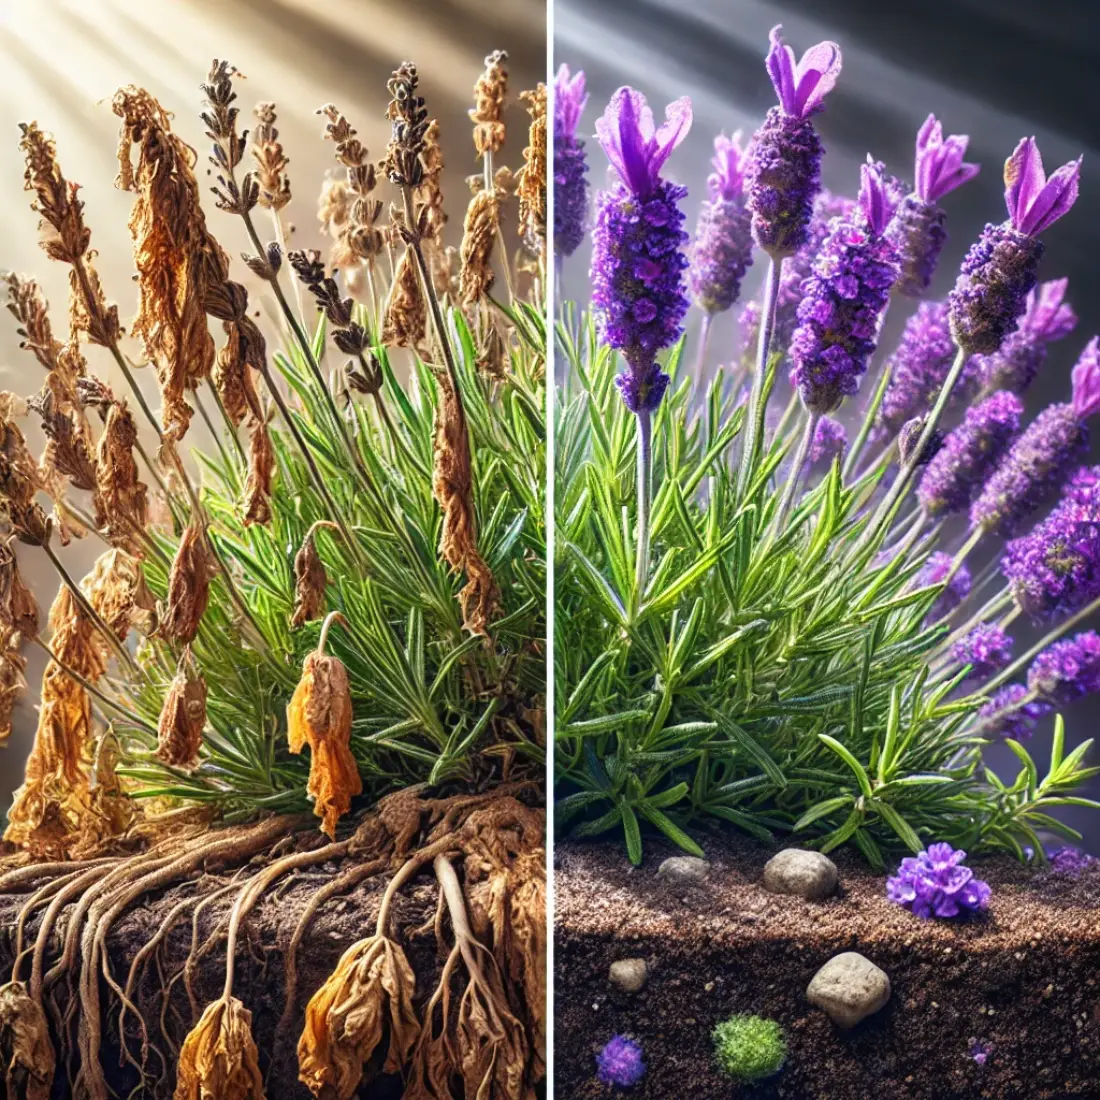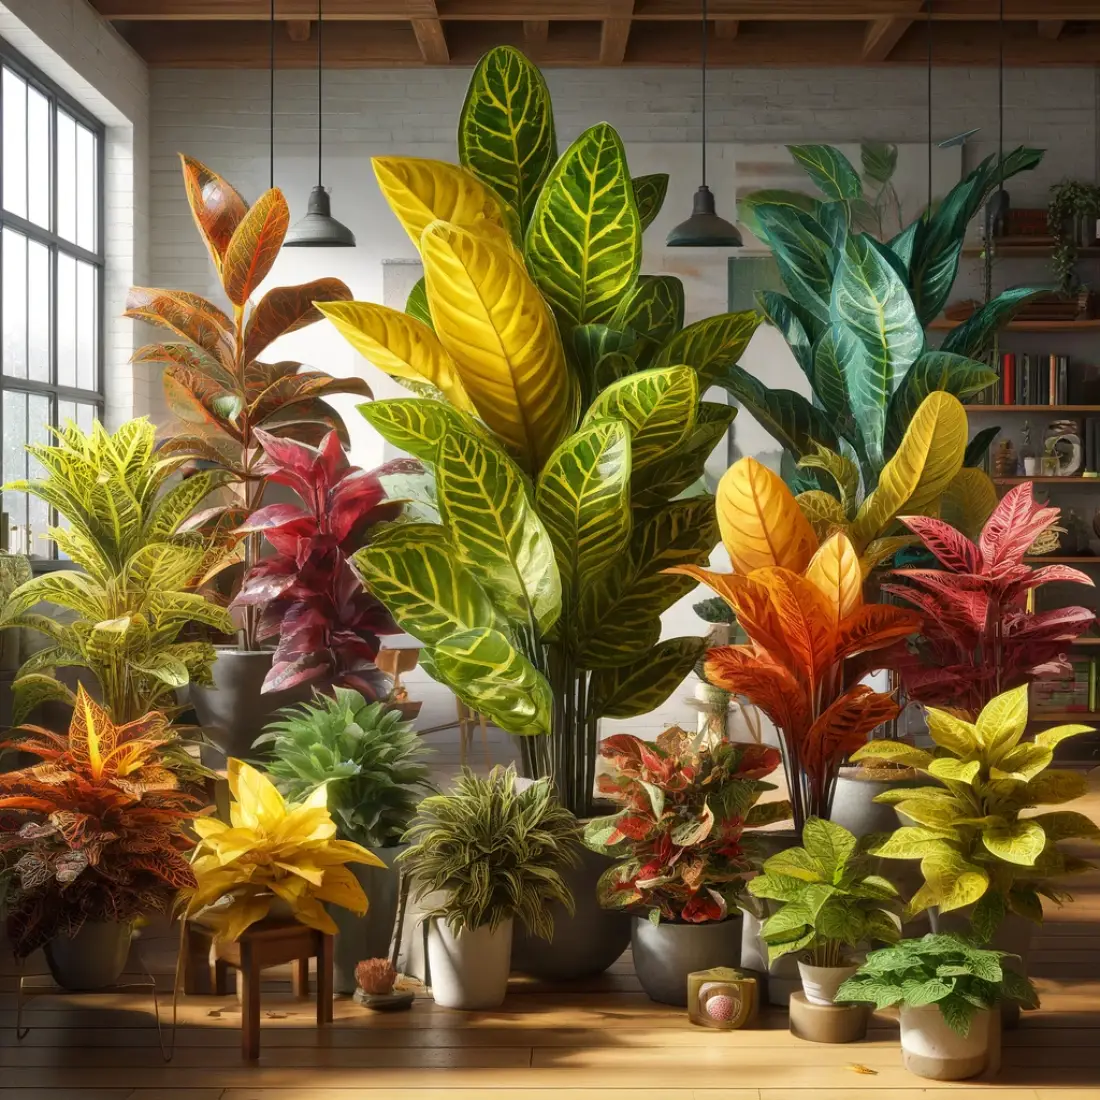
Codiaeum Variegatum, commonly known as Croton, is a vibrant and colorful houseplant that is highly valued for its stunning foliage. Native to tropical regions in Southeast Asia and the Pacific islands, Crotons are known for their wide variety of leaf shapes and bright, multicolored patterns.
The leaves can exhibit a range of colors including green, yellow, red, orange, and purple, often all on the same plant, creating a striking visual display.
Crotons have become a popular choice for organic home gardeners and interior decorators due to their bold appearance and the lively touch they add to indoor spaces. Their unique aesthetic appeal makes them a favorite for brightening up homes and offices. Additionally, Crotons are relatively easy to care for, making them suitable for both novice and experienced gardeners.
Varieties of Croton
Crotons come in numerous varieties, each with its unique leaf shapes, colors, and patterns. Some popular varieties include:
- Petra: Known for its large, glossy leaves with a mix of green, yellow, red, and orange.
- Gold Dust: Features smaller leaves with speckles of yellow that resemble gold dust.
- Mammy: Characterized by twisted, curly leaves in vibrant shades of red, yellow, and green.
- Red Iceton: Displays broad leaves that transition from yellow and green to bright red and pink.
- Zanzibar: Unique for its narrow, ribbon-like leaves in a mix of green, yellow, and red.
When selecting a variety, consider the visual appeal you want to achieve and the space available in your home.
Choosing the Right Variety for Your Home
- Light Levels: Some varieties, like ‘Petra’, thrive in bright, indirect light, while others, like ‘Gold Dust’, can tolerate lower light conditions.
- Space: Larger varieties like ‘Petra’ and ‘Red Iceton’ are suitable for spacious areas, while compact varieties like ‘Gold Dust’ and ‘Mammy’ are ideal for smaller spaces.
- Color Preferences: Choose varieties that match your interior decor and color scheme.
- Leaf Shape and Size: Consider the shape and size of the leaves to complement the overall design of your indoor space.
Selecting Healthy Plants:
- Leaf Color: Look for vibrant, consistent coloring on the leaves. Avoid plants with dull or faded leaves.
- Leaf Condition: Check for healthy, firm leaves without any signs of wilting, spots, or damage.
- Stem and Roots: Inspect the stem for firmness and the base for any signs of rot. If possible, gently check the roots to ensure they are white and healthy.
- Pests and Diseases: Examine the plant for any signs of pests (like spider mites or mealybugs) and diseases (such as leaf spots or mold).
By selecting the right Croton variety and ensuring you purchase a healthy plant, you set the foundation for successful growth and care in your home.
Ideal Growing Conditions
Light Requirements
- Crotons thrive in bright, indirect light, which helps maintain their vibrant leaf colors.
- Place your Croton near a window where it can receive plenty of filtered sunlight. An east or west-facing window is ideal.
- Direct sunlight for a few hours in the morning or late afternoon can be beneficial, but avoid intense midday sun which can scorch the leaves.
Effects of Insufficient or Excessive Light:
- Insufficient Light: Leads to dull, less vibrant leaves and slower growth. The plant may also become leggy.
- Excessive Light: Can cause leaf burn, resulting in brown, crispy edges or spots on the leaves.
Temperature and Humidity
Temperature Requirements
- Crotons prefer a warm environment with temperatures between 60-85°F (15-29°C).
- They are sensitive to cold and should be kept away from temperatures below 50°F (10°C).
Humidity Requirements
- High humidity is essential for Crotons to thrive. Aim for a humidity level of 40-80%.
- Increase humidity by using a humidifier, placing the plant on a tray filled with pebbles and water, or misting the leaves regularly.
- Keep Crotons away from drafts, air conditioning vents, and heaters, as sudden changes in temperature can stress the plant and cause leaf drop.
Ideal Soil Mix
- Use a well-draining potting mix rich in organic matter. A good mix can include peat moss, perlite, and compost.
- Ensure the soil retains some moisture but does not stay soggy.
- Crotons prefer slightly acidic to neutral soil with a pH range of 6.1-7.5.
Choosing the Right Pot
- Select a pot with adequate drainage holes to prevent waterlogging and root rot.
- Ensure excess water can easily escape, promoting healthy root growth.
- Choose a pot that is slightly larger than the current root ball, allowing room for growth.
- Avoid oversized pots as they can retain excess moisture, leading to root rot.
When and How to Repot
- Repot your Croton every 1-2 years or when it outgrows its current pot.
- Spring or early summer is the best time to repot.
- Gently remove the plant from its pot, loosen the root ball, and place it in a new pot with fresh potting mix.
Minimizing Transplant Shock
- Water the plant thoroughly a day before repotting.
- After repotting, place the Croton in a shaded area for a few days to help it acclimate.
- Avoid fertilizing immediately after repotting to reduce stress on the plant.
Watering Needs
- Water your Croton regularly to keep the soil consistently moist but not waterlogged.
- The frequency of watering depends on the environment and season. Typically, water once the top inch of soil feels dry.
- During the growing season (spring and summer), you may need to water more frequently, while in the dormant season (fall and winter), reduce watering.
Signs of Overwatering and Underwatering:
Overwatering: Look for yellowing leaves, mushy stems, and signs of root rot (unpleasant smell from the soil).
Underwatering: Indications include wilting leaves, dry and crispy edges, and leaf drop.
Proper Watering Technique:
- Water thoroughly until water drains out of the bottom of the pot, ensuring the roots are well hydrated.
- Avoid letting the plant sit in standing water; always empty the saucer after watering.
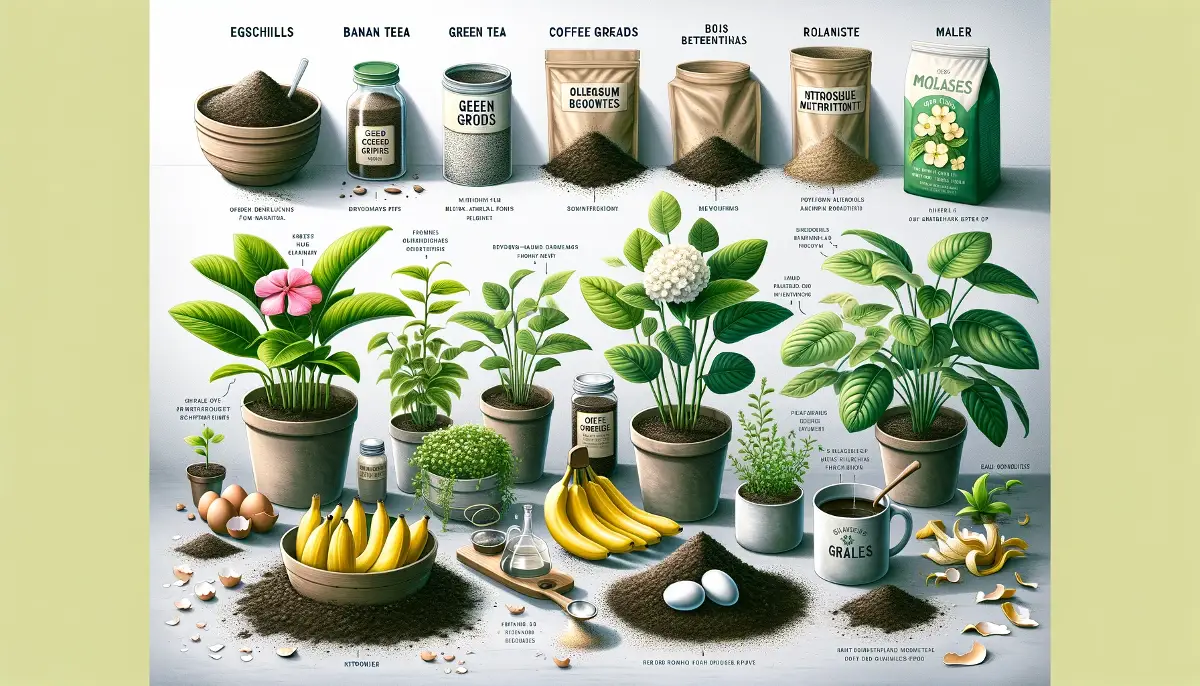
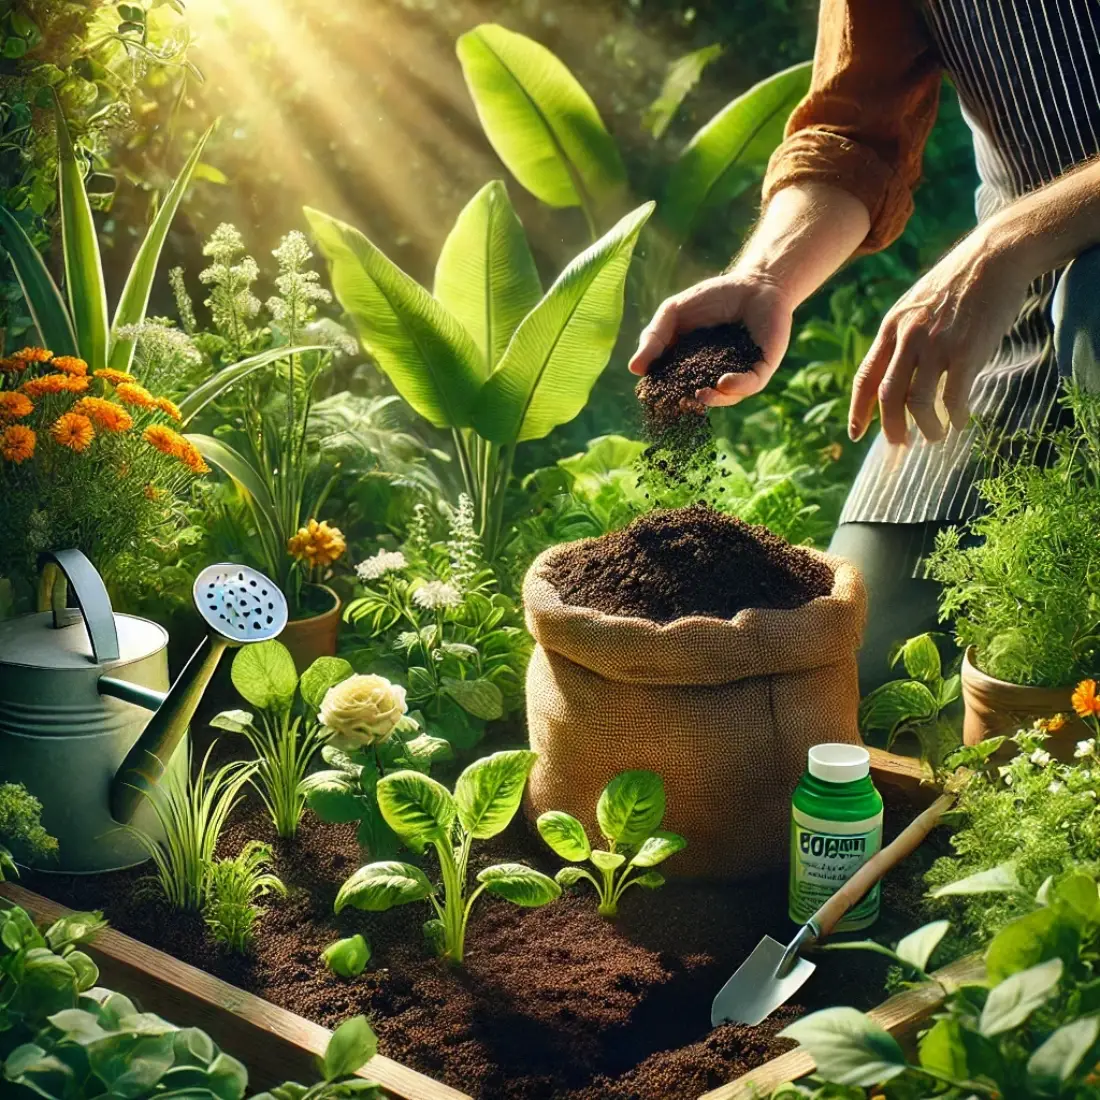
Organic Feeding
- Use organic fertilizers to nourish your Croton without the risk of chemical buildup.
- Options include compost, worm castings, fish emulsion, and liquid seaweed.
- Feed your Croton during the growing season (spring and summer) every 4-6 weeks.
- Reduce feeding during the dormant period (fall and winter) to once every 8-10 weeks or stop completely.
Application Techniques
- Compost: Top-dress the soil with a thin layer of compost, mixing it lightly into the topsoil.
- Worm Castings: Sprinkle a small amount around the base of the plant and gently incorporate it into the soil.
- Fish Emulsion and Liquid Seaweed: Dilute according to package instructions and water the plant with the solution.
Benefits of Organic Fertilizers
- Improve soil structure and fertility over time.
- Provide a slow-release source of nutrients.
- Enhance microbial activity in the soil, promoting overall plant health.
Seasonal Care Tips
Adjustments for Winter
Light: With shorter days and less intense sunlight, ensure your Croton still receives adequate light by placing it in the brightest spot available, such as a south-facing window.
Supplemental Light: Consider using grow lights to compensate for reduced natural light, providing about 12-14 hours of light daily.
Temperature: Maintain indoor temperatures between 60-75°F (15-24°C). Avoid placing the plant near cold drafts or heat sources like radiators.
Reducing Watering Frequency
Water less frequently in winter, as Crotons enter a period of slower growth and require less moisture. Check the soil and water only when the top 1-2 inches feel dry.
Ensure good drainage to prevent root rot, which can be exacerbated by cooler temperatures and excess moisture.
Humidity Maintenance
Indoor air can become very dry during winter due to heating. Increase humidity by using a humidifier, placing a tray of water near the plant, or grouping plants together.
Mist the leaves regularly to maintain higher humidity levels, but avoid over-wetting to prevent fungal issues.
Summer Care
Temperature: Keep indoor temperatures between 70-85°F (21-29°C). Crotons can tolerate higher temperatures but ensure they are not exposed to direct, intense midday sun which can cause leaf burn.
Humidity: Summer naturally provides higher humidity, which is beneficial for Crotons. Ensure good air circulation to prevent fungal diseases.
Watering: Increase the frequency of watering during summer as the plant’s water needs grow with higher temperatures and active growth. Water thoroughly when the top inch of soil dries out.
Feeding: Resume regular feeding every 4-6 weeks with organic fertilizers to support the plant’s vigorous growth. Use balanced organic fertilizers like compost tea, diluted fish emulsion, or liquid seaweed.
Outdoor Placement
If placing your Croton outdoors during summer, ensure it is in a shaded or partially shaded area to protect it from direct afternoon sun.
Gradually acclimate the plant to outdoor conditions to avoid shock. Start by placing it outside for a few hours a day and gradually increase the duration.
Propagation Methods
Stem Cuttings
Propagating Crotons through stem cuttings is one of the most effective and straightforward methods. This method allows you to grow new plants from a healthy parent plant.
Selecting a Cutting: Choose a healthy stem with at least 3-4 leaves. The cutting should be 4-6 inches long.
Cutting the Stem: Using a clean, sharp knife or scissors, make a diagonal cut just below a leaf node. Ensure the cutting is free of pests and diseases.
Removing Lower Leaves: Remove the lower leaves, leaving at least one or two pairs of leaves at the top.
Applying Rooting Hormone (Optional): Dip the cut end in rooting hormone to encourage root development, though this is optional.
Planting the Cutting: Place the cutting in a pot filled with a well-draining potting mix. Water the soil lightly.
Creating a Humid Environment: Cover the pot with a plastic bag or place it in a propagation tray to maintain high humidity. Ensure the plastic does not touch the leaves by using sticks or stakes to hold it up.
Positioning: Place the pot in a warm, bright area with indirect light.
Maintaining Moisture: Keep the soil consistently moist but not waterlogged. Mist the cutting regularly to maintain humidity.
Root Development: Roots should develop in 4-6 weeks. Once new growth appears, it indicates successful rooting. Transplant the new plant into a larger pot if necessary.
The best time to take stem cuttings is during the growing season, typically in spring or early summer, when the plant is actively growing.
Air Layering
Air layering is a method used to propagate Crotons by encouraging roots to form on a stem while it is still attached to the parent plant. This method is suitable for larger, woody stems.
Selecting a Branch: Choose a healthy, mature stem that is at least one year old.
Making the Incision: Using a clean, sharp knife, make a 1-2 inch long cut around the stem about 12-18 inches from the tip. Remove a ring of bark (about 1 inch wide) to expose the inner stem.
Applying Rooting Hormone (Optional): Apply rooting hormone to the exposed area to stimulate root growth, though this is optional.
Moist Sphagnum Moss: Moisten a handful of sphagnum moss and wrap it around the exposed area. Secure the moss with plastic wrap or aluminum foil, ensuring it stays moist but not too wet.
Securing the Wrap: Use twist ties or string to secure the wrap above and below the moss-covered section.
Monitoring: Check the moss regularly to ensure it remains moist. You can mist it if necessary.
Root Development: Roots should begin to develop in 4-8 weeks. Once a healthy root system is visible through the moss, it is ready to be separated.
Separating the New Plant: Carefully cut below the rooted section to remove it from the parent plant. Plant the new rooted section in a pot with a well-draining potting mix.
Advantages of Air Layering
Air layering produces a larger plant faster than other propagation methods.
It reduces the risk of transplant shock as the new plant already has an established root system.

Common Problems and Solutions
Common Pests
Spider Mites: Tiny, sap-sucking pests that cause yellowing and stippling on leaves. Often found on the undersides of leaves and can produce fine webbing.
Mealybugs: Small, white, cotton-like insects that cluster on stems and leaf joints. They excrete a sticky substance called honeydew.
Scale Insects: Hard, shell-like pests that attach to stems and leaves, often causing yellowing and dropping of leaves.
Aphids: Small, soft-bodied insects that feed on plant sap, leading to distorted growth and sticky honeydew on leaves.
Helpful Articles:
How to Control Pests and Diseases in an Organic Indoor Garden
Natural Methods to Control Mealybug Infestations
How to Spot, Treat, and Prevent Scale Insects Naturally
Most Effective Methods to Deal with Aphids
Detection and Treatment Methods
Regular Inspection: Regularly check your Croton for signs of pests, especially on the undersides of leaves and around leaf joints.
Isolation: Immediately isolate any affected plant to prevent pests from spreading to other plants.
Natural Predators: Introduce natural predators like ladybugs or lacewings to control pest populations.
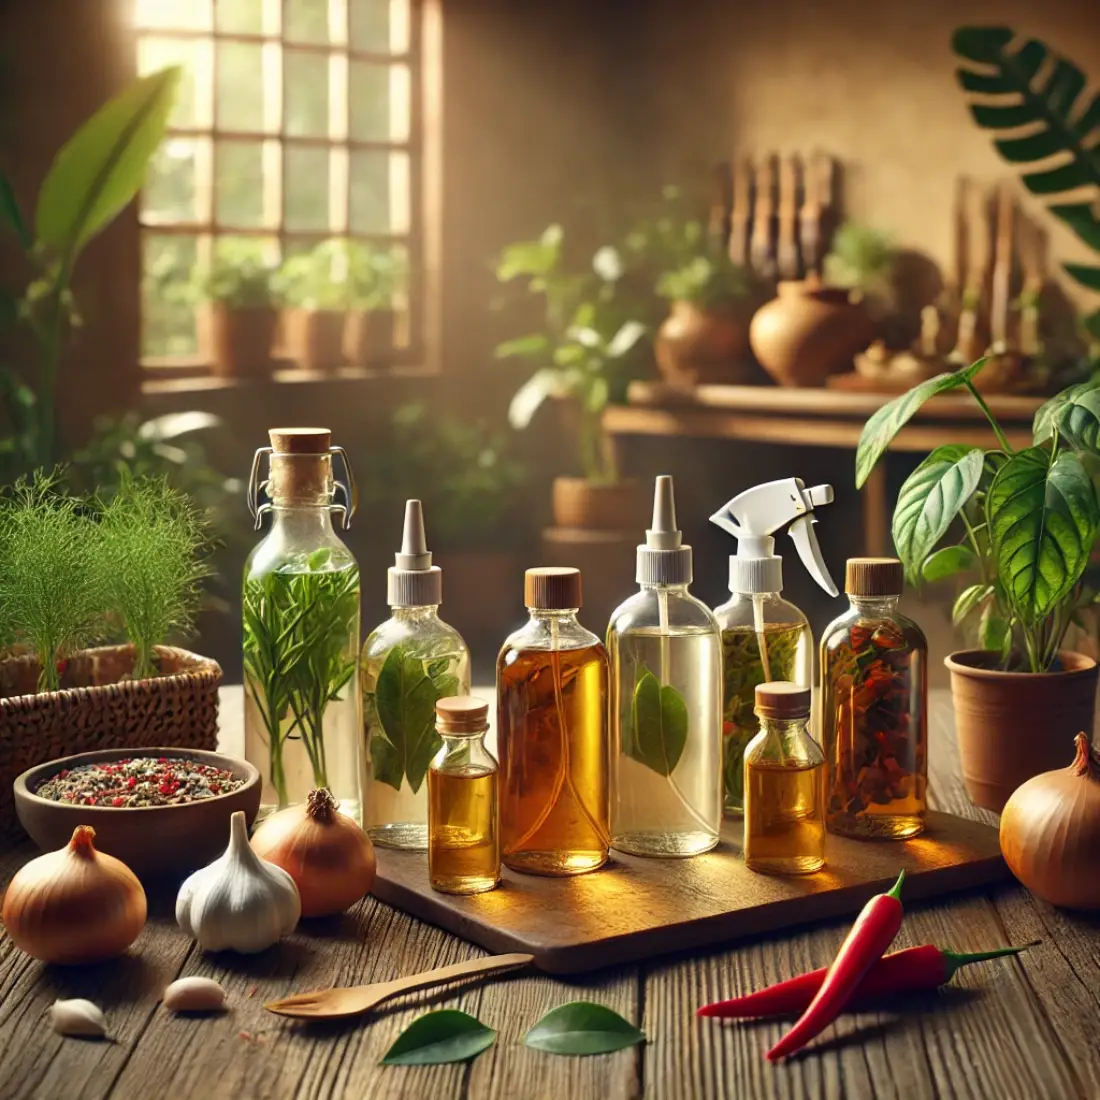
Neem Oil: Spray the plant with neem oil, an organic insecticide that is effective against a variety of pests. Follow the instructions on the product label.
Insecticidal Soap: Use insecticidal soap to treat infestations. Spray the plant thoroughly, covering all surfaces, and repeat as necessary.
Manual Removal: For small infestations, wipe the pests off with a cotton swab dipped in rubbing alcohol.
Common Diseases
Leaf Spot: Fungal or bacterial disease causing spots on leaves, which can lead to leaf drop.
Root Rot: Caused by overwatering and poor drainage, leading to black, mushy roots and yellowing, wilting leaves.
Powdery Mildew: A fungal disease that produces a white, powdery coating on leaves and stems.
Anthracnose: Fungal disease causing dark, sunken lesions on leaves and stems.
Prevention and Treatment
Good Air Circulation: Ensure good air circulation around the plant to prevent fungal diseases.
Proper Watering: Water at the base of the plant to keep leaves dry and avoid overwatering.
Sterilized Tools: Use sterilized tools for pruning to prevent the spread of diseases.
Fungicides: Apply fungicides to treat fungal infections. Choose organic options like copper fungicide or sulfur-based products.
Remove Infected Parts: Trim away and discard infected leaves or stems to prevent the spread of diseases.
Troubleshooting
Yellowing Leaves
- Cause: Overwatering, poor drainage, or nutrient deficiencies.
- Solution: Adjust watering practices, improve soil drainage, and ensure proper fertilization. Check for root rot and treat if necessary.
Leaf Drop
- Cause: Sudden changes in light, temperature, humidity, or watering habits.
- Solution: Stabilize environmental conditions, water consistently, and avoid drafts. Gradually acclimate the plant to new conditions.
Brown Leaf Edges
- Cause: Low humidity, underwatering, or exposure to drafts.
- Solution: Increase humidity levels, water more regularly, and protect the plant from drafts.
Wilting
- Cause: Underwatering, root rot, or extreme temperatures.
- Solution: Ensure consistent watering, check for root rot, and maintain optimal temperature conditions.
Faded or Dull Colors:
- Cause: Insufficient light or nutrient deficiencies.
- Solution: Move the plant to a brighter location with indirect light and ensure it receives balanced organic fertilization.
By regularly monitoring your Croton for signs of pests, diseases, and other issues, and addressing problems promptly, you can maintain the health and vibrancy of your plant. Adopting preventive measures and knowing how to treat common problems effectively will ensure your Croton continues to thrive.
FAQs About Codiaeum variegatum (Croton) Care
How often should I water my Croton plant?
Water your Croton when the top inch of soil feels dry. Typically, this means watering once a week during the growing season (spring and summer) and less frequently during the dormant season (fall and winter). Ensure the soil is consistently moist but not waterlogged.
Why are my Croton’s leaves turning yellow?
Yellowing leaves can be caused by overwatering, poor drainage, or nutrient deficiencies. Ensure your plant is in well-draining soil, avoid overwatering, and provide balanced fertilization during the growing season.
Can I grow Croton outdoors?
Yes, Crotons can be grown outdoors in warm, humid climates. They thrive in partial shade where they can receive bright, indirect light. Bring them indoors if temperatures drop below 50°F (10°C).
What type of soil is best for Crotons?
Crotons prefer a well-draining potting mix rich in organic matter. A mix containing peat moss, perlite, and compost works well. The soil should retain some moisture but not stay soggy.
How can I increase humidity for my indoor Croton?
Increase humidity by using a humidifier, placing a tray of water near the plant, misting the leaves regularly, or grouping plants together to create a more humid microenvironment.
What should I do if my Croton has pests?
Isolate the affected plant and treat it with neem oil, insecticidal soap, or manually remove pests with a cotton swab dipped in rubbing alcohol. Regularly inspect your plant to catch infestations early.
How do I propagate Crotons from stem cuttings?
Take a 4-6 inch cutting from a healthy stem, remove the lower leaves, and plant it in a well-draining potting mix. Maintain high humidity around the cutting by covering it with a plastic bag and place it in bright, indirect light. Roots should develop in 4-6 weeks.
Why is my Croton dropping leaves?
Leaf drop can be caused by sudden changes in light, temperature, humidity, or watering habits. Stabilize the environmental conditions, water consistently, and avoid drafts. Gradually acclimate the plant to any new conditions.
How often should I fertilize my Croton?
Fertilize your Croton every 4-6 weeks during the growing season with a balanced, organic fertilizer. Reduce feeding during the dormant period to once every 8-10 weeks or stop completely.
Can Crotons be pruned?
Yes, regular pruning helps maintain the shape and health of the plant. Prune away dead or damaged leaves and stems. Light pruning can be done year-round, but more extensive pruning is best done in spring or early summer.