Transplanting seedlings is a critical step in gardening that ensures your plants grow strong and healthy. Moving seedlings from their initial growth containers to the garden or larger pots allows them to develop robust root systems and thrive in their new environment. However, the process requires careful attention to detail to minimize stress on the young plants and promote vigorous growth.
- Transplanting seedlings at the right time ensures optimal growth.
- Proper preparation of seedlings and soil is crucial for healthy plants.
- Following the correct transplanting techniques reduces plant stress and promotes robust development.
Preparing for Transplanting
Choosing the Right Time to Transplant
Transplanting seedlings at the right time is crucial for their survival and growth. The optimal time to transplant varies depending on the type of plant and the local climate. Generally, seedlings are ready to be transplanted when they have at least two sets of true leaves. True leaves are the leaves that appear after the initial seed leaves, or cotyledons.
- Weather Conditions: Ideally, transplant seedlings on a cloudy day or in the late afternoon. This helps to minimize transplant shock, which can occur when plants are exposed to intense sunlight or extreme temperatures immediately after being moved.
- Soil Temperature: Ensure the soil temperature is suitable for the specific type of plant. Most warm-season crops, such as tomatoes and peppers, thrive in soil temperatures between 60-70°F (15-21°C). Using a soil thermometer can help determine the right time for transplanting.
Preparing Seedlings for Transplant
Before transplanting, seedlings need to undergo a process called hardening off. This process gradually acclimates the young plants to outdoor conditions, reducing the risk of transplant shock.
- Hardening Off Process: Start by placing the seedlings outside in a shaded, sheltered spot for a few hours each day. Gradually increase the time they spend outdoors and their exposure to direct sunlight over the course of 7-10 days. By the end of this period, the seedlings should be able to withstand a full day outdoors.
- Watering Seedlings: Ensure the seedlings are well-watered before transplanting. Moist soil helps protect the delicate roots and makes it easier to remove the seedlings from their containers without causing damage.
Soil Preparation
Proper soil preparation is vital for the success of transplanted seedlings. The soil needs to be rich in nutrients, well-draining, and loose enough for roots to establish themselves quickly.
- Soil Composition: Amend the garden soil with organic matter such as compost, aged manure, or peat moss to improve its structure and fertility. This not only provides essential nutrients but also enhances water retention and aeration.
- Testing Soil pH: Different plants have specific pH preferences. Use a soil test kit to determine the pH level of your garden soil. Most vegetables prefer a slightly acidic to neutral pH range (6.0-7.0).
- Preparing the Planting Hole: Dig a hole large enough to accommodate the seedling’s root ball. The hole should be deep and wide enough to allow the roots to spread out comfortably. For most plants, the planting hole should be twice the width of the root ball and just deep enough so that the seedling sits at the same level it did in its container.
Transplanting Techniques
How to Transplant Seedlings Correctly
Transplanting seedlings correctly is essential for minimizing stress and promoting healthy growth. Follow these steps to ensure a smooth transition for your plants:
- Water the Seedlings: Water the seedlings thoroughly a few hours before transplanting. This helps reduce transplant shock and makes it easier to remove them from their containers.
- Prepare the Planting Area: Ensure the planting area is weed-free and the soil is well-prepared. Dig holes or trenches that are large enough to accommodate the seedlings’ root balls.
- Remove Seedlings from Containers: Gently squeeze or tap the sides and bottom of the containers to loosen the soil. Carefully lift the seedlings out by their leaves, not the stems, to avoid damaging the delicate plants.
- Position the Seedlings: Place each seedling in its hole or trench. Ensure the seedlings are planted at the same depth they were growing in their containers, with the soil level just covering the root ball.
- Backfill and Firm the Soil: Fill in the hole with soil, gently pressing it down to eliminate air pockets and ensure good contact with the roots.
Spacing and Depth Considerations
Proper spacing and planting depth are crucial for healthy plant development. Different plants have varying requirements, so it’s essential to know the specific needs of your seedlings.
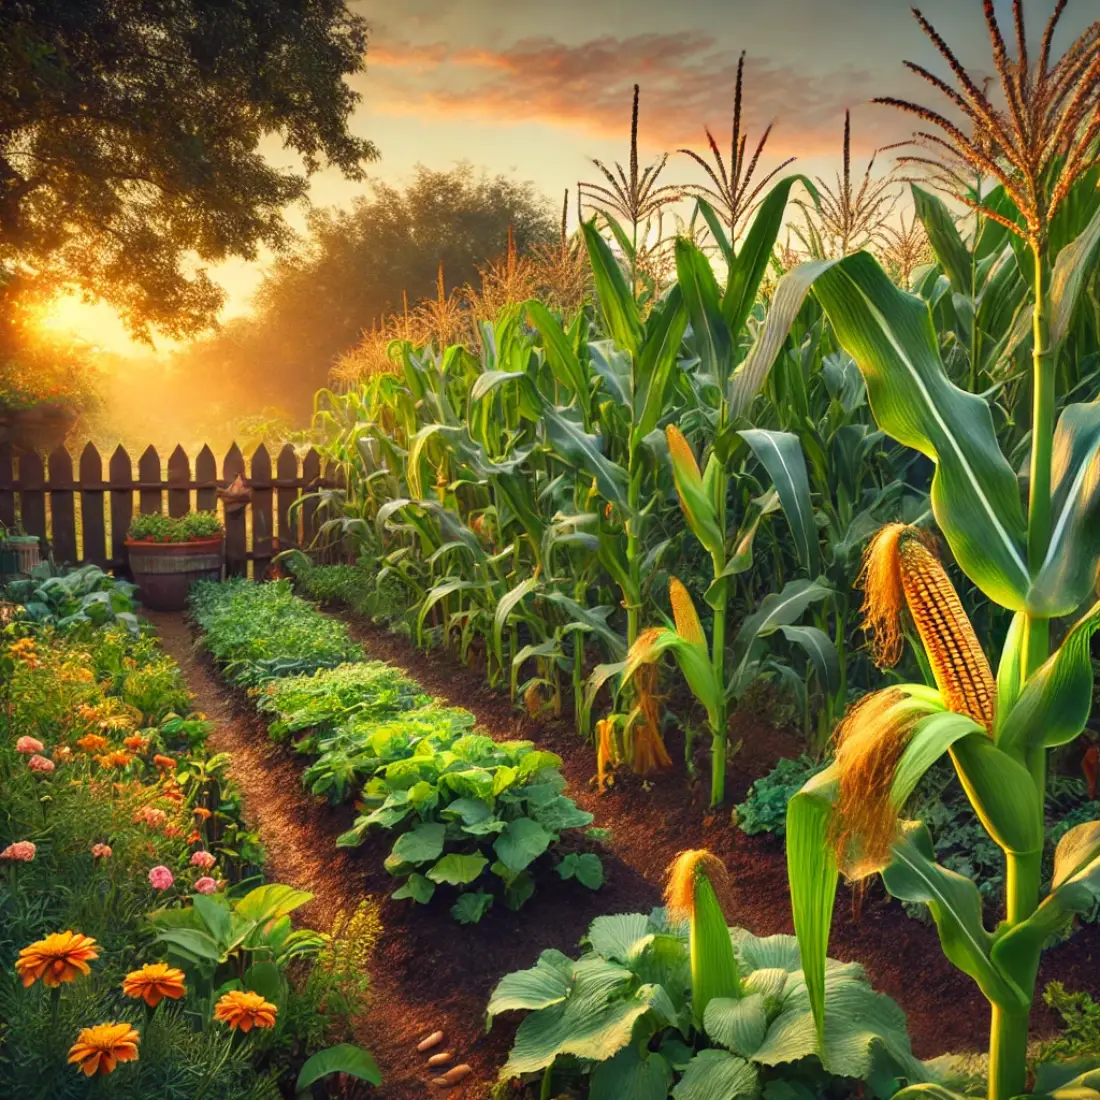
- Spacing Between Seedlings: Provide adequate space between plants to ensure they have enough room to grow and receive sufficient sunlight and airflow. For example, tomatoes typically need about 18-24 inches between plants, while lettuce may only require 6-12 inches.
- Correct Planting Depth: Plant seedlings at the correct depth to encourage strong root development. Generally, seedlings should be planted at the same depth they were in their containers. However, some plants, like tomatoes, can be planted deeper to encourage additional root growth along the buried stem.
Watering After Transplanting
Watering is critical after transplanting to help seedlings establish themselves in their new environment.
- Initial Watering: Water the seedlings immediately after transplanting to settle the soil around the roots. This helps eliminate air pockets and provides the moisture needed for root establishment.
- Consistent Moisture: Keep the soil consistently moist but not waterlogged. Overwatering can lead to root rot, while underwatering can stress the plants and hinder growth. Aim for even moisture distribution, especially during the first few weeks after transplanting.
Protecting Transplanted Seedlings
Newly transplanted seedlings are vulnerable to environmental stresses and pests. Protecting them during this critical period can significantly improve their chances of thriving.
Using Mulch
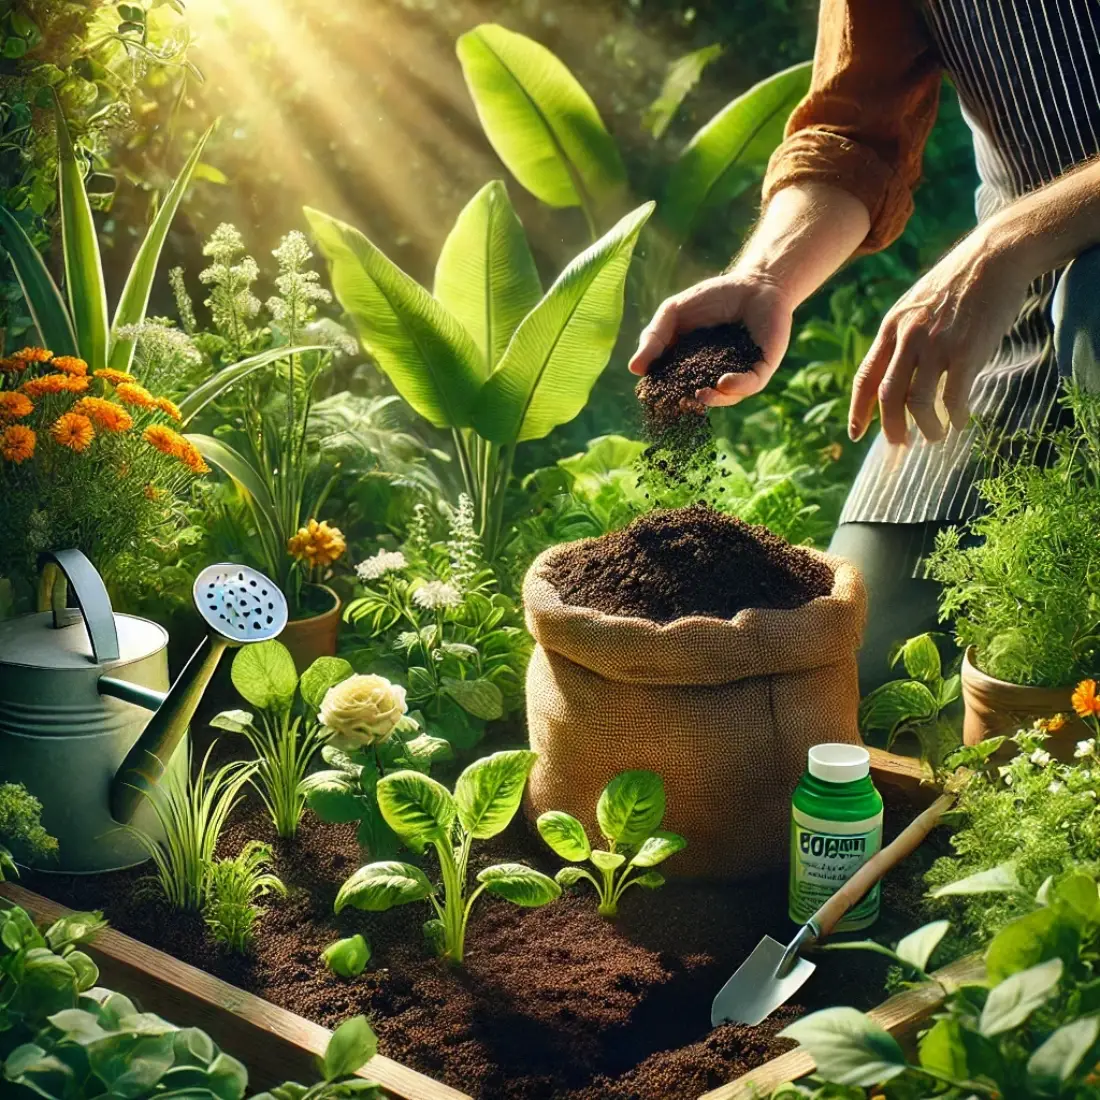
- Benefits of Mulch: Applying a layer of mulch around the seedlings helps retain soil moisture, regulate temperature, and suppress weeds. Organic mulches, such as straw, wood chips, or compost, are particularly beneficial as they also add nutrients to the soil as they decompose.
- Application: Spread a 2-3 inch layer of mulch around the base of the seedlings, keeping it a few inches away from the stems to prevent rot.
Protecting from Pests and Harsh Weather:
- Physical Barriers: Use row covers, cloches, or protective screens to shield seedlings from pests and extreme weather conditions. These barriers can prevent insects, birds, and animals from damaging the young plants.
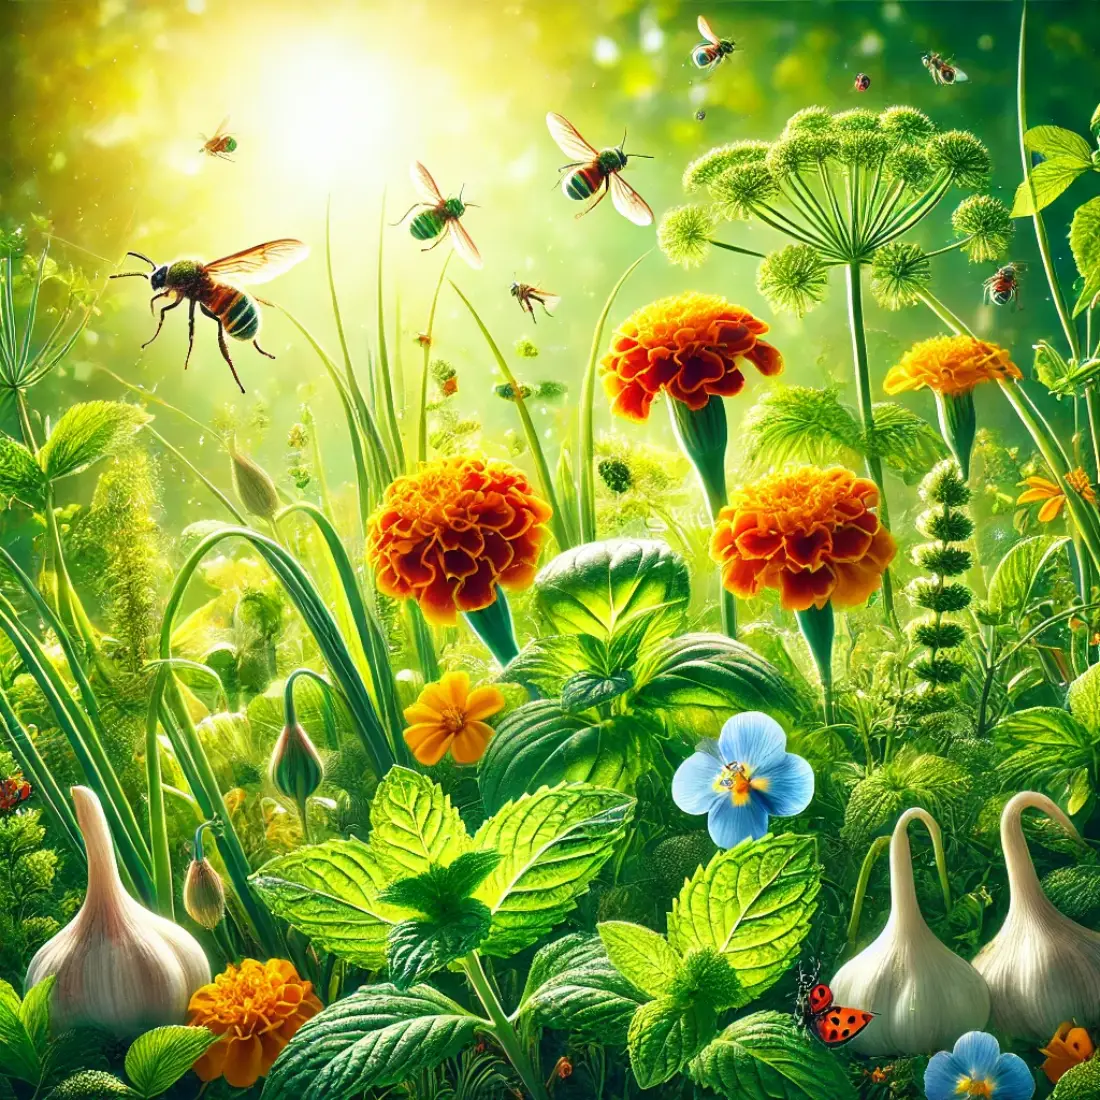
- Companion Planting: Planting certain herbs or flowers nearby can deter pests naturally. For example, marigolds can repel nematodes and aphids, while basil can help keep mosquitoes and flies away from tomatoes.
By following these transplanting techniques, you can give your seedlings the best start in their new environment. Proper handling, adequate spacing, careful watering, and protection from environmental stresses are all crucial steps in ensuring healthy, thriving plants.
Post-Transplant Care
Monitoring Seedling Health
After transplanting, it’s essential to keep a close eye on your seedlings to ensure they are adapting well to their new environment. Regular monitoring can help you catch any potential issues early and address them before they become serious problems.
Signs of Successful Transplanting:
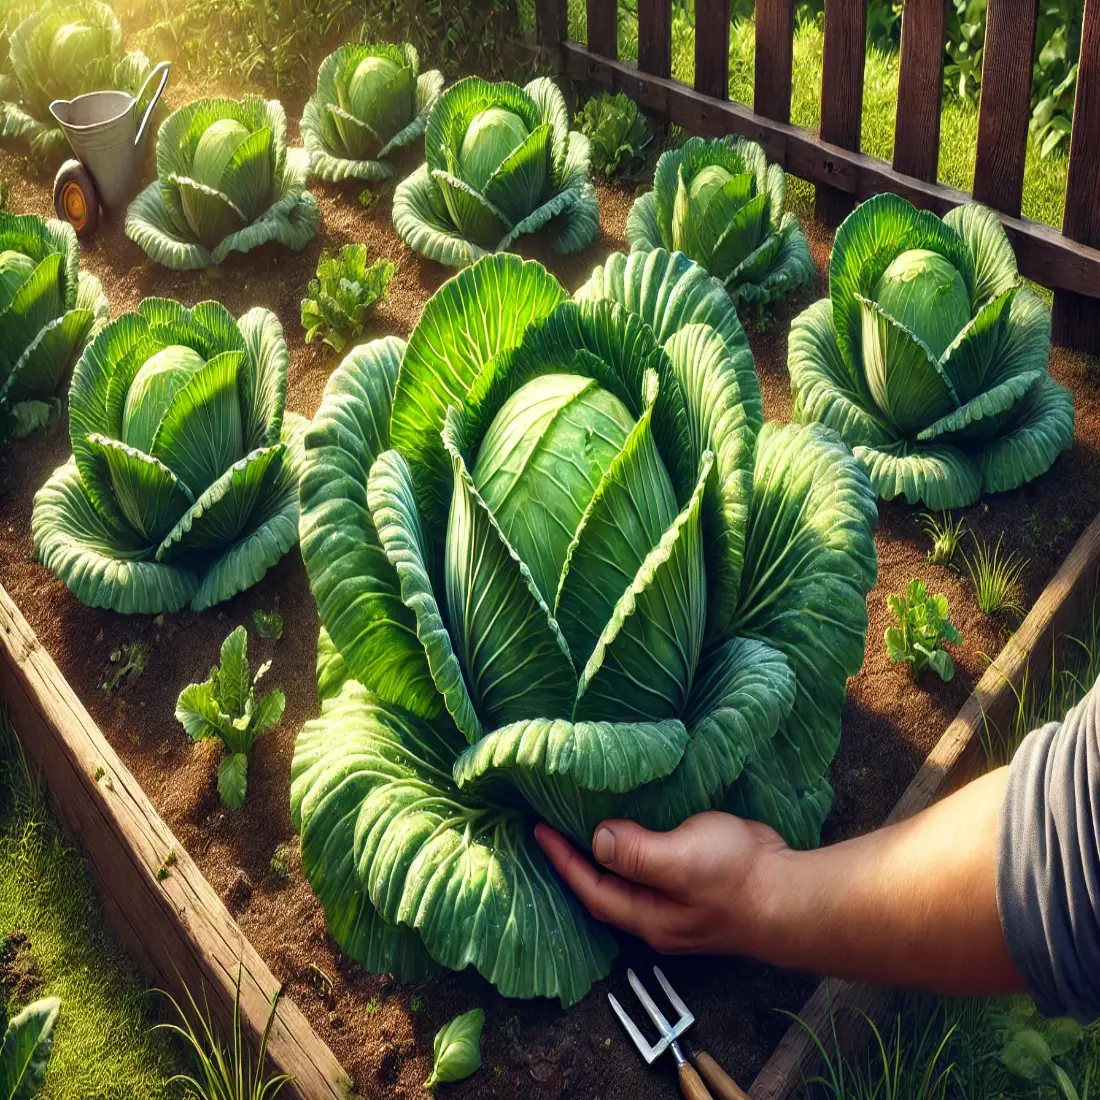
- New Growth: One of the best indicators of successful transplanting is the appearance of new growth. This shows that the plant is adapting well and beginning to establish itself.
- Firm Roots: Gently tug on the plant to see if it feels firmly rooted in the soil. This indicates that the roots are growing and anchoring the plant.
Common Issues and Solutions:
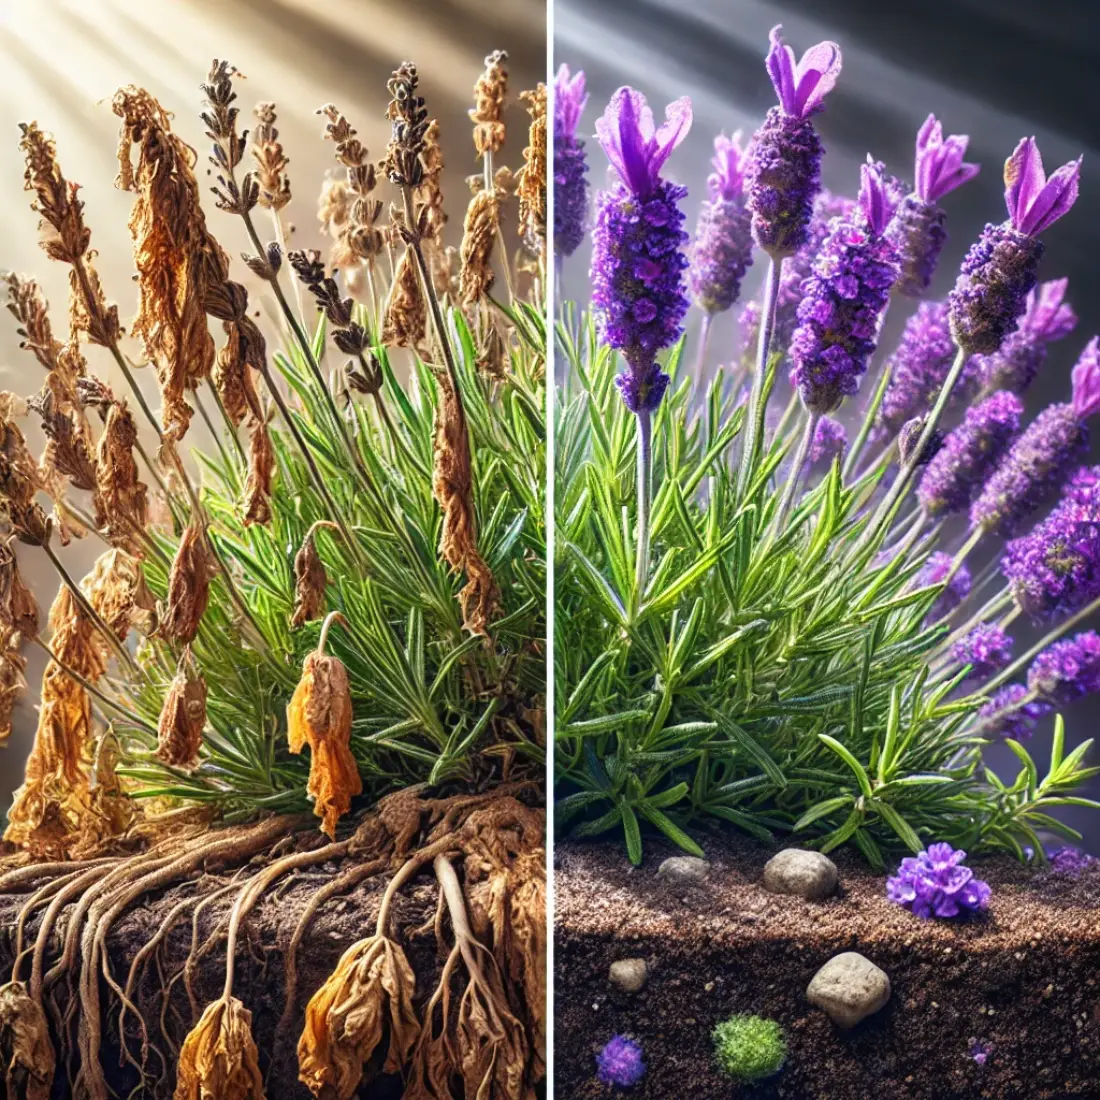
- Wilting: Temporary wilting after transplanting is normal, but prolonged wilting may indicate a problem. Ensure the plant is getting enough water and is not exposed to extreme temperatures.
- Yellowing Leaves: This can be a sign of overwatering, nutrient deficiencies, or transplant shock. Adjust your watering schedule and consider using a balanced organic fertilizer.
Fertilizing Transplanted Seedlings
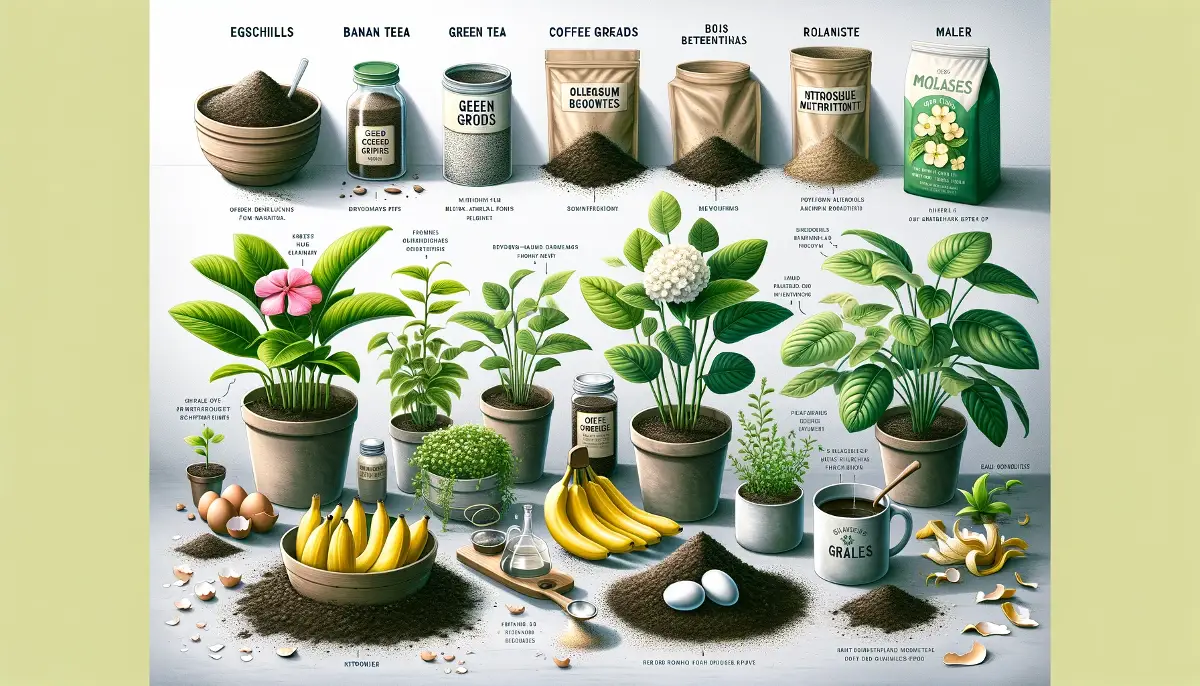
Organic fertilizers provide a gentle nutrient boost for newly transplanted seedlings, promoting healthy growth without chemical burns. Here are some excellent organic options:
Compost Tea: Liquid fertilizer made by steeping compost in water. Brew for 24-48 hours, then apply to soil or as a foliar spray.
Fish Emulsion: Nutrient-rich liquid made from processed fish. Dilute as instructed (typically 1 tablespoon per gallon), apply to soil every 2-3 weeks.
Seaweed Extract: Derived from kelp, contains micronutrients and growth hormones. Mix with water per instructions (usually 1-2 tablespoons per gallon), apply every 2-4 weeks.
Worm Castings: Nutrient-dense waste from earthworms. Incorporate into soil or use as a top dressing, then water thoroughly.
Bone Meal: Slow-release fertilizer made from ground animal bones. Mix into soil at planting (1 tablespoon per hole) or as a side dressing.
Blood Meal: High-nitrogen fertilizer from dried animal blood. Sprinkle lightly around the seedlings and water well after application.
Pruning and Training Seedlings
Pruning and training seedlings can help promote healthy growth and increase yield. These practices encourage the development of strong, productive plants.
Techniques for Encouraging Healthy Growth:
- Pinching Back: Pinching back the tips of certain plants, such as herbs and annuals, encourages bushier growth and more flowering or fruiting sites.
- Thinning: Remove excess seedlings if they were planted too closely together. This reduces competition for nutrients and allows the remaining plants to thrive.
Importance of Regular Maintenance:
- Weeding: Keep the area around your seedlings free of weeds to reduce competition for water and nutrients.
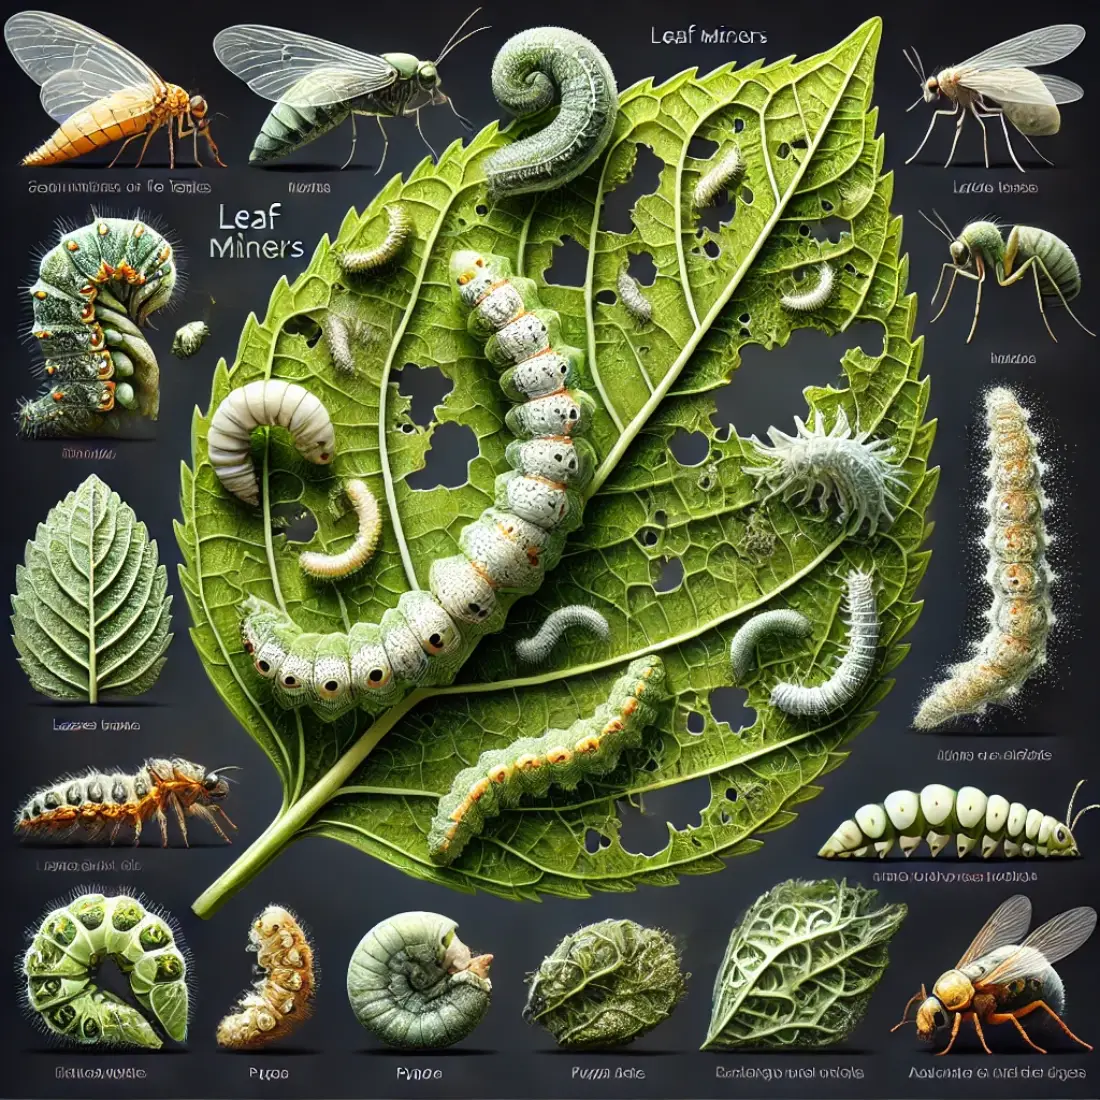
- Inspecting for Pests: Regularly check your plants for signs of pests and take appropriate action if any are found.
FAQs about Transplanting Seedlings
How long should seedlings be hardened off before transplanting?
Seedlings should be hardened off for 7-10 days. Gradually increase their exposure to outdoor conditions, starting with a few hours in a shaded area and progressing to full sun by the end of the period.
What is the best time of day to transplant seedlings?
The best time to transplant seedlings is early morning or late afternoon. This timing helps reduce transplant shock by avoiding the heat of midday.
How can I tell if my seedlings are ready for transplanting?
Seedlings are ready for transplanting when they have at least two sets of true leaves and a well-developed root system. They should also be sturdy and healthy, not leggy or weak.
What should I do if my transplanted seedlings start wilting?
If seedlings start wilting, ensure they are adequately watered and protected from direct sunlight and wind. Wilting is often a sign of transplant shock but should improve within a few days.
How deep should I plant my seedlings?
Seedlings should be planted at the same depth they were growing in their containers, with the soil level just covering the root ball. Some plants, like tomatoes, can be planted deeper to encourage additional root growth.
What is the best soil type for transplanting seedlings?
Well-draining soil rich in organic matter is ideal for transplanting seedlings. Adding compost or aged manure can improve soil structure and fertility, providing a better growing environment.
How often should I water my seedlings after transplanting?
Water the seedlings immediately after transplanting and keep the soil consistently moist but not waterlogged. Aim for even moisture distribution, especially during the first few weeks after transplanting.
What are some signs of successful transplanting?
Successful transplanting is indicated by new growth, firm roots, and healthy, vibrant leaves. Regular monitoring can help identify any potential issues early on.
Can I use mulch around my transplanted seedlings?
Yes, using mulch around transplanted seedlings helps retain soil moisture, regulate temperature, and suppress weeds. Organic mulches like straw, wood chips, or compost are particularly beneficial.
How can I protect my seedlings from pests after transplanting?
Protect seedlings from pests by using row covers, cloches, or protective screens. Companion planting with pest-repellent herbs and flowers, such as marigolds and basil, can also help.