Dieffenbachia, commonly known as the Dumb Cane, presents a lush addition to indoor spaces with its striking, patterned leaves. Famed for its low maintenance and air-purifying qualities, Dieffenbachia thrives under the right conditions, making it an ideal choice for both novice and experienced plant enthusiasts.
With a preference for warm climates and indirect light, the Dieffenbachia is adaptable and can prosper in various indoor settings. It’s not just the visual appeal that makes it a favorite; the care regimen for Dieffenbachia is straightforward, focusing on balanced moisture, adequate lighting, and regular feeding schedules during its growing phase.
Lighting Needs for Dieffenbachia
Dieffenbachia, or Dumb Cane, flourishes in environments that mimic its natural, tropical habitat, which involves access to bright, indirect light. Exposing Dieffenbachia to the ideal lighting conditions is crucial for maintaining its vibrant leaf coloration and overall health.
Bright, Indirect Light
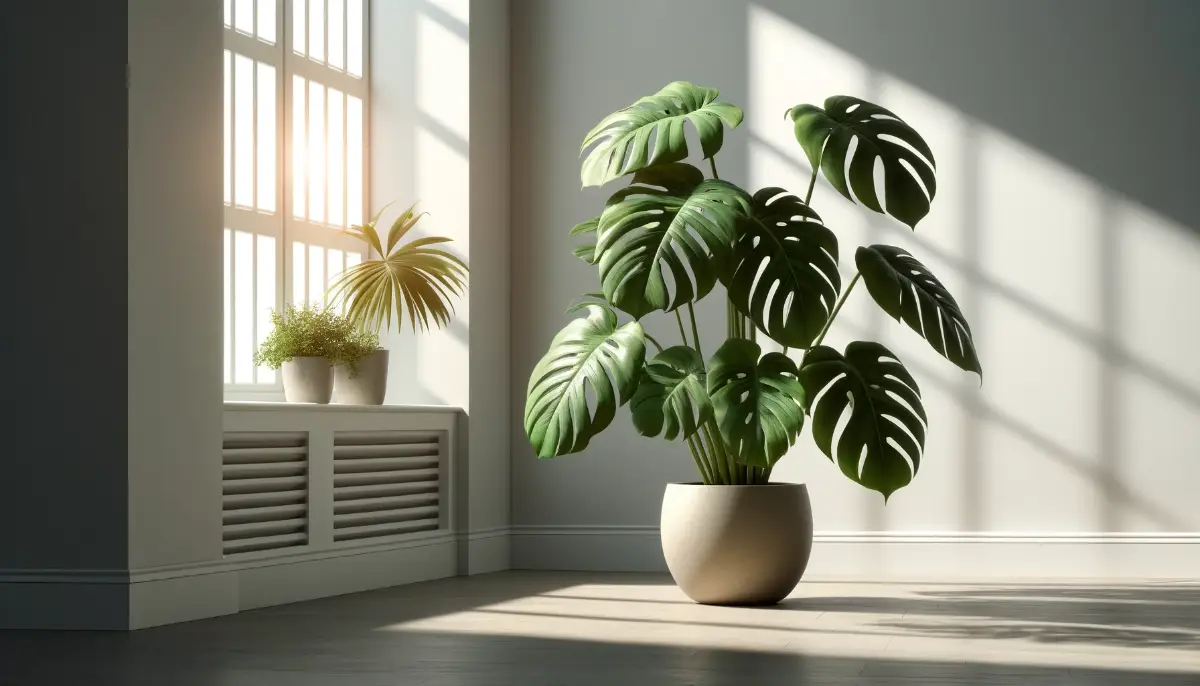
- Dieffenbachia’s ideal light condition is bright, indirect sunlight. This means placing the plant near a window that receives filtered sunlight or is partially shaded. Direct sunlight can scorch the leaves, causing brown spots and fading the characteristic leaf patterns.
Avoid Direct Sunlight
- Direct exposure to sunlight should be avoided as it can lead to leaf burn. Dieffenbachia’s leaves are sensitive and can easily get damaged under the harsh rays of the sun.
Suitable Indoor Locations
- A north-facing window is usually ideal for Dieffenbachia, as it provides sufficient light without the harsh direct sunlight. Alternatively, an east-facing window where the sun is less intense can also be suitable.
Artificial Lighting
- If natural light is insufficient, especially in darker rooms or during winter months, fluorescent or LED grow lights can be used to supplement light. These should be placed a few feet above the plant to mimic overhead natural light and left on for about 12-14 hours a day to support the plant’s growth.
By ensuring that your Dieffenbachia receives the right amount of light, you will help it thrive and grow lush and healthy. Adjusting the position based on seasonal changes in light availability is also recommended to maintain the ideal lighting balance throughout the year.
Temperature and Humidity Requirements for Dieffenbachia
Proper temperature and humidity are critical for the health and growth of Dieffenbachia, ensuring it thrives and maintains its vibrant appearance.
Temperature Range
- Dieffenbachia prefers a warm climate typical of its tropical origin. The ideal temperature range for this plant is between 65°F and 75°F (18°C – 23°C). These temperatures help promote healthy growth and leaf development.
- It is important to avoid sudden temperature fluctuations which can stress the plant. In winter, protect Dieffenbachia from cold drafts near windows or doors, and in summer, from direct blasts of air conditioning.
Humidity Levels
- Like many tropical indoor plants, Dieffenbachia appreciates high humidity levels. This can be achieved by misting the leaves regularly or using a humidifier in the room. Aim for a humidity level that mimics its natural rainforest environment.
- In areas with dry air, especially during the heating season, increasing humidity can prevent issues like brown leaf tips, which are a common sign of low humidity stress on the plant.
Managing Humidity and Temperature Together
- The balance of humidity and temperature is crucial; high humidity at cooler temperatures can lead to fungal infections and other health issues for the plant. Ensure good air circulation around your Dieffenbachia to help manage humidity levels effectively.
By maintaining these environmental conditions, your Dieffenbachia will not only survive but will also thrive, displaying lush, vibrant foliage. Adjustments might be needed with the changing seasons to keep the plant healthy all year round.
Watering Practices
- Dieffenbachia prefers the soil to be consistently moist but not waterlogged. Water the plant when the top inch of soil feels dry to the touch.
- Use lukewarm water to avoid shocking the plant’s roots, and ensure that the pot has good drainage to prevent excess water from causing root rot.
- During the winter months, reduce watering as the plant’s growth slows down.

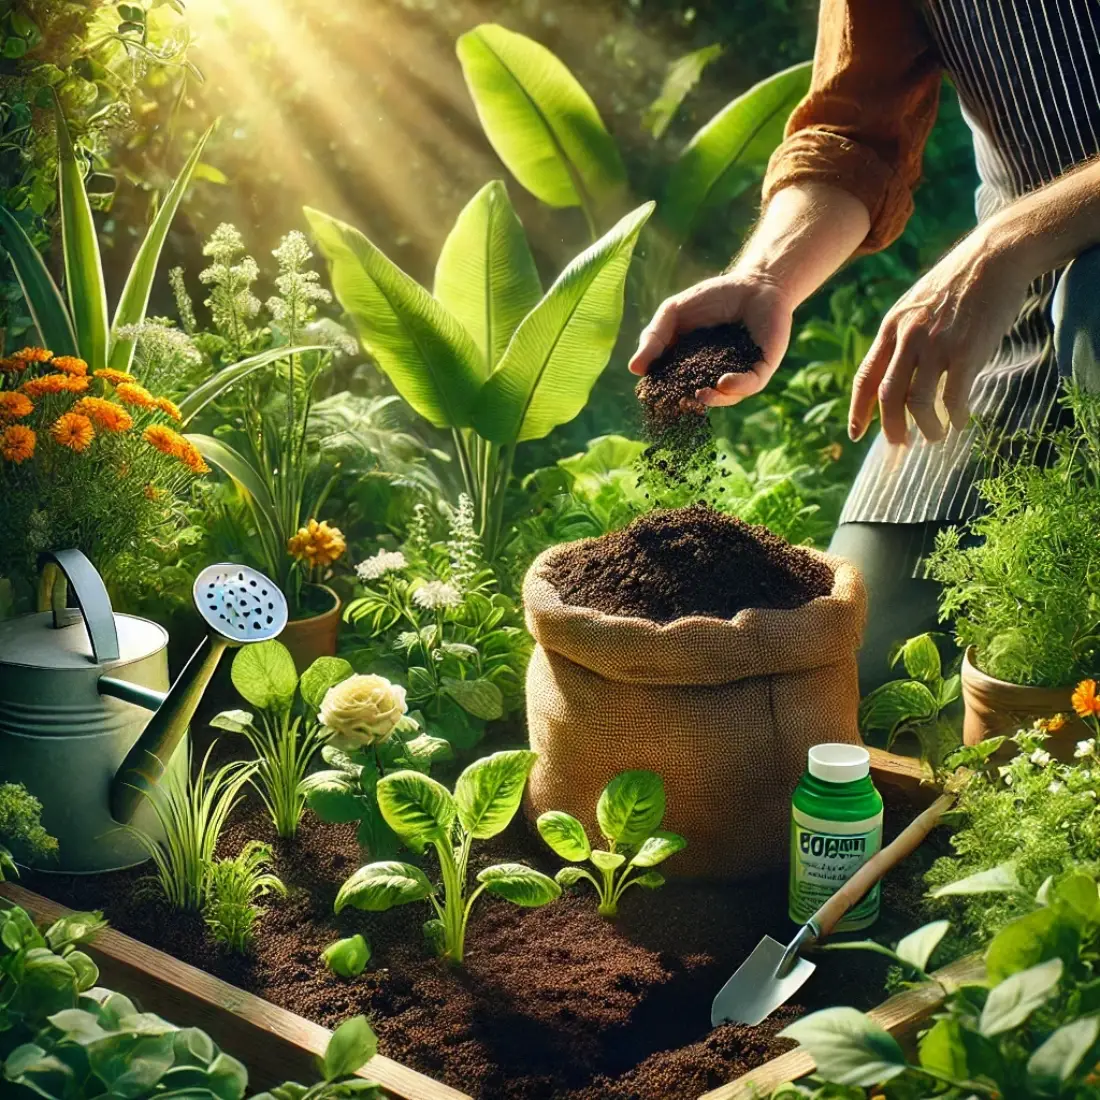
Organic Fertilization Tips for Dieffenbachia
Using organic fertilizers for Dieffenbachia not only promotes healthier growth but also supports a more sustainable gardening practice. Here are some tips to effectively use organic fertilizers for your Dieffenbachia:
Choose the Right Organic Fertilizer
- Opt for organic fertilizers that are balanced and provide a range of nutrients. Products such as fish emulsion, seaweed extract, or composted manure are excellent choices because they provide a slow, steady release of nutrients that support leaf growth and overall health.
- Check the N-P-K (nitrogen-phosphorus-potassium) ratio on organic fertilizers to ensure it meets the needs of a foliage plant like Dieffenbachia, which typically benefits from a higher nitrogen content.
Application Frequency and Method
- During the growing season (spring and summer), apply organic fertilizer every 4-6 weeks. Since organic fertilizers release nutrients slowly, this frequency ensures that the plant gets a consistent supply of nutrients without the risk of root burn.
- Apply the fertilizer according to the instructions on the package, usually diluting a liquid organic fertilizer with water and applying it in place of a regular watering.
Benefits of Organic Fertilizers
- Organic fertilizers improve soil structure and increase its ability to hold water and nutrients. Over time, this can lead to healthier plant growth and reduced need for watering.
- They are generally safer for the environment and reduce the risk of over-fertilization, which can lead to nutrient runoff and soil degradation.
Monitoring Plant Response
- After applying organic fertilizer, monitor your Dieffenbachia for signs of improvement or distress. Healthy growth indicates that the fertilization method is working well. However, if you notice signs such as leaf burn or wilting, you may need to adjust the frequency or concentration of the fertilizer.
- It’s also beneficial to periodically check the pH of the soil, as organic fertilizers can alter soil acidity over time, which may need correction for optimal plant health.
By incorporating these organic fertilization tips into your Dieffenbachia care routine, you can help ensure that your plant remains healthy, vibrant, and robust.
Soil and Repotting for Dieffenbachia
Ensuring your Dieffenbachia is planted in the right soil and repotted appropriately is crucial for its health and growth.
Choosing the Right Soil
- Dieffenbachia requires a well-draining, fertile potting mix to thrive. A good mix can be made from one part peat, one part pine bark, and one part perlite or coarse sand. This combination ensures adequate drainage and aeration, preventing root rot.
- The soil should be slightly acidic to neutral in pH, ideally between 6.0 and 6.5. You can easily test your soil’s pH with a home testing kit available at garden centers.
Repotting Frequency
- Dieffenbachia should generally be repotted every 2-3 years, or when it becomes root-bound. Signs that your plant needs repotting include roots growing through the drainage holes, slowed growth, or the soil drying out much faster than usual.
- Spring or early summer is the best time for repotting, as the plant is entering its active growth phase.
Repotting Steps
- Choose a New Pot: Select a pot that is one size larger than the current one. Ensure it has adequate drainage holes to prevent water accumulation.
- Prepare the Pot: Cover the drainage holes with a mesh or broken pottery to prevent soil from escaping while allowing water to drain.
- Remove the Plant: Carefully remove the Dieffenbachia from its current pot, loosening the soil around the edges and gently pulling the plant out. Be careful with the roots and try to keep as much soil around them as possible.
- Inspect and Trim the Roots: Trim away any blackened or mushy roots with sterile scissors. This helps prevent disease spread and encourages healthier new growth.
- Replant: Fill the new pot with a few inches of the prepared soil mix, place the plant in the center, and fill around the roots with more soil. Tap down the soil gently but firmly to secure the plant.
- Water Thoroughly: After repotting, water the plant well to settle the soil around the roots and help recover from any transplant shock.
Post-Repotting Care
- Keep the repotted Dieffenbachia in a shaded area for a few days to allow it to adapt without the stress of direct sunlight.
- Resume normal care after a week, adjusting watering as needed to accommodate the fresh soil’s moisture retention characteristics.
Proper soil choice and careful repotting can significantly impact the health and aesthetics of your Dieffenbachia, promoting lush growth and preventing common issues like root rot.
Pruning and Maintenance for Dieffenbachia
Proper pruning and maintenance are key to keeping your Dieffenbachia healthy and aesthetically pleasing.
Pruning Basics
- Remove Old Leaves: Regularly remove yellowing or dead leaves to keep your Dieffenbachia looking tidy and to prevent potential pest infestations that often target weak or dying tissue.
- Trimming for Shape: If your Dieffenbachia is becoming too tall or leggy, you can prune it back to encourage a fuller, bushier growth. Use clean, sharp scissors or pruning shears to cut just above a leaf node.
Maintenance Tips
- Clean the Leaves: Dust can accumulate on the broad leaves of the Dieffenbachia, blocking light and potentially harboring pests. Wipe the leaves occasionally with a damp cloth to keep them clean and healthy.
- Check for Pests: Regularly inspect your plant for signs of pests such as spider mites, mealybugs, and aphids. Early detection and treatment are crucial to managing these issues effectively.
When to Prune
- The best time to prune Dieffenbachia is in the spring or early summer, as the plant will be entering its active growth phase and can recover more quickly from pruning.
Post-Pruning Care
- After pruning, it’s a good idea to apply a light fertilizer to support new growth and help the plant recover more rapidly. Make sure to water the plant adequately, as a freshly pruned Dieffenbachia might need slightly more water to cope with the stress of pruning.
Avoiding Common Pruning Mistakes
- Never remove more than one-third of the plant at any one time, as over-pruning can stress the plant.
- Always use sterilized pruning tools to avoid introducing diseases to the fresh cuts.
Pruning not only helps in maintaining the size and appearance of your Dieffenbachia but also encourages healthier, more vigorous growth. Regular maintenance checks will help you spot any issues early and keep your plant in optimal condition.

Propagation Techniques for Dieffenbachia
Dieffenbachia can be propagated to create new plants from your existing one. Each technique has its nuances to ensure successful propagation.
Propagation by Stem Cuttings
- Select a Healthy Stem: Choose a healthy section of the stem that includes at least 2-3 nodes. Nodes are the points on the stem where leaves are attached, and they are crucial because new roots will sprout from these points.
- Cut and Prepare the Stem: Using a clean, sharp knife, cut a section of the stem about 4-6 inches long. Remove any leaves near the bottom of the cutting to expose the nodes.
- Rooting Hormone (Optional): Dip the cut end of the stem into rooting hormone to increase the chances of successful rooting. This step is optional but recommended.
- Plant the Cutting: Place the cutting in a pot filled with a moist, well-draining potting mix. Ensure the nodes are buried in the soil. You can use a mix similar to what’s recommended for adult Dieffenbachia plants.
- Create Humidity: Cover the pot with a plastic bag or place it in a humid environment to maintain high humidity, which is essential for rooting. Make sure the plastic does not touch the leaves by supporting it with sticks or a frame.
Propagation by Division
- Best Time for Division: This is typically done when repotting, which allows you to easily handle and separate the roots.
- Remove Plant from Pot: Carefully take the whole plant out of its pot and gently shake off excess soil from the roots.
- Identify Division Points: Look for natural separations between the stems. Each section should have its own roots and at least one growing point (leaf or bud).
- Separate Carefully: Using your hands or a clean knife, separate the sections. Ensure each new plant has a good amount of roots attached.
- Pot New Plants: Pot each division in its own pot with suitable potting mix as described for Dieffenbachia. Water gently and place them in a warm, well-lit area, but out of direct sunlight.
Aftercare for Propagated Plants
- Keep the soil moist but not waterlogged.
- Provide indirect light and avoid drastic temperature changes to give the new plants a good start.
Propagation not only increases your plant collection but also rejuvenates older plants that might have become leggy or sparse. With patience and care, your new Dieffenbachia plants will start to grow, offering the same stunning foliage as the parent plant.
Troubleshooting Common Issues with Dieffenbachia
Dieffenbachia, while generally resilient, can face several common issues that might affect its health and appearance. Here are the most frequent problems and how to solve them:
Yellowing Leaves
- Cause: Yellow leaves can result from a variety of factors, including overwatering, under watering, low light, or nutrient deficiencies.
- Solution: Check the moisture level of the soil to adjust watering habits accordingly. Ensure the plant is receiving enough light and consider fertilizing if the plant has not been fed recently or shows other signs of nutrient deficiency.
Brown Leaf Tips or Edges
- Cause: Often caused by low humidity, mineral buildup from hard water, or over-fertilization.
- Solution: Increase humidity around the plant through misting or using a humidity tray. Use filtered or distilled water if tap water is hard, and ensure that fertilizer application is not too frequent or concentrated.
Drooping Leaves
- Cause: This could be due to either overwatering or underwatering. Inconsistent watering habits are often to blame.
- Solution: Establish a consistent watering schedule. Ensure the plant’s pot has adequate drainage and that the soil is well-draining to prevent water from pooling around the roots.
Pests such as Spider Mites and Mealybugs
- Cause: These pests are attracted to plants that are stressed or weakened, typically by poor growing conditions.
- Solution: Regularly inspect your plant for signs of pests. If pests are found, treat with an appropriate insecticide or use natural remedies like neem oil or insecticidal soap. Keeping the plant healthy and maintaining proper care are key to preventing infestations.
Root Rot
- Cause: Root rot is primarily caused by overwatering or poor drainage, which leads to excessively moist soil conditions.
- Solution: If root rot is suspected, remove the plant from its pot and inspect the roots. Healthy roots are firm and white, while rotted roots will be brown and mushy. Trim away any rotted roots, and repot the plant in fresh, well-draining soil in a clean pot.
Addressing these common issues promptly can help you maintain a healthy and vibrant Dieffenbachia. Regular monitoring and adjusting care routines as necessary are crucial for the long-term health of your plant.
FAQs about Dieffenbachia (Dumb Cane) Care
How often should I water my Dieffenbachia?
Water when the top inch of soil feels dry. Dieffenbachia prefers consistent moisture but be cautious of overwatering which can lead to root rot.
What is the best soil mix for Dieffenbachia?
Use a well-draining potting mix. A combination of peat, pine bark, and perlite or coarse sand is ideal to ensure good drainage and aeration.
Can Dieffenbachia thrive in low light?
Dieffenbachia prefers bright, indirect light but can tolerate lower light levels. However, very low light may slow growth and cause the leaves to lose their vibrant colors.
Is Dieffenbachia toxic to pets and humans?
Yes, Dieffenbachia is toxic. It contains calcium oxalate crystals which can cause oral irritation, excessive drooling, and difficulty swallowing if ingested by pets or humans.
What are common pests that affect Dieffenbachia?
Common pests include spider mites, mealybugs, and aphids. Regular inspection and prompt treatment with insecticidal soap or neem oil can manage these pests.
Why are my Dieffenbachia’s leaves turning yellow?
Yellow leaves can be caused by overwatering, underwatering, low light, or nutrient deficiencies. Check the plant’s environment and care routine for clues.
How do I propagate Dieffenbachia?
Propagate by stem cuttings or division. Take a stem cutting with at least 2-3 nodes or divide the plant during repotting for best results.
How can I increase humidity for my Dieffenbachia?
Misting the leaves or using a humidity tray can help increase humidity. This is particularly beneficial in dry environments.
When should I repot my Dieffenbachia?
Repot every 2-3 years or when it becomes root-bound. Spring or early summer is the best time to repot to minimize stress on the plant.
What should I do if my Dieffenbachia’s growth slows down?
Ensure it is receiving enough light, not over or underwatered, and fertilize appropriately during the growing season. If all conditions are optimal, consider repotting if the plant is root-bound or refreshing the soil to provide new nutrients.