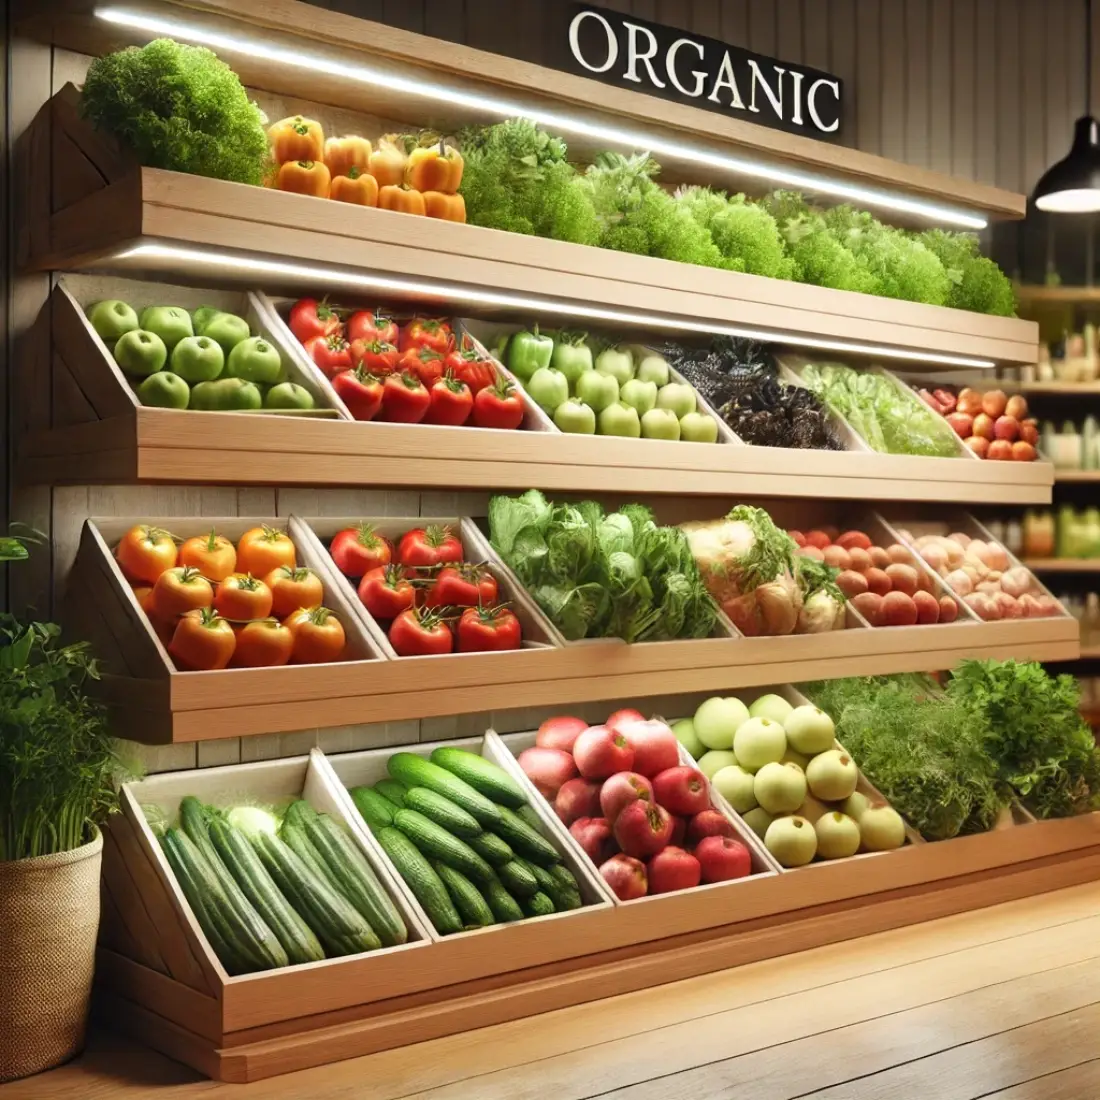
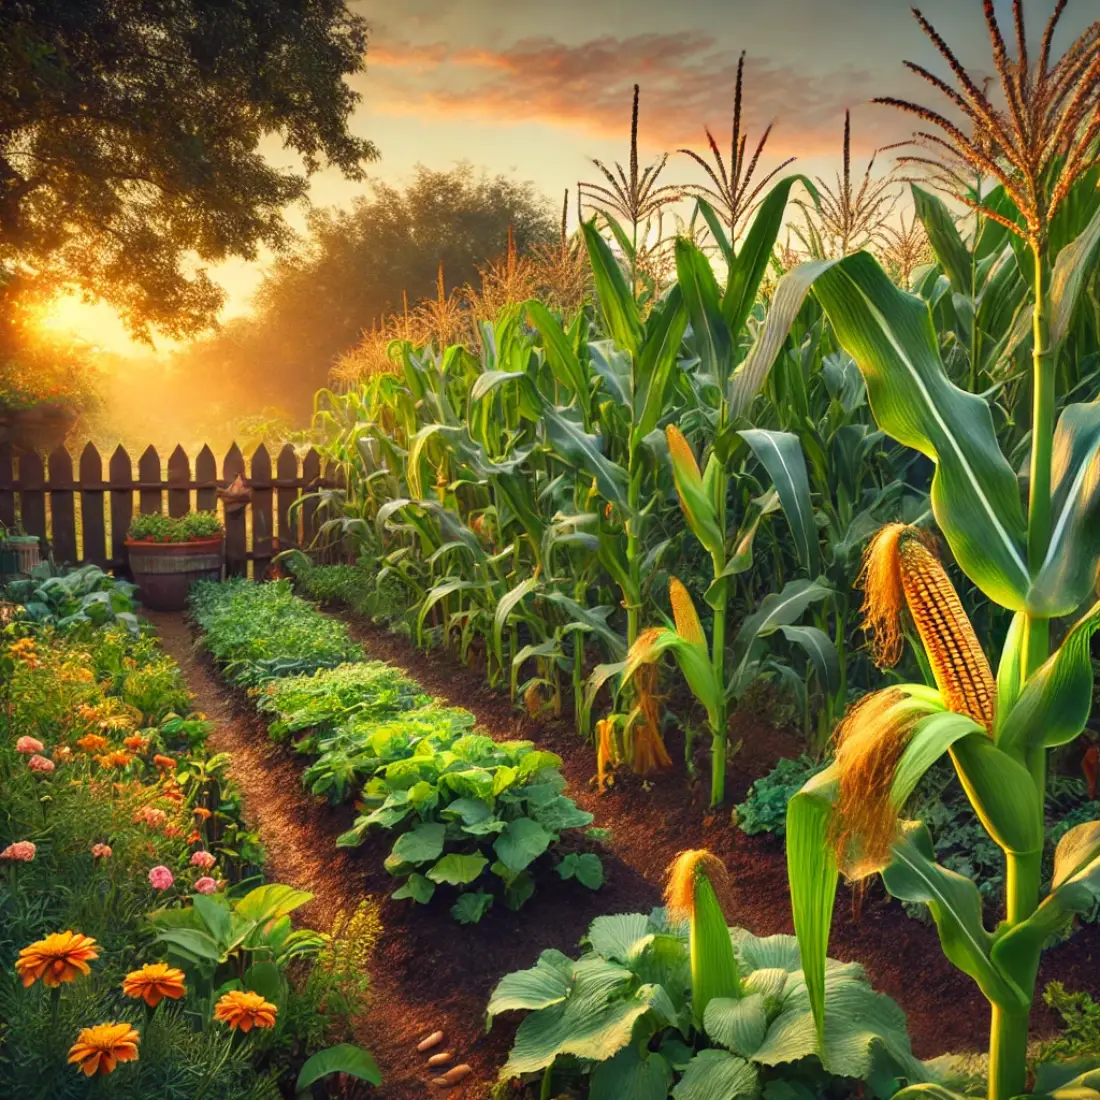
Growing your own plants from organic store-bought produce is a rewarding and sustainable way to save money and reduce waste. By harvesting seeds from fruits and vegetables you already have, you can create a garden filled with fresh, chemical-free produce.
Organic seeds are free from harmful pesticides and GMOs, making them ideal for healthy home gardening. Whether you’re starting with tomatoes, peppers, or cucumbers, the process is simple, and the benefits are endless.
- Harvesting seeds from organic store-bought produce allows you to grow your own plants at home, saving money and reducing waste.
- Only organic fruits and vegetables are ideal for seed harvesting, as they are free from pesticides and genetic modifications.
- Properly extracting, cleaning, drying, and storing seeds ensures high germination rates and successful plant growth.
- Some hybrid varieties may not produce the same plants as the parent fruit, so it’s important to know the difference between heirloom and hybrid produce.
- Growing from seeds contributes to a sustainable lifestyle, promoting self-sufficiency and a healthier environment.
Best Fruits and Vegetables for Seed Harvesting
When it comes to harvesting seeds from store-bought produce, certain fruits and vegetables are ideal for success. Tomatoes are among the easiest, as they naturally produce an abundance of seeds. Choose organic varieties for the best results. Peppers, especially bell and chili peppers, are also great choices, offering easy-to-harvest seeds that germinate quickly.
Cucumbers and melons (such as cantaloupe or watermelon) are perfect for seed harvesting because their seeds are easily extracted and store well. Squash and pumpkins, including zucchini and butternut varieties, yield large seeds that are ideal for replanting.
Leafy greens like lettuce can also be a good source of seeds, though you’ll need to wait for the plant to bolt (flower) before collecting seeds. Herbs like basil, cilantro, and dill are easy to harvest once they flower and produce seeds.
Avoid hybrid varieties, as they often produce seeds that won’t grow true to the parent plant. Opt for heirloom or organic varieties to ensure the best seed viability. These fruits and vegetables provide a diverse range of options for creating a home garden filled with organic produce.
Step-by-Step Guide to Harvesting Seeds from Store-Bought Produce
Growing plants from store-bought organic produce can be a rewarding and cost-effective way to start your own garden. This step-by-step guide will walk you through the entire process, from selecting the right produce to planting your harvested seeds for a successful home garden.
Selecting the Right Produce
To begin, always choose organic fruits and vegetables to ensure the seeds haven’t been treated with chemicals or genetically modified. Non-organic produce often undergoes treatments that can render seeds infertile. Opt for fruits and vegetables that are fully ripe, as mature produce contains seeds that are more likely to germinate. Tomatoes, peppers, cucumbers, melons, and squash are some of the best choices for beginners. Avoid hybrid varieties, as the seeds may not grow true to the parent plant.
Preparing the Produce for Seed Extraction
Once you’ve selected your organic produce, the first step is to properly prepare it for seed extraction. Different fruits and vegetables require specific methods, but the general approach is to:
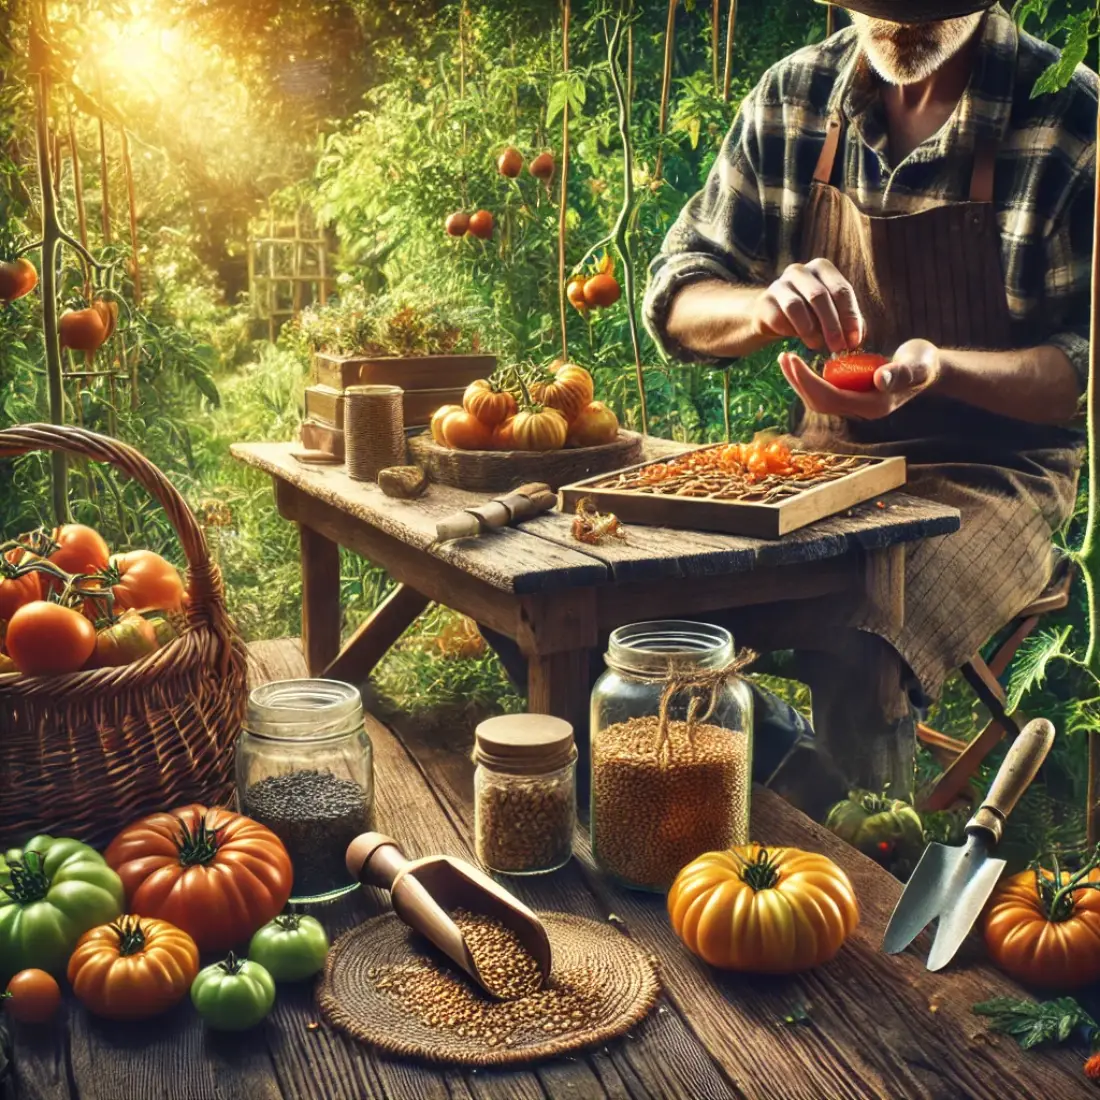
- Tomatoes and Peppers: Slice the fruit in half and gently scoop out the seeds using a spoon. Be careful not to damage the seeds.
- Cucumbers, Melons, and Squash: Slice the fruit in half and scrape out the seeds from the fleshy center.
- Leafy Greens (e.g., Lettuce): Allow the plant to bolt, meaning it has produced flowers. The seeds can be collected from the seed pods after flowering.
- Herbs (e.g., Basil, Cilantro): Wait until the herbs flower and form seeds. Simply shake the flower heads to release the seeds.
Each type of produce will yield a different number of seeds, so don’t be discouraged if some produce fewer seeds than others.
Cleaning the Seeds
After extracting seeds, it’s essential to clean them to remove any pulp or residue, which can cause mold during storage. The process varies slightly depending on the produce:
- Tomatoes: Place the seeds in a small jar of water and let them sit for a few days to ferment. This fermentation process helps remove the gelatinous coating around the seeds. After 2-3 days, skim off the pulp and rinse the seeds under cold water.
- Peppers: Rinse the seeds under cold water immediately after extraction to remove any remaining flesh.
- Cucumbers, Melons, and Squash: Rinse the seeds in a fine mesh strainer under cold water to wash away the slimy coating.
- Herbs and Leafy Greens: Since these seeds are typically dry, they require minimal cleaning. Simply shake off any excess debris.
Proper cleaning ensures that your seeds will dry effectively and be less prone to rotting.
Drying the Seeds
Drying is one of the most important steps to prevent mold and ensure long-term seed viability. Follow these steps to properly dry your seeds:
- Spread the cleaned seeds on a paper towel, wax paper, or a fine mesh screen. Avoid using fabric, as the seeds may stick.
- Place the seeds in a warm, well-ventilated area, out of direct sunlight. Good airflow is crucial to prevent mold growth.
- Stir the seeds occasionally to ensure even drying.
- Allow them to dry for at least one to two weeks, depending on the seed size and moisture level. Larger seeds like those from melons or squash may require more time.
Once the seeds are completely dry, they should feel hard and brittle.
Storing the Seeds
Proper storage is essential to maintain seed viability until planting. Here’s how to store them correctly:
- Place the dried seeds in paper envelopes, small jars, or resealable plastic bags. Label each container with the produce type and the date of harvest.
- Store seeds in a cool, dry place. A temperature between 32°F and 41°F is ideal, so a refrigerator or a cool basement works well. Avoid storing seeds in areas prone to moisture, as this can cause them to spoil.
- For longer storage, you can add a small amount of silica gel to the container to absorb any residual moisture.
- Most seeds will remain viable for 1 to 3 years, though some, like tomato and pepper seeds, can last even longer with proper care.
Planting the Harvested Seeds
When you’re ready to plant, it’s important to follow the right steps to ensure successful germination:
- Timing: Plant seeds based on your local growing season. Many seeds, like tomatoes, can be started indoors 6-8 weeks before the last frost.
- Soil: Use a light, well-draining potting mix for starting seeds indoors. Outdoors, ensure the soil is well-prepared with compost or organic matter.
- Depth: Plant seeds at the appropriate depth. Smaller seeds, like tomatoes and peppers, should be planted just beneath the soil’s surface. Larger seeds, like squash or melons, can be planted deeper, about 1 inch.
- Watering: Keep the soil consistently moist but not waterlogged. Seeds need moisture to sprout but can rot in overly wet conditions.
After planting, expect germination to occur within a few days to a few weeks, depending on the seed type.
Troubleshooting Seed Germination
If your seeds fail to germinate, don’t be discouraged. Common reasons include:
- Improper Drying or Storage: Seeds that weren’t fully dried or were stored in humid conditions may not sprout.
- Over or Under Watering: Too much water can cause seeds to rot, while too little can prevent germination.
- Temperature: Some seeds require specific temperatures to sprout. For example, tomato seeds prefer warmth, around 70-80°F, for optimal germination.
FAQs
Can I harvest seeds from any store-bought fruit or vegetable?
You can harvest seeds from most fruits and vegetables, but it’s best to choose organic produce to ensure the seeds are viable. Non-organic or hybrid varieties may not germinate or produce the same quality plants.
Do I need to dry the seeds before planting them?
Yes, seeds must be thoroughly dried before planting to prevent mold and increase germination success. Drying typically takes 1-2 weeks.
How long can I store harvested seeds before planting?
With proper storage in a cool, dry place, most seeds will stay viable for 1-3 years. Some, like tomato and pepper seeds, can last up to 5 years if stored properly.
Can I plant seeds immediately after extracting them from produce?
Some seeds, like tomatoes and peppers, can be planted immediately, but drying improves their chances of germinating. Always check if immediate planting is suitable for your chosen seed.
How can I test if my seeds are viable before planting?
You can perform a germination test by placing a few seeds between moist paper towels, keeping them warm for several days, and checking for sprouting. This helps ensure your seeds will grow.
Why aren’t my seeds germinating?
Seeds may fail to germinate due to improper drying, poor storage conditions, planting them too deeply, or watering issues. Double-check the requirements for your specific seeds.
What’s the difference between heirloom and hybrid seeds?
Heirloom seeds are open-pollinated and produce plants true to the parent. Hybrid seeds result from crossbreeding and may not grow into the same plant as the original produce.
Can I grow the same quality produce from hybrid seeds?
Hybrid seeds often won’t grow into the same quality produce as the parent plant. They may be less flavorful or produce unpredictable results compared to heirloom or organic varieties.
What is the best time of year to plant harvested seeds?
The best time to plant depends on your region’s growing season and the type of plant. Generally, many seeds can be started indoors in the early spring, 6-8 weeks before the last frost.
Are there any fruits or vegetables that are difficult to grow from seeds?
Certain fruits, like bananas or seedless grapes, can’t be grown from seeds. Additionally, hybrid or heavily treated non-organic produce may produce weak or infertile seeds.

