Microgreens are a delicious and nutritious addition to any diet, offering a burst of flavor and a wealth of health benefits. These young vegetable greens are harvested just after the first leaves have developed, making them a powerhouse of vitamins and nutrients.
Growing microgreens at home is a simple and rewarding process that can be done even in small spaces, making it accessible to urban dwellers and gardening novices alike.
- Microgreens are young vegetable greens harvested early for maximum flavor and nutrition.
- They can be grown indoors or outdoors with minimal space and materials.
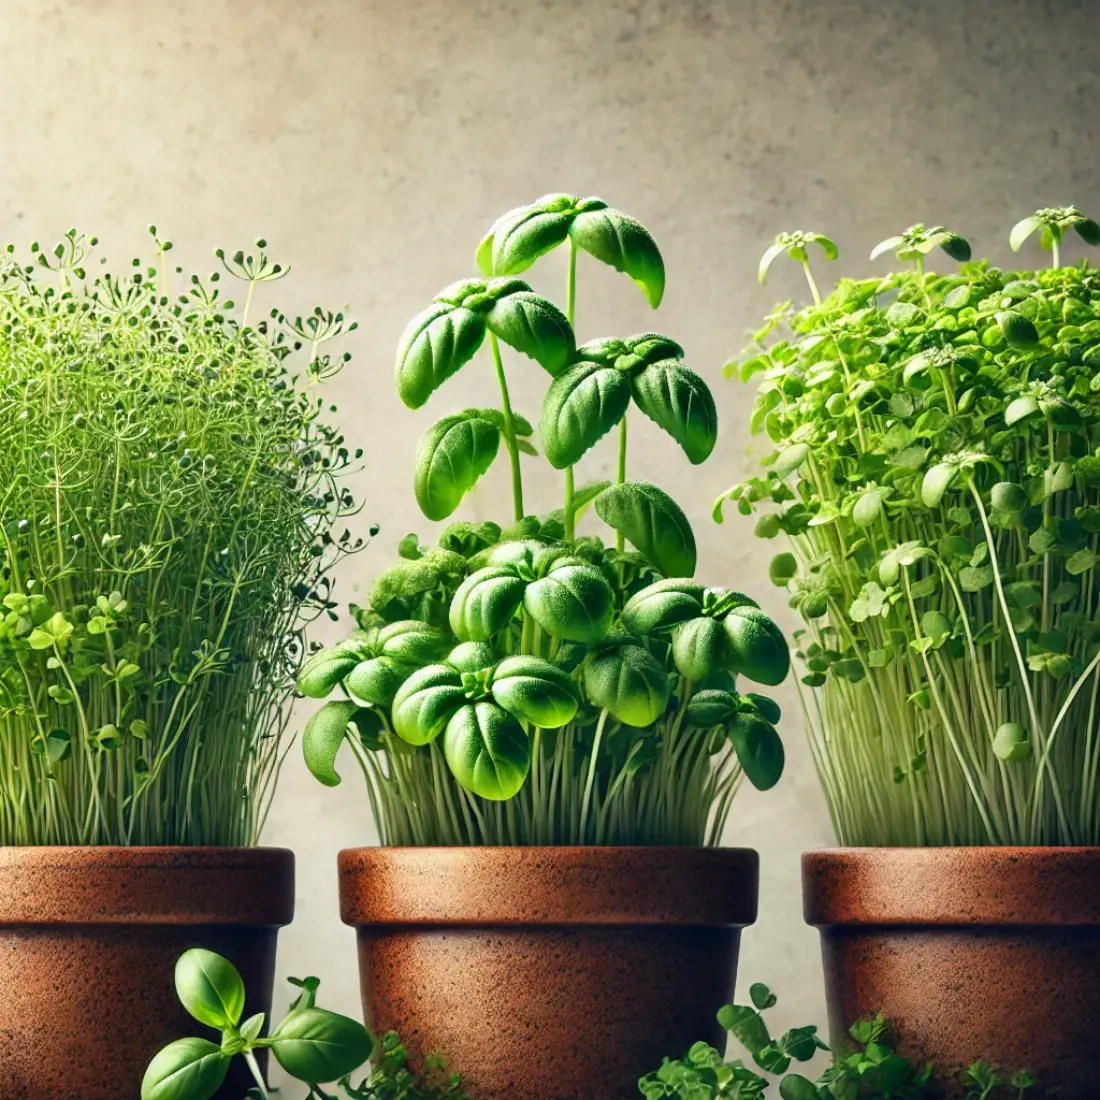
- Common types of microgreens include arugula, basil, and cilantro.
- Growing microgreens involves simple steps: preparing the growing medium, sowing seeds, watering, providing light, and harvesting.
- Caring for microgreens requires attention to watering, lighting, and pest management.
What are Microgreens?
Microgreens are young, edible seedlings of vegetables and herbs harvested at the cotyledon stage, just after the first true leaves appear. These tiny greens pack a punch in flavor, often more intense than their mature counterparts, and come in various types, including arugula, basil, cilantro, and radish.
Unlike sprouts, which are germinated seeds consumed before leaves develop, microgreens are grown in soil or a soilless medium and harvested with their stems and leaves intact. Sprouts require a shorter growing period of about 2-7 days, while microgreens take around 7-21 days to mature.
The difference lies in their growth process and nutrient content; microgreens generally contain higher concentrations of vitamins and minerals compared to sprouts.
Health Benefits of Microgreens
Microgreens are lauded for their exceptional nutritional value. They are rich in vitamins C, E, and K, and contain significant amounts of beta-carotene. Their antioxidant properties help combat oxidative stress, reducing the risk of chronic diseases like heart disease and cancer.
Including microgreens in your diet supports overall health by providing essential nutrients that promote immune function, skin health, and eye health. Due to their dense nutrient profile, microgreens are an excellent addition to a healthy diet, offering a convenient way to boost the nutritional content of various meals.

Growing Microgreens
Selecting the right microgreens to grow is essential for a successful harvest. Popular types include arugula, basil, cilantro, and radish. When choosing microgreens, consider factors such as growth rate, flavor, and intended use in meals. Beginners may start with fast-growing varieties like radish and arugula, which are ready to harvest within a week.
Materials Needed for Growing Microgreens
To grow microgreens, gather the following materials:
- Seeds (arugula, basil, cilantro, etc.)
- Growing medium (soil, coconut coir, or hydroponic mat)
- Shallow containers or trays with drainage holes
- Spray bottle for watering
- Grow lights (optional but beneficial for indoor growing)
Optional materials include humidity domes and fans for better airflow.
Step-by-Step Guide to Growing Microgreens
Preparing the Growing Medium: Fill your containers with soil or your chosen growing medium, leveling it off about an inch from the top.
Sowing the Seeds: Evenly distribute seeds over the surface, then lightly press them into the medium. Cover with a thin layer of soil if necessary.
Watering: Mist the seeds gently with water using a spray bottle. Ensure the medium stays moist but not waterlogged.
Lighting: Place the trays in a sunny location or under grow lights. Microgreens need 12-16 hours of light daily.
Harvesting: When the first true leaves appear, usually within 7-21 days, use scissors to cut the microgreens just above the soil line.
Caring for Your Microgreens
Watering Tips: Regularly mist your microgreens to keep the soil moist. Avoid overwatering, as this can lead to mold growth.
Light and Temperature Conditions: Ensure they receive adequate light, either from natural sunlight or grow lights. Maintain a temperature of 60-75°F (15-24°C) for optimal growth.
Pest and Disease Management: Keep an eye out for pests such as aphids and fungus gnats. Prevent mold by ensuring good air circulation and avoiding overwatering.
Advanced Tips and Uses
For those looking to take their microgreen gardening to the next level, consider exploring advanced growing techniques:
- Hydroponic Systems for Microgreens: Growing microgreens hydroponically can lead to faster growth and higher yields. Hydroponic mats or trays can be used instead of soil, providing a clean and efficient growing environment. Ensure to provide a nutrient solution to support growth.
- Using Grow Lights for Better Yield: While natural sunlight is ideal, grow lights can significantly improve the yield and quality of your microgreens, especially in indoor settings or during winter months. LED grow lights are energy-efficient and can be adjusted to provide the optimal light spectrum for plant growth.
Common Problems and Solutions
Even experienced growers can encounter issues. Here are some common problems and their solutions:
Troubleshooting Germination Issues: Poor germination can result from old or poor-quality seeds, inadequate moisture, or insufficient light. Ensure you use fresh seeds, maintain consistent moisture, and provide ample light to improve germination rates.
Managing Mold and Mildew: Mold and mildew are common issues in microgreen cultivation. To prevent mold, ensure proper air circulation, avoid overwatering, and use a fan if necessary. If mold appears, remove the affected areas and reduce humidity.
Creative Uses for Microgreens
Microgreens are not only nutritious but also versatile in the kitchen. Here are some creative ways to use them:
Culinary Uses: Microgreens add flavor and visual appeal to dishes. Use them in salads, sandwiches, and wraps for a fresh crunch. They also make excellent garnishes for soups, pizzas, and omelets.
Smoothies and Juices: Blend microgreens into smoothies or juices for a nutrient boost. Varieties like kale and spinach microgreens are particularly well-suited for this.

FAQs About Growing Microgreens
How long does it take to grow microgreens?
Microgreens typically take between 7 to 21 days to grow, depending on the variety. Fast-growing types like radish and arugula can be ready in as little as 7 days, while others like basil may take up to 21 days.
Can microgreens be grown indoors?
Yes, microgreens can be grown indoors. They require minimal space and can thrive with adequate light, either from a sunny windowsill or under grow lights.
What are the easiest microgreens to grow for beginners?
Some of the easiest microgreens for beginners include radish, arugula, and sunflower. These varieties have high germination rates and grow quickly, providing a rewarding experience for new growers.
How do I store harvested microgreens?
Store harvested microgreens in an airtight container in the refrigerator. They typically stay fresh for up to a week. For best results, wait to wash them until just before use to prevent excess moisture, which can lead to spoilage.
Are there any microgreens that are difficult to grow?
Microgreens like basil and cilantro can be slightly more challenging due to their longer germination periods and specific light and temperature needs. However, with proper care, even these can be successfully grown.
What is the difference between microgreens and sprouts?
Sprouts are germinated seeds consumed before they develop leaves, typically within 2-7 days. Microgreens are harvested later, once the first true leaves have formed, usually within 7-21 days. Microgreens are grown in soil or a soilless medium, while sprouts are grown in water.
Can I grow microgreens without soil?
Yes, microgreens can be grown without soil using hydroponic systems or soilless mediums like coconut coir or hydroponic mats. These methods can be cleaner and more efficient, especially for indoor growing.
How much light do microgreens need?
Microgreens need approximately 12-16 hours of light per day. If natural sunlight is insufficient, especially during winter months, use LED grow lights to provide the necessary light for healthy growth.
How often should I water microgreens?
Water microgreens regularly to keep the growing medium moist but not waterlogged. Mist the surface gently with a spray bottle, ensuring even moisture without overwatering, which can lead to mold.
Can I reuse the soil after harvesting microgreens?
It is not recommended to reuse the soil after harvesting microgreens because it can harbor pathogens and depleted nutrients. For best results, use fresh soil or growing medium for each new batch of microgreens.