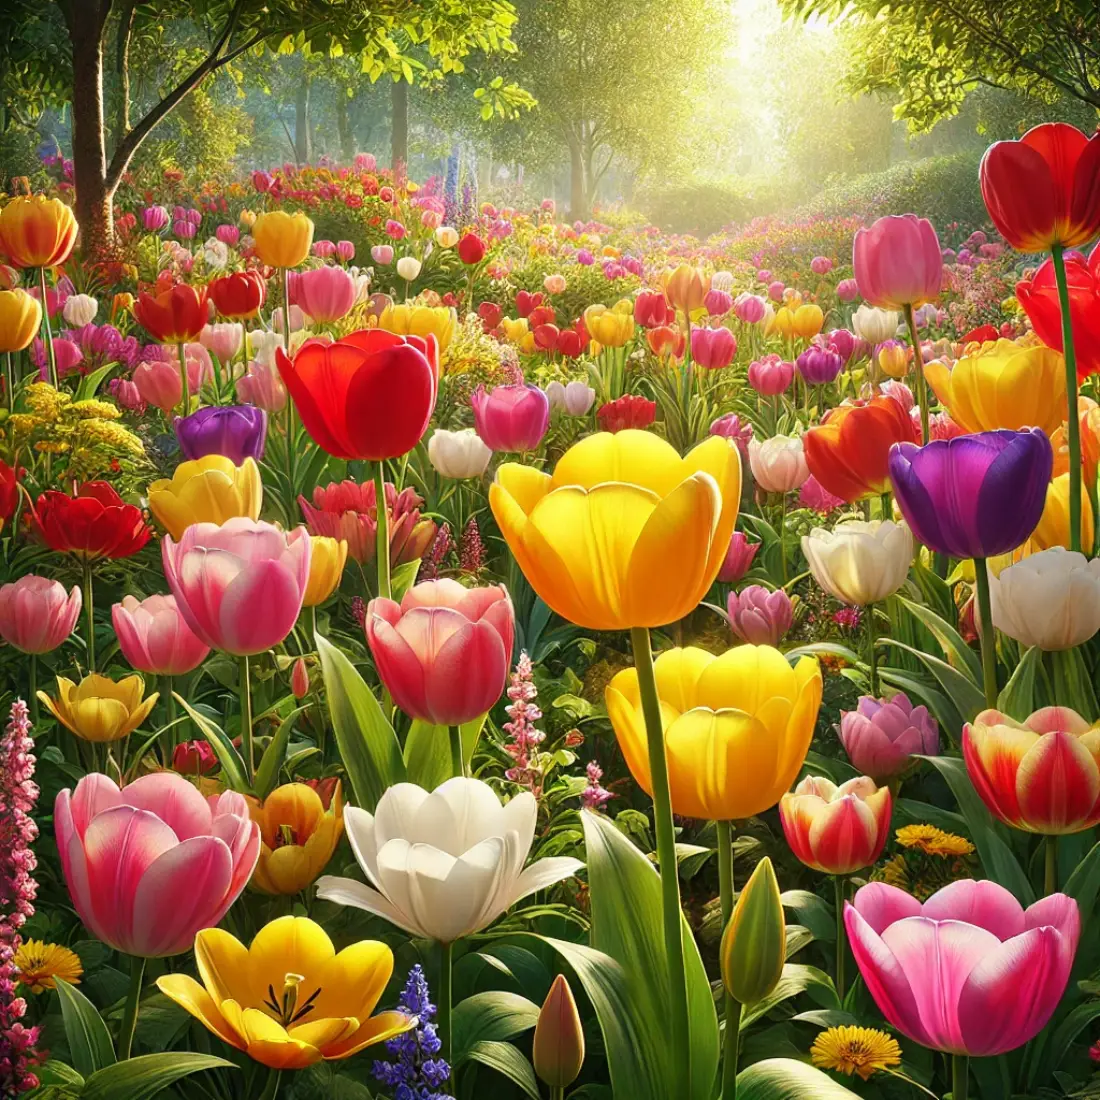
Tulips are perennial, bulbous plants that are part of the Liliaceae family. They are known for their bright, cup-shaped flowers that come in a wide range of colors, including red, yellow, pink, white, and even multi-colored varieties.
Originally, tulips are native to Central Asia and were cultivated in the Ottoman Empire. They were introduced to Europe in the 16th century, particularly in the Netherlands, where they became a symbol of wealth and status during the “Tulip Mania” period. Today, tulips are one of the most popular spring flowers worldwide, valued for their beauty and variety.
- Choose Quality Bulbs: Select firm, healthy bulbs from reputable sources.
- Planting Time: Plant in the fall before the first frost.
- Soil Preparation: Use well-drained, fertile soil.
- Spacing and Depth: Plant bulbs 6-8 inches deep, 4-6 inches apart.
- Watering: Water thoroughly after planting and maintain moisture during growth.
- Fertilizing: Apply balanced fertilizer when planting and in spring.
- Pruning: Remove spent flowers to promote bulb energy storage.
- Pest Management: Monitor and treat common pests and diseases.
- Seasonal Care: Adjust care for each season, including winter protection.
- Advanced Tips: Try companion planting, creative displays, and special conditions.
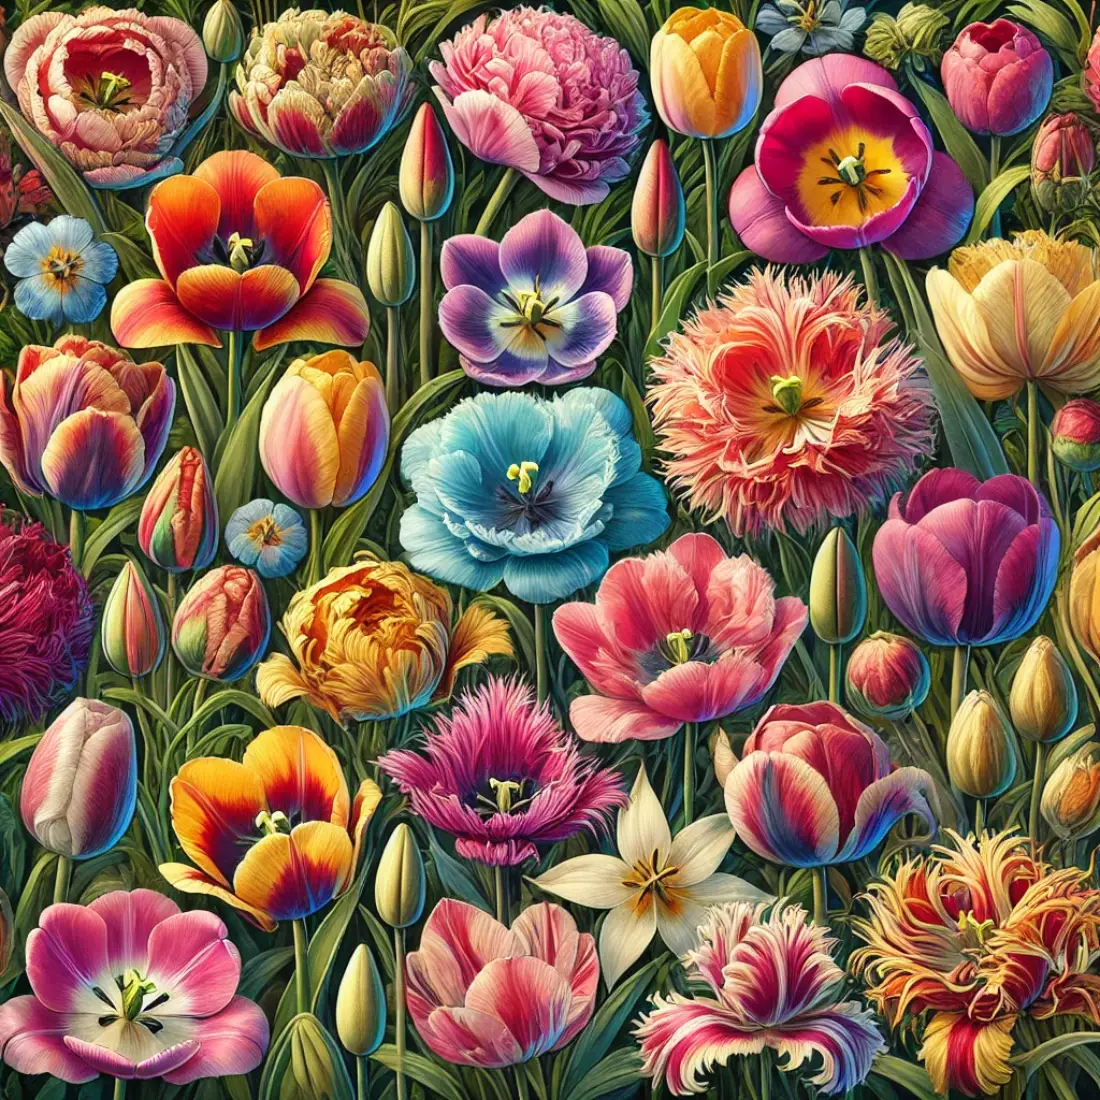
Types and Varieties
Tulips come in various types and varieties, each with unique characteristics:
- Single Early Tulips: Bloom early in the spring. Cup-shaped flowers with a wide range of colors
- Double Early Tulips: Also bloom early but have double-layered petals. Known for their peony-like appearance
- Triumph Tulips: Mid-season bloomers with sturdy stems. Ideal for cutting and floral arrangements
- Darwin Hybrid Tulips: Known for their large, vibrant flowers. Late bloomers with a long blooming period
- Parrot Tulips: Fringed petals with striking, feathered edges. Available in bold and dramatic color combinations
- Fringed Tulips: Petals with fringed edges. Unique texture adds interest to gardens
- Lily-Flowered Tulips: Graceful, pointed petals resembling lilies. Late spring bloomers with elegant shapes
- Species Tulips: Wild varieties that are smaller and more delicate. Often used in rock gardens and naturalized settings
How to Grow Tulips
Selecting the Right Tulip Bulbs
Choosing the right tulip bulbs is crucial for a successful bloom. Look for bulbs that are firm, large, and free from mold or soft spots. Larger bulbs tend to produce stronger plants and bigger flowers. It’s best to buy from reputable suppliers who provide information about the bulb size and flower characteristics.
Popular varieties include the classic Darwin Hybrid Tulips, known for their large blooms and sturdy stems, and Triumph Tulips, valued for their wide range of colors and reliable performance.
Preparing the Soil
Tulips thrive in well-drained, fertile soil. Start by choosing a sunny location, as tulips need at least 6 hours of direct sunlight daily. Test your soil pH; tulips prefer a slightly acidic to neutral pH (6.0-7.0).
To prepare the soil, loosen it to a depth of about 12-15 inches and mix in compost or well-rotted manure to improve fertility and drainage. Avoid overly rich or clay-heavy soils, as they can retain too much moisture and cause bulb rot.
Planting Tulips
The best time to plant tulip bulbs is in the fall, about 6-8 weeks before the ground freezes. This timing allows the bulbs to establish roots before winter. Follow these steps for planting:
- Dig a Hole: Dig a hole about 6-8 inches deep for each bulb.
- Add Fertilizer: Organic bulb fertilizers with bone meal or fish emulsion at the bottom of the hole.
- Place the Bulb: Place the bulb pointed end up in the hole.
- Cover with Soil: Fill the hole with soil and press down gently.
- Water Thoroughly: Water the area well to settle the soil and help the bulbs start rooting.
Spacing and Depth Considerations
Proper spacing and depth are key to healthy tulips. Plant bulbs about 4-6 inches apart to allow enough room for growth and airflow, reducing the risk of disease. Depth is also important; planting too shallow can expose bulbs to temperature fluctuations, while too deep can hinder blooming.
As a rule of thumb, plant bulbs at a depth about three times their height. For example, if a bulb is 2 inches tall, plant it 6 inches deep.
Watering Tulips
Tulips need consistent moisture, especially during their growth period. Water thoroughly after planting to help the bulbs establish roots. During the growing season, keep the soil evenly moist but not waterlogged.
Avoid overhead watering, which can promote fungal diseases. Instead, water at the base of the plants. Once the flowers have bloomed, reduce watering as the foliage begins to die back, signaling the end of the growing season.
Fertilizing Tulips
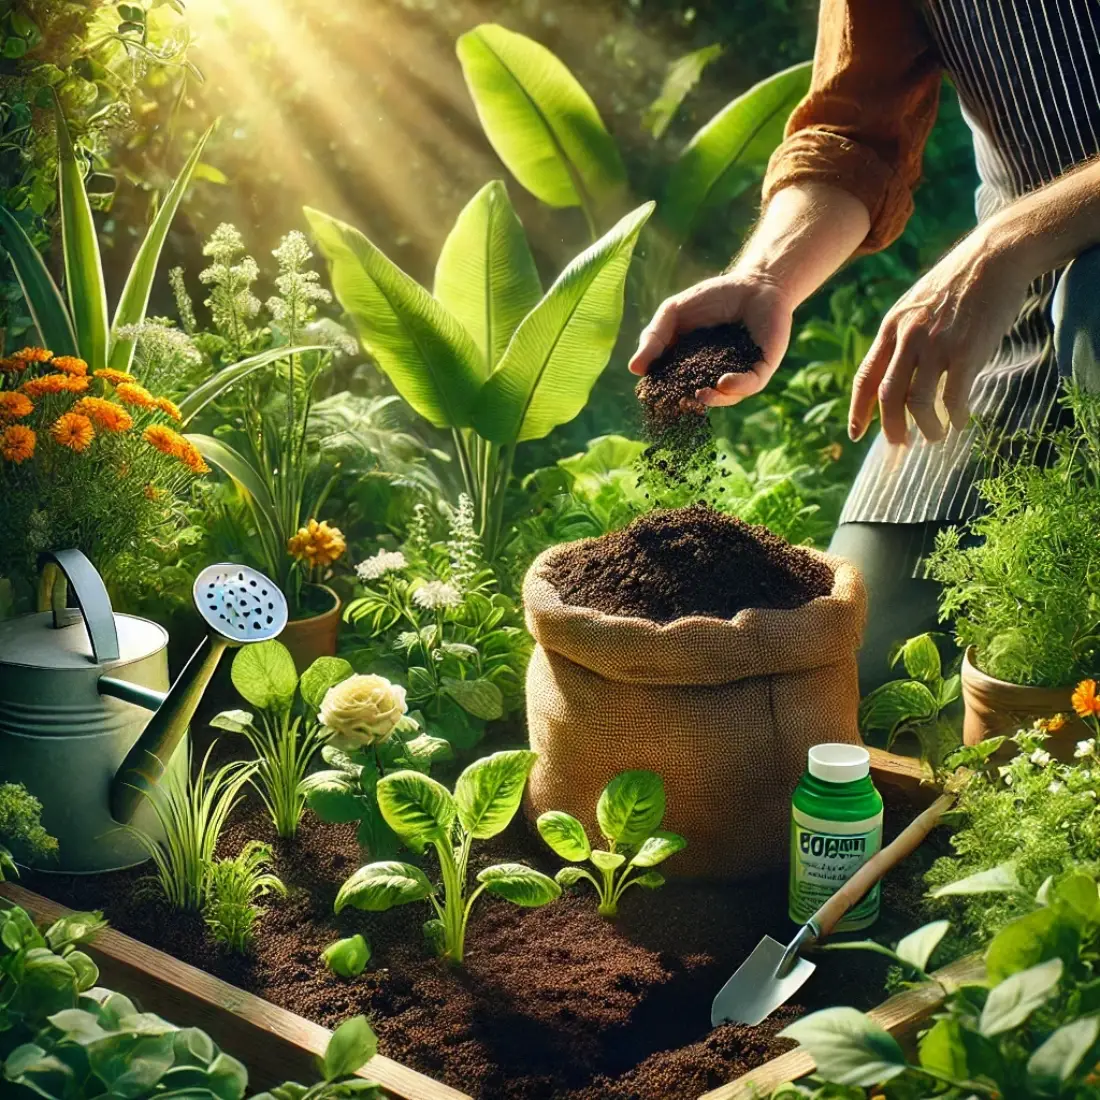
Using organic fertilizers can significantly enhance the health and blooming of tulips. Here are the most important organic options to consider:
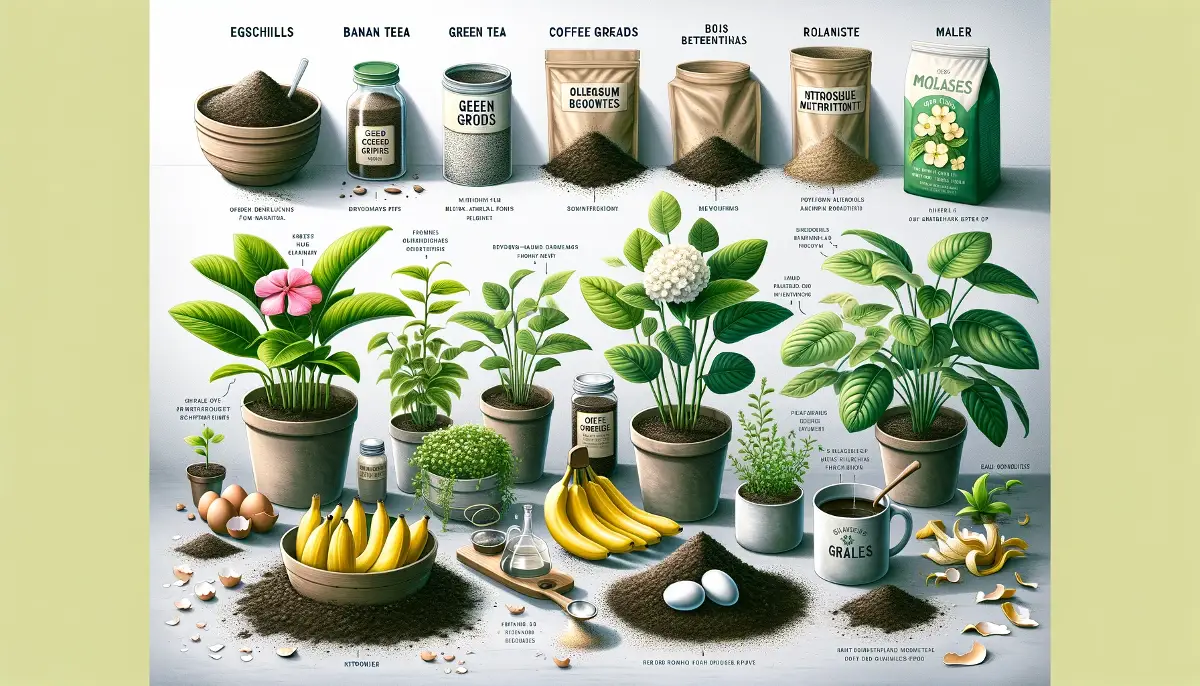
Compost is excellent for improving soil structure and moisture retention while providing a balanced nutrient profile. Mix well-rotted compost into the soil before planting tulip bulbs and use it as a top dressing in the spring to give your tulips an additional nutrient boost.
Bone meal is high in phosphorus, which promotes strong root development and enhances flower production. When planting tulip bulbs, sprinkle about one tablespoon of bone meal in the planting hole to ensure the bulbs have the phosphorus they need for optimal growth.
Fish emulsion is rich in nitrogen, phosphorus, and potassium, making it an ideal choice for boosting foliage and blooms. Dilute the fish emulsion according to the package instructions and apply it to the soil around your tulips during the growing season for the best results.
Kelp meal contains essential micronutrients and growth hormones that enhance overall plant health and flowering. Mix kelp meal into the soil before planting or sprinkle it around established tulip plants and water it in.
Application Tips
- Before Planting: Work compost, bone meal, and kelp meal into the soil to prepare it for tulip bulbs.
- During Growth: Apply fish emulsion to provide ongoing nutrient support.
- Spring Top Dressing: Use compost or kelp meal as a top dressing when tulip shoots emerge in the spring.
Pruning and Deadheading
Pruning and deadheading tulips help direct energy back to the bulbs. After the flowers fade, remove the spent blooms by cutting the flower stalks down to the base. This prevents the plant from wasting energy on seed production. However, leave the foliage intact until it turns yellow and dies back naturally. The leaves are essential for photosynthesis, which nourishes the bulbs for the next season’s growth.
Seasonal Care for Tulips
Spring Care
In spring, as tulips emerge and bloom, focus on providing consistent moisture and nutrients. Apply a balanced organic fertilizer, such as compost or fish emulsion, to support healthy growth.
Mulch with organic materials like shredded leaves or straw to retain moisture and suppress weeds. After blooming, remove spent flowers to prevent seed production but leave the foliage until it yellows and dies back naturally. This allows the plant to store energy for the next growing season.
Summer Care
During summer, tulip bulbs enter a dormant phase. Reduce watering to avoid bulb rot, especially in areas with high rainfall. If you live in a region with wet summers, consider digging up the bulbs and storing them in a cool, dry place.
Before storage, dust bulbs with organic sulfur powder to prevent fungal infections. Replant the bulbs in the fall for the next blooming cycle.
Fall Care
Fall is the ideal time to plant tulip bulbs. Prepare the soil by working in organic compost to improve fertility and drainage. Plant bulbs 6-8 inches deep and 4-6 inches apart, adding bone meal or kelp meal to each planting hole for an added nutrient boost. Water thoroughly after planting to help bulbs establish roots before winter.
Winter Care
In winter, protect tulip bulbs from freezing temperatures. Apply a thick layer of organic mulch, such as straw or shredded leaves, to insulate the soil. In areas with harsh winters, you can also cover the planting area with evergreen boughs for added protection. Avoid watering during winter, as excess moisture can lead to bulb rot.
Troubleshooting Common Issues with Tulips
Non-Blooming Tulips
If your tulips fail to bloom, several factors could be at play:
- Planting Depth: Ensure bulbs are planted at the correct depth (6-8 inches). Planting too shallow can expose them to temperature fluctuations, while too deep can hinder blooming.
- Bulb Quality: Use large, healthy bulbs from reputable sources. Small or damaged bulbs may not bloom.
- Nutrient Deficiency: Tulips need phosphorus for flower production. Incorporate bone meal into the soil during planting to provide essential nutrients.
- Overcrowding: Space bulbs 4-6 inches apart to prevent competition for resources.
- Light Conditions: Tulips require at least 6 hours of direct sunlight daily. Ensure they are planted in a sunny location.
Yellowing Leaves
Yellowing leaves can indicate several issues:
- Overwatering: Excess water can cause bulbs to rot. Ensure well-drained soil and avoid overwatering.
- Nutrient Deficiency: Yellow leaves might signal a lack of essential nutrients, particularly nitrogen. Use organic fertilizers like compost or fish emulsion to nourish the soil.
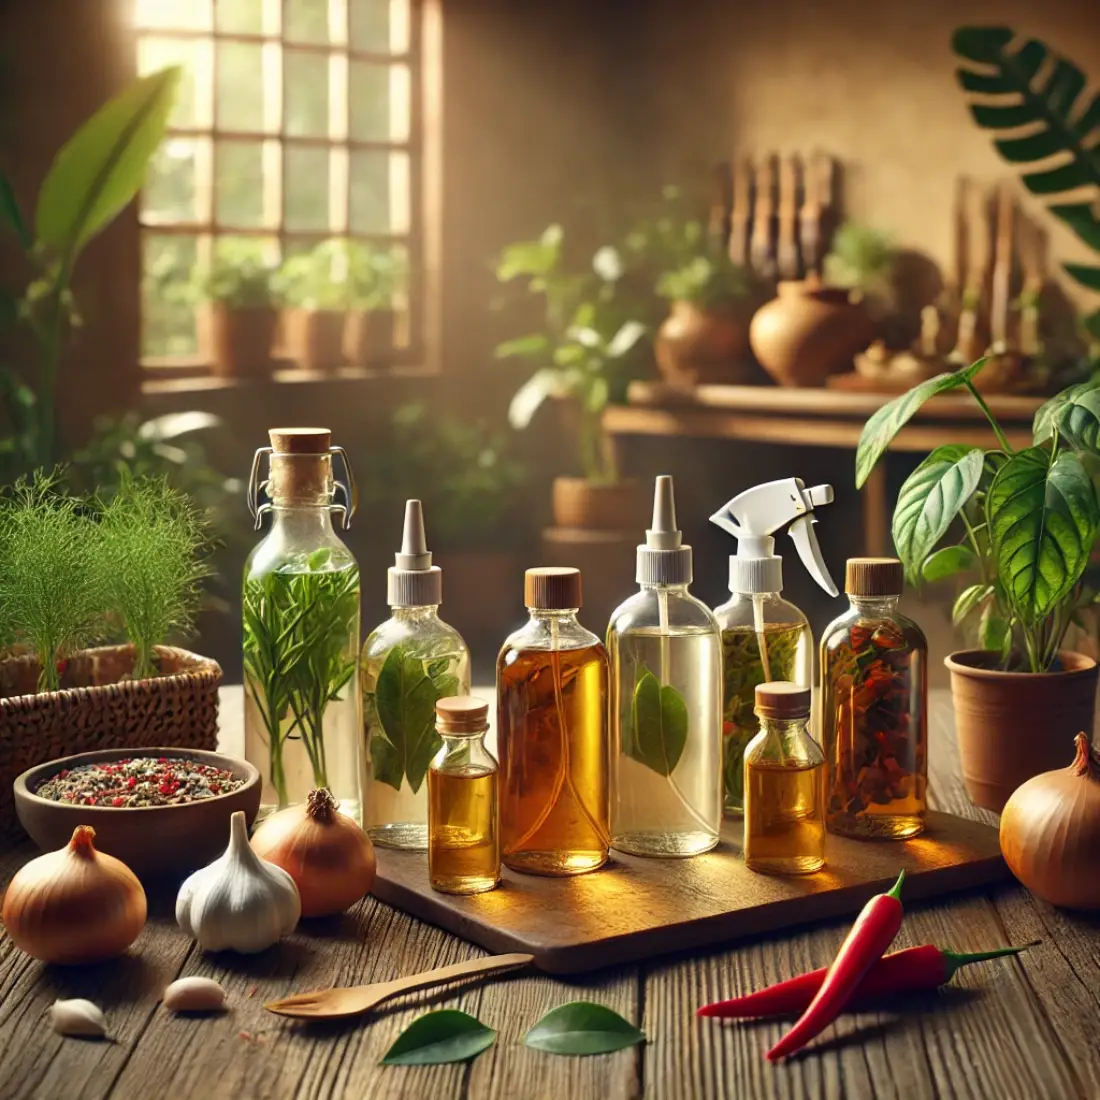
- Pests and Diseases: Inspect plants for signs of pests or disease. Treat promptly using organic methods such as neem oil or insecticidal soap.
Pests and Disease
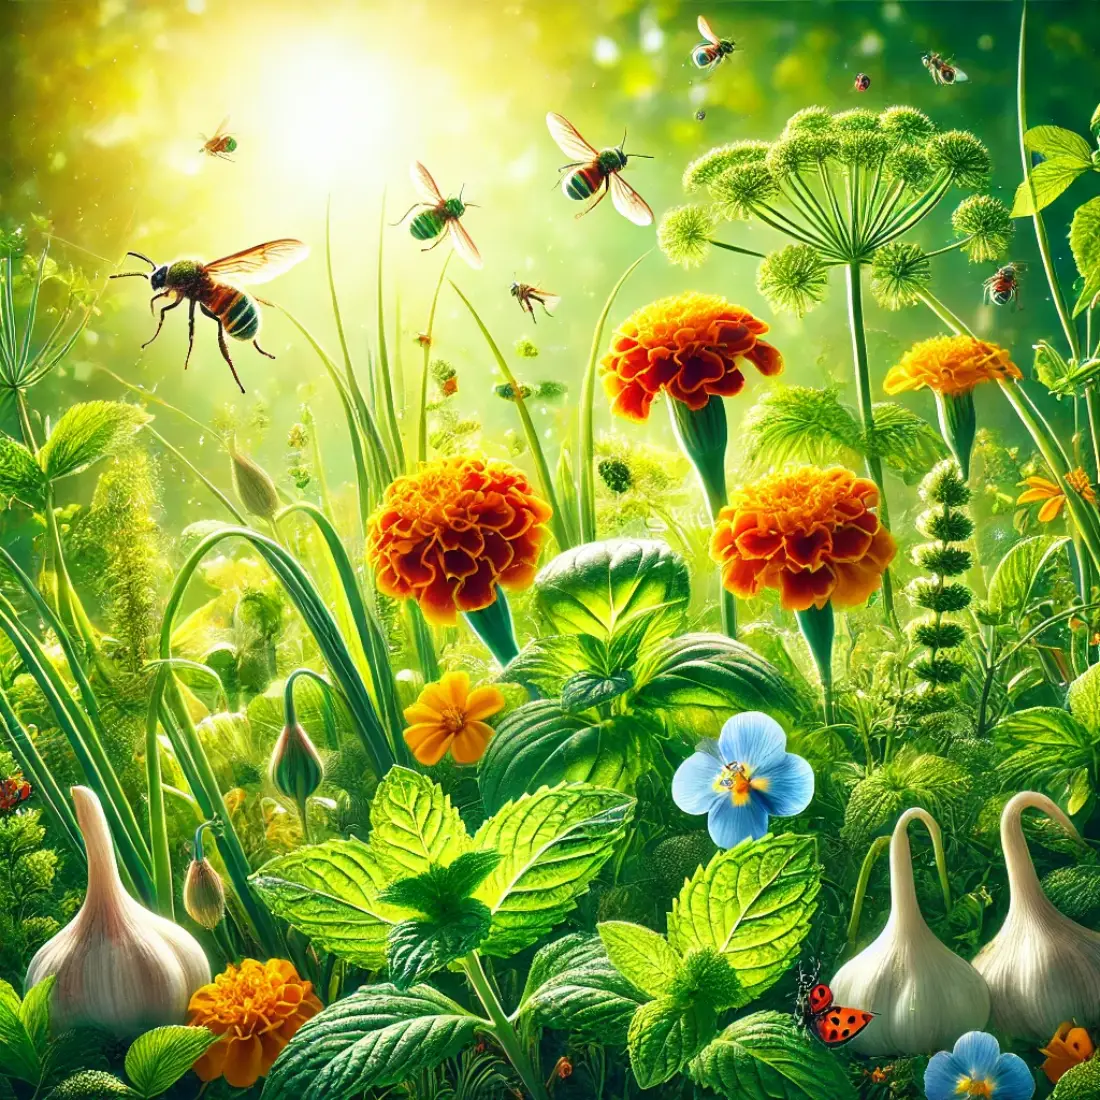
- Aphids: These small insects can be managed with insecticidal soap or natural predators like ladybugs.
- Slugs and Snails: Use barriers like crushed eggshells or diatomaceous earth around plants to deter these pests.
- Bulb Mites: Treat bulbs with organic sulfur powder before planting to prevent infestations.
- Tulip Fire (Botrytis tulipae): This fungal disease causes spots on leaves and flowers, and fuzzy gray mold. Ensure good air circulation and avoid overhead watering. Remove and destroy affected plants immediately.
- Gray Mold: Similar to tulip fire, gray mold can be controlled by maintaining dry conditions around plants and using organic fungicides if necessary.

Advanced Tips for Growing Tulips
Companion Planting with Tulips
Companion planting enhances the health and visual appeal of your tulip garden.
- Best Companion Plants: Pair tulips with low-growing annuals like pansies or violas, which add color and fill gaps as tulips bloom. Other good companions include daffodils, which deter pests, and perennials like daylilies or hostas, providing a continuous display after tulips fade.
- Benefits: Companion plants help deter pests, improve soil health, and create a more visually appealing garden.
Creating Stunning Tulip Displays
Designing your tulip garden can enhance its beauty.
- Design Ideas: Create layers of tulip varieties that bloom at different times to extend the flowering season. Use a mix of early, mid, and late-season tulips for continuous color.
- Color Combinations: Combine contrasting colors (e.g., red and white) for bold statements or monochromatic schemes (e.g., various shades of pink) for a more subtle look.
- Patterns: Plant tulips in groups or clusters rather than single rows for a more natural and impactful display. Consider geometric patterns or random groupings based on your garden style.
Tulip Varieties for Special Conditions
Adapt your tulip choices to specific garden needs.
- Tulips for Containers: Choose shorter varieties like Greigii or Kaufmanniana tulips, which are well-suited for pots and small spaces. Use well-draining soil and ensure containers have good drainage holes.
- Tulips for Shade: While tulips prefer full sun, some varieties like the Fosteriana tulips can tolerate partial shade. Ensure they still receive a few hours of sunlight daily for best results.
- Tulips for Naturalizing: Species tulips like Tulipa tarda or Tulipa clusiana are excellent for naturalizing. They tend to multiply and return year after year, creating a naturalized, meadow-like appearance.
General Tips for Advanced Tulip Care
- Bulb Rotation: To avoid soil-borne diseases, rotate tulip planting locations every few years.
- Soil Testing: Periodically test soil pH and nutrient levels. Amend soil as needed with organic matter or specific nutrients to maintain optimal growing conditions.
- Mulching: Use organic mulch to regulate soil temperature, retain moisture, and suppress weeds. Apply a fresh layer in fall and remove it in spring as tulips emerge.

FAQs about Growing and Caring for Tulips
How deep should tulip bulbs be planted?
Tulip bulbs should be planted 6-8 inches deep.
What is the best time to plant tulips?
Plant tulips in the fall, 6-8 weeks before the ground freezes.
How can I protect my tulips from pests?
Use barriers like crushed eggshells, introduce ladybugs, and apply neem oil or insecticidal soap.
Can tulips be grown indoors?
Yes, through a process called forcing. Chill bulbs for 12-16 weeks, then move to a sunny spot.
How often should I water my tulips?
Water thoroughly after planting and maintain consistent moisture during the growing season, avoiding overwatering.
Why are my tulips not blooming?
Ensure proper planting depth, use healthy bulbs, provide adequate phosphorus, and ensure they get at least 6 hours of sunlight.
What should I do with tulips after they bloom?
Remove spent flowers, but leave the foliage until it yellows and dies back naturally.
Can tulips be grown in containers?
Yes, use well-draining soil, plant bulbs closer together, and ensure the container has drainage holes.
How can I prevent tulip diseases?
Ensure good air circulation, water properly, rotate planting areas, and use organic fungicides if necessary.
How long do tulip blooms last?
Tulip blooms typically last 1-2 weeks.