Ivy, with its lush greenery and graceful vines, is more than just an outdoor plant; it can bring a touch of nature’s serenity and a splash of vibrant life to any indoor space. Thriving indoors as much as it does in the wild, ivy varieties like English, Algerian, and Swedish offer a range of appearances from the classic deep green to variegated leaves, making them a versatile choice for home decoration.
Known for its ability to purify the air, ivy not only embellishes your living areas but also contributes to a healthier living environment by filtering out airborne toxins. By selecting the right variety and understanding its specific care requirements, you can transform any part of your home into a green haven, enhancing both its aesthetics and atmosphere.
Essential Care for Ivy Houseplants
Choosing the Right Ivy Variety
Choosing the right ivy variety for indoor cultivation involves considering the plant’s growth habits, light needs, and overall care requirements. Here are some popular types of ivy suitable for growing indoors:
English Ivy (Hedera helix): This is one of the most common ivy types found in homes due to its adaptability and ease of care. English ivy prefers bright, indirect light but can tolerate medium light levels, which makes it versatile for various indoor settings.
Algerian Ivy (Hedera canariensis): Less aggressive than English ivy, Algerian ivy can thrive indoors with proper care. It requires a bit more light and tends to have larger leaves, which can add a different aesthetic to your indoor plant collection.
Swedish Ivy (Plectranthus australis): Not a true ivy, Swedish ivy is a great choice for those who want a plant that’s easy to care for. It thrives in bright, indirect light and can tolerate lower light conditions. Its leaves are more rounded and it grows quickly, providing a lush appearance .
Persian Ivy (Hedera colchica): Known for its larger leaves compared to English ivy, Persian ivy is suitable for larger indoor spaces. It prefers a similar light environment as English ivy and can add a dramatic touch with its bold leaf patterns.
Irish Ivy (Hedera hibernica): Similar to English ivy but with a more vigorous growth habit, Irish ivy can be a good choice if you have a large indoor area to cover. It requires a bit of maintenance to keep its growth in check.
When selecting an ivy variety, consider the light conditions in your home and the amount of care you are willing to provide. Some ivies are more tolerant of lower light and irregular watering, making them more suitable for those who may not have a lot of time for plant care.
Optimal Lighting Conditions
Optimal lighting is crucial for the health and growth of ivy houseplants. Here’s how to ensure your ivy receives the light it needs:
Bright, Indirect Light: Ivy thrives in bright, indirect light. It’s a common misconception that ivy is purely a low-light plant. While it can tolerate low light, such conditions will slow its growth and dull its leaves. Variegated varieties, in particular, require bright light to maintain their distinctive leaf patterns.
Avoid Direct Sunlight: Although ivy can handle a bit of direct sun outdoors, indoor settings with direct sunlight can lead to scorched leaves and faded colors. It’s best to place ivy in a location where it will be exposed to indirect sunlight throughout most of the day. A spot near a window with a sheer curtain is often ideal.
Light Requirements by Variety: Different types of ivy have varying light needs. For example, English ivy and its variegated forms do well in moderate to bright indirect light, while Swedish ivy prefers bright conditions but can also manage in slightly dimmer environments.
Adjusting Light Exposure: If you notice that your ivy’s leaves are turning yellow or the variegation is fading, this could be a sign of too much light. Conversely, leggy growth or small leaves may indicate insufficient light. Adjusting the plant’s position can help manage these issues and promote healthier growth.
Ensuring your ivy receives the right amount of light is key to maintaining its health and vibrancy. Monitor your plant regularly and adjust its location as needed to provide the optimal light conditions for its specific variety.
Watering Your Ivy Correctly
Watering your ivy correctly is essential for its health and longevity. Here’s how to ensure optimal watering practices for indoor ivy plants:
Allow Soil to Dry Between Waterings: Ivy prefers to be on the drier side indoors. It’s crucial to let the soil dry out completely between waterings to prevent issues like root rot. Check the top inch of soil with your finger; if it feels dry, it’s time to water.
Adequate Drainage: Ensure that your ivy’s pot has adequate drainage holes to allow excess water to escape. This is important because ivy does not like standing water. After watering, always empty the pot saucer to avoid letting the roots sit in water.
Frequency and Amount: The frequency of watering will depend on factors like the humidity, light levels, and temperature of your home. Typically, watering once a week during the growing season (spring and summer) and reducing it in the cooler months (fall and winter) when plant growth slows down is advisable.
Humidity Considerations: While ivy likes drier soil, it enjoys higher humidity levels. Misting the plant regularly can help meet its humidity needs, especially in dry indoor environments or during winter months when indoor heating can reduce humidity dramatically.
Monitoring Plant Health: Pay attention to signs of overwatering or underwatering. If leaves start to turn yellow or brown and feel soggy, you may be overwatering. Conversely, if the leaves are dry and crispy, the plant may need more frequent watering.
By adhering to these guidelines, you can ensure that your ivy receives just the right amount of water to thrive indoors. Regularly check the soil moisture and adjust your watering schedule according to the specific needs of your plant and environmental conditions.
Temperature and Humidity Needs
Ivy houseplants thrive in specific temperature and humidity conditions that mimic their natural outdoor environment but are adapted for indoor settings.
Temperature Requirements
Ideal Temperature Range: Ivy plants prefer a cooler temperature range, typically between 50 to 70 degrees Fahrenheit (10 to 21 degrees Celsius). This range helps to simulate the cooler climates where these plants naturally grow.
Avoid Temperature Fluctuations: It’s important to keep ivy away from sudden temperature changes, which can stress the plant. This includes keeping it away from heat sources like radiators and air conditioning units, as well as drafty windows.
Humidity Requirements
Higher Humidity Levels: Despite preferring drier soil, ivy plants enjoy a humid environment. This can be achieved indoors by misting the plants regularly or using a humidifier. During dry winter months, daily misting may be necessary to maintain adequate humidity levels.
Using Humidity Trays: Another method to increase humidity around your ivy is to use a pebble tray. Simply place a tray filled with pebbles and water beneath the plant’s pot. As the water evaporates, it increases the humidity around the plant, mimicking more humid conditions.
Maintaining Optimal Conditions
- Regular Monitoring: Keep an eye on the temperature and humidity with a digital thermometer and hygrometer. This will help you ensure that the conditions remain within the ideal range for your ivy.
- Seasonal Adjustments: Adjust care practices seasonally. For example, during winter, when indoor heating can dry out the air, increase misting and possibly add a humidifier to your room setup.
By maintaining these conditions, your ivy will be healthier and more vigorous, displaying lush, vibrant foliage.
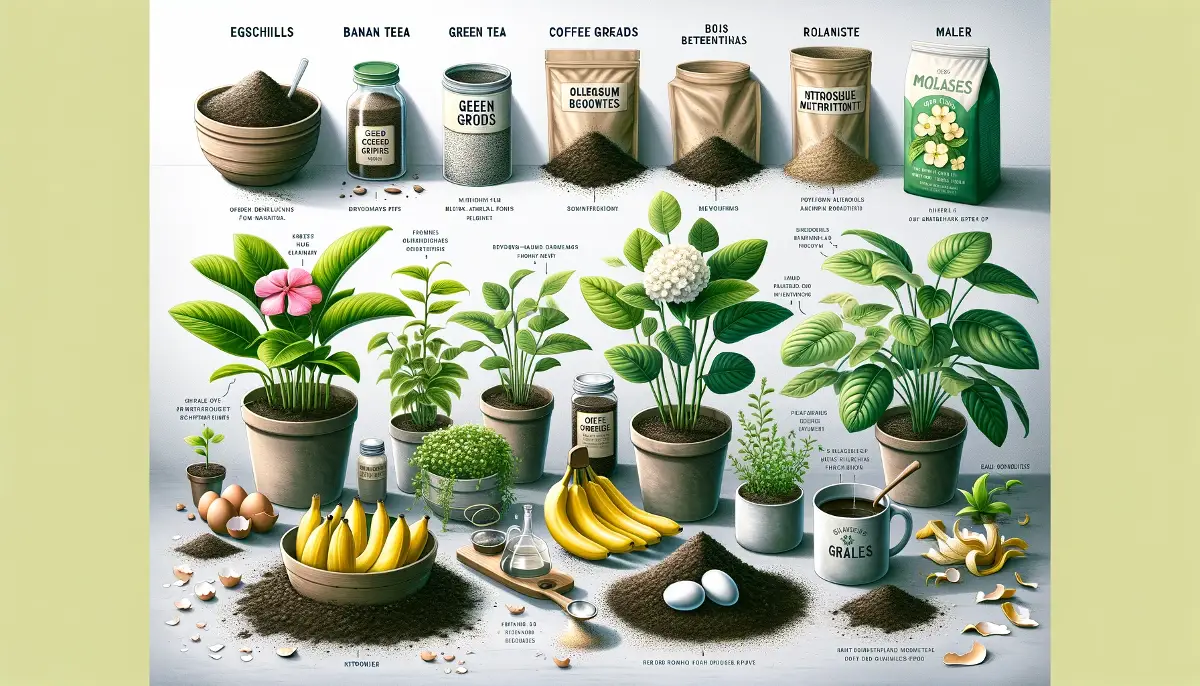
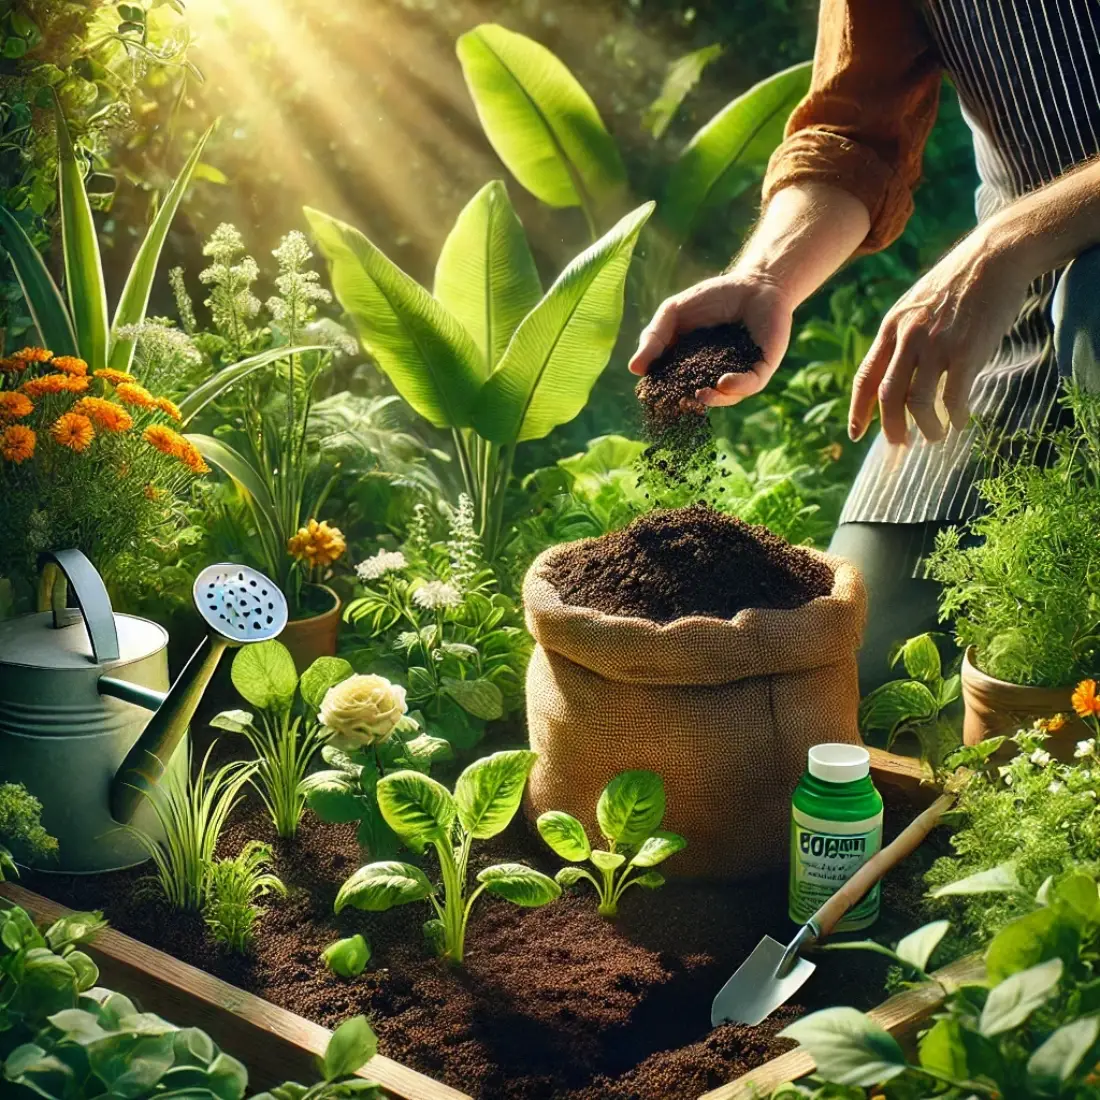
Organic Fertilization Schedule for Ivy Houseplants
Creating an effective organic fertilization schedule for ivy houseplants will ensure they receive the nutrients they need to thrive without the risks associated with chemical fertilizers.
Spring to Fall: Active Growing Season
- Frequency: Fertilize once a month during the active growing season, which typically runs from spring through fall. This is when your ivy will benefit most from additional nutrients as it experiences its most significant growth.
- Type of Fertilizer: Use a balanced, organic houseplant fertilizer. Look for options that are rich in nitrogen to promote foliage growth. Organic fertilizers are often derived from natural sources such as fish emulsion, seaweed, or composted manure, which are not only effective but also safer for the environment.
Winter: Dormant Period
- Frequency: Do not fertilize ivy during the winter months. During this time, ivy plants typically enter a dormant phase and require less nutritional support. Fertilizing during dormancy can lead to nutrient build-up in the soil, which can harm the plant.
- Watering Precautions: Always water the plant lightly before applying any fertilizer to avoid root burn and to help distribute the nutrients evenly throughout the soil.
Tips for Organic Fertilization
- Dilution is Key: Organic fertilizers can be concentrated and should be diluted according to the package instructions to avoid over-fertilization.
- Slow-Release Options: Consider using slow-release organic fertilizers, which gradually deliver nutrients over a period of time, helping to maintain consistent plant growth and reduce the risk of nutrient overload.
- Soil Health: Regularly check the soil’s condition. Organic fertilizers can improve soil structure and promote healthy microbial activity, which benefits plant roots and overall health.
By following these guidelines, you can provide your ivy houseplants with a natural and safe source of nutrients, enhancing their growth and vigor without the harsh chemicals found in synthetic fertilizers.
Advanced Ivy Care Techniques
Pruning Ivy Houseplants
Pruning and maintaining your ivy houseplant is essential for promoting healthy growth and maintaining an attractive appearance. Here are key steps and tips for effective pruning and ongoing maintenance:
When to Prune
- Regular Maintenance: Ivy can be pruned at any time of the year to remove dead or damaged foliage, control growth, and maintain shape. However, the best times are during spring and summer when the plant is actively growing.
- Aggressive Pruning: If your ivy has become overgrown or leggy, consider a more aggressive pruning to rejuvenate the plant. This can be done by cutting back up to one-third or even half of the plant to encourage new growth and denser foliage.
How to Prune
- Tools: Use sharp scissors or pruning shears to make clean cuts. This helps prevent damage to the delicate stems.
- Technique: Snip off the ends of the vines just above a leaf or a leaf node (the point where a leaf joins the stem). This will encourage the plant to branch out from that point, leading to fuller growth.
Maintenance Tips
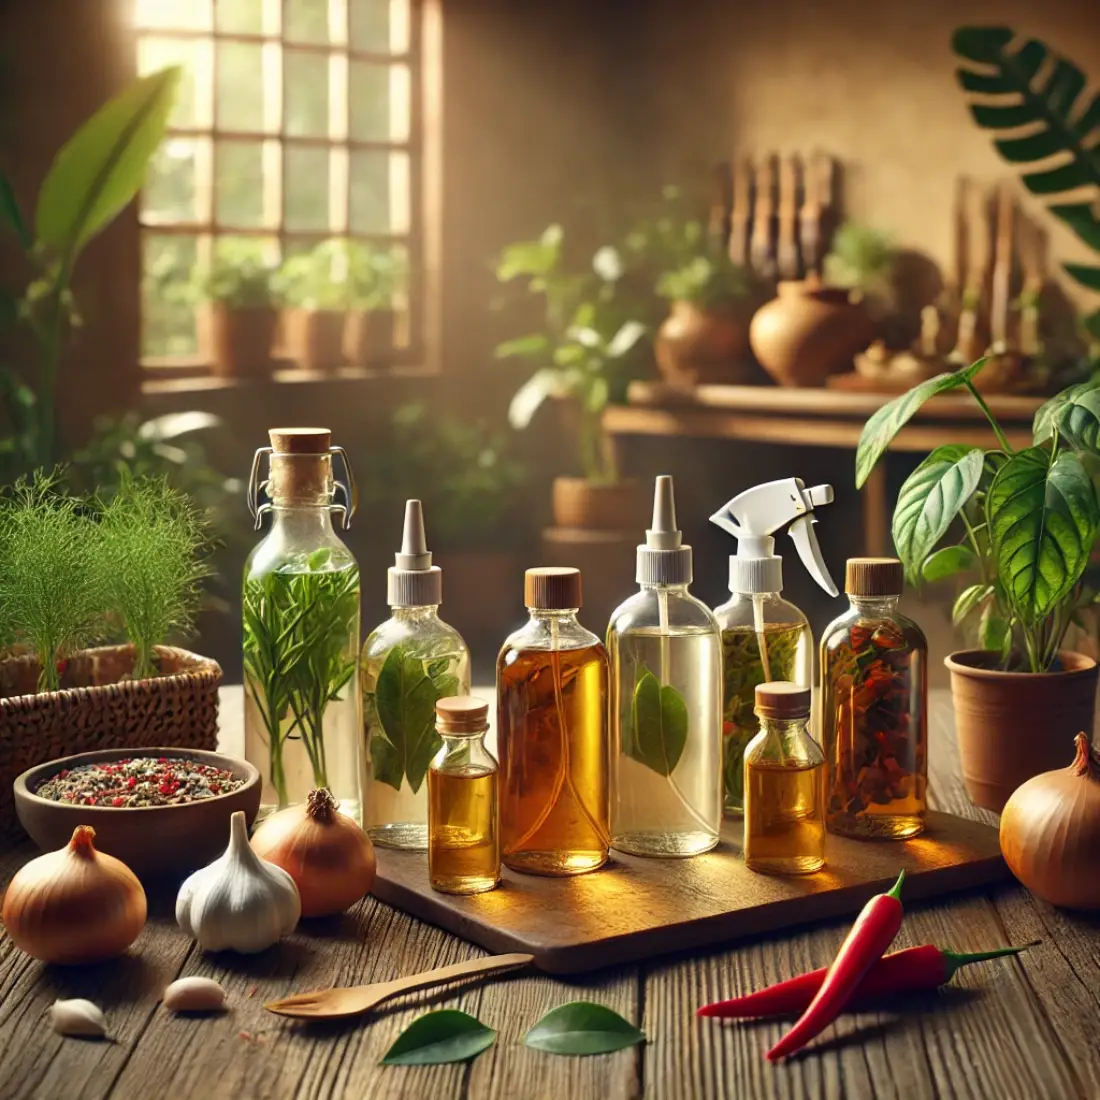
- Regular Inspections: Regularly inspect your ivy for signs of pests or disease. Common issues include spider mites and scale insects, which can be treated with organic insecticidal soap or neem oil.
- Cleaning Leaves: Dust can accumulate on ivy leaves, hindering their ability to photosynthesize efficiently. Gently wipe the leaves with a damp cloth or give the plant a light shower to remove dust.
Propagation Methods for Ivy Houseplants
Propagating ivy houseplants is a straightforward and satisfying way to expand your plant collection or share with others. Here’s how you can propagate ivy effectively using common methods:
Stem Cuttings
- Method: This is the most popular method for propagating ivy. Select healthy stems with several leaves and cut them into sections about 4-6 inches long. Make sure each cutting has at least one or two leaf nodes (the points where leaves are attached).
- Rooting Medium: You can root ivy cuttings in water or directly in soil. For water rooting, place the stem cuttings in a jar of water making sure the leaf nodes are submerged. Change the water every few days. Once roots develop, plant them in soil.
- Soil Propagation: If rooting in soil, dip the end of each cutting in rooting hormone powder to enhance root growth. Plant the cuttings in a pot filled with well-draining potting mix. Keep the soil moist but not waterlogged.
Layering
- Method: Layering involves encouraging roots to develop on a part of the plant while it’s still attached to the parent plant. Choose a long vine that can be bent down to the soil surface.
- Procedure: Make a small notch on the underside of the stem where it touches the soil, then pin it down using a U-shaped wire or a heavy stone. Cover the notched section with soil while leaving the rest of the vine exposed to light. Roots should develop at the notch point, and once they are robust, you can cut the new plant from the mother plant and pot it separately.
Air Layering
- Method: Similar to layering, air layering involves wrapping a moist medium like sphagnum moss around a wounded section of the stem while still attached to the parent plant.
- Procedure: Make a small upward slit on the stem and surround it with moist sphagnum moss. Wrap the moss with plastic to retain moisture and secure it with ties. Once roots develop within the moss, cut the rooted section from the main plant and pot it.
Tips for Successful Propagation
- Ideal Conditions: Ensure cuttings are kept in bright, indirect light and at a consistent temperature, ideally between 60-75°F (15-24°C).
- Patience is Key: Root development can take several weeks, so patience is crucial. Keep the rooting medium consistently moist and check periodically for root growth.
Propagating ivy can be a fun and rewarding process. With simple tools and some care, you can easily multiply your ivy collection or even give rooted cuttings as gifts to friends and fellow plant enthusiasts.
When to Repot Ivy
Repotting mature ivy is an important aspect of its care, ensuring the plant continues to thrive and grow healthily. Here’s a step-by-step guide to repotting your mature ivy effectively:
- Frequency: Ivy should be repotted every two to three years, or when you notice signs that the plant has outgrown its current pot, such as roots circling the top of the soil or emerging from drainage holes.
- Best Time: The best time to repot is during the spring, which aligns with the start of the growing season and gives the plant time to establish in its new pot before winter.
Read more: How to Repot Your Houseplants
Choosing the Right Pot
- Size: Select a new pot that is one size larger than the current pot. This typically means choosing a pot that is 1-2 inches wider in diameter.
- Material: Pots made from porous materials like terra cotta are ideal because they allow the soil to breathe and prevent water from sitting at the roots, which can cause rot.
Steps for Repotting Ivy
- Preparation: Water your ivy a day before repotting to make the process easier and to minimize stress on the plant.
- Remove the Plant: Gently take the plant out of its current pot. Tap the sides of the pot or gently squeeze a flexible pot to loosen the soil and roots.
- Clean and Prune the Roots: Shake off excess soil and check the roots. Trim any dead, broken, or overly long roots to encourage healthier growth.
- Add Fresh Soil: Place a layer of fresh, well-draining potting mix at the bottom of the new pot. Use a potting mix formulated for indoor plants, or create your own mix with peat, perlite, and vermiculite.
- Position the Ivy: Set the ivy in the new pot. The top of the root ball should be about an inch below the rim of the pot to allow room for watering.
- Fill with Soil: Add more potting mix around the sides, gently tamping it down to remove air pockets. Ensure the ivy is planted at the same depth it was in its original pot.
- Water Thoroughly: After repotting, water the plant thoroughly to settle the soil and help eliminate air gaps around the roots.
Aftercare
- Initial Care: Keep the repotted ivy in a shaded area for a few days to help it recover from the repotting stress. Avoid direct sunlight during this period.
- Resume Care: After a few days, move the plant back to its usual spot and resume normal care, adjusting watering as necessary to accommodate the fresh soil’s moisture retention properties.
Repotting your ivy not only refreshes its environment but also stimulates growth and health. Regular repotting is a key part of maintaining a vibrant and lush ivy plant in your home.
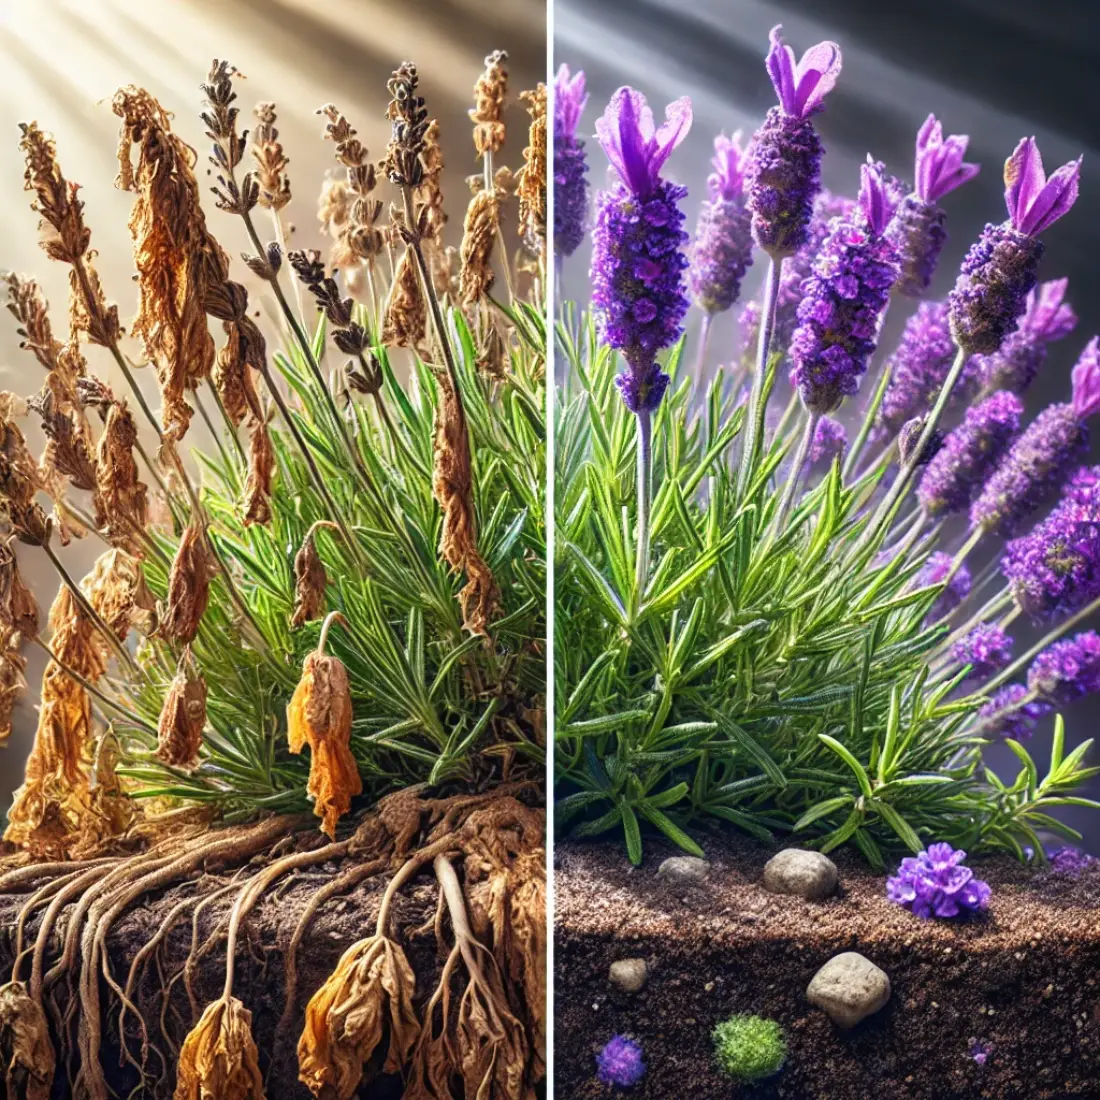
Troubleshooting Common Issues with Ivy Houseplants
Troubleshooting common issues with ivy houseplants involves identifying signs of distress and addressing them effectively to keep the plants healthy. Here’s a guide to identifying and resolving typical problems:
Yellowing Leaves
- Causes: Overwatering is the most common cause of yellow leaves in ivy plants. Less frequently, yellowing can also be due to under-watering, poor drainage, or nutrient deficiencies.
- Solutions: Adjust your watering schedule according to the plant’s needs, ensuring the soil dries out between waterings. Check for proper drainage and consider repotting if drainage is poor. If nutrient deficiency is suspected, apply a balanced, organic fertilizer.
Brown, Crispy Leaves
- Causes: This is typically a sign of under-watering or low humidity, especially in heated indoor environments during winter.
- Solutions: Increase watering slightly, ensuring the soil is consistently moist but not soggy. Boost humidity around the plant using a humidifier or a pebble tray with water.
Pest Infestations
- Common Pests: Spider mites and scale insects are frequent pests that affect ivy plants.
- Solutions: For spider mites, increase humidity around the plant and wash the leaves with water regularly. For scale, apply an organic insecticidal soap or neem oil treatment. Regular inspections and early intervention are key to preventing severe infestations.
Leggy Growth or Sparse Leaves
- Causes: Insufficient light is the usual cause for leggy growth and sparse leaves.
- Solutions: Move your ivy to a location with more indirect light. Pruning back leggy vines can also encourage fuller growth and more leaves.
Root Rot
- Causes: Overwatering and poor drainage are the primary causes of root rot, which can be fatal if not addressed.
- Solutions: Ensure your ivy is in a well-draining pot and that excess water can escape. If root rot is suspected, repot the plant into fresh soil after cutting away any black or mushy roots. Adjust your watering habits to prevent future occurrences.
General Maintenance Tips
- Regular Monitoring: Regularly check your plants for signs of stress or disease and adjust care routines as needed.
- Proper Care: Consistent care, including proper watering, adequate light, and appropriate fertilization, will help prevent most common issues.
By understanding the common issues that can affect ivy houseplants and knowing how to address them, you can ensure your ivy remains healthy and vibrant. Regular attention and slight adjustments to care can make a big difference in the health of your plants.
FAQs about Ivy Houseplants
How often should I water my indoor ivy plant?
Water your ivy when the top inch of soil feels dry, typically once a week, but adjust based on humidity and temperature conditions.
What is the best light for growing ivy indoors?
Ivy thrives in bright, indirect light. Avoid placing it in direct sunlight to prevent leaf burn.
Can ivy plants grow in low light?
Yes, ivy can grow in low light, but it may become leggy and its growth could slow. Provide bright, indirect light for optimal health.
How do I know if my ivy needs repotting?
Signs that your ivy needs repotting include roots growing out of the drainage holes, slowed growth, or soil that dries out too quickly.
Is ivy toxic to pets?
Yes, ivy is mildly toxic to cats and dogs. It can cause mouth irritation and digestive upset if ingested.
How can I increase humidity for my ivy?
Mist your ivy regularly, use a humidifier, or place a pebble tray with water beneath the plant pot.
What are common pests that affect ivy, and how can I treat them?
Common pests include spider mites and scale insects. Treat infestations with insecticidal soap or neem oil.
How do I prune my ivy plant?
Prune your ivy to shape it or control its size by snipping the stems just above a leaf node. This encourages fuller growth.
Can I propagate ivy from cuttings?
Yes, ivy can be easily propagated from stem cuttings. Place cuttings in water or soil until roots develop, then transplant.
What should I do if the leaves of my ivy plant are turning yellow?
Yellow leaves can be caused by overwatering, underwatering, or poor lighting. Adjust your care routine accordingly to address the issue.