Rejuvenating old potting mix is an essential practice for avid gardeners and plant enthusiasts. Over time, potting mix can become depleted of nutrients, compacted, and less effective in supporting plant growth.
While commercial chemical fertilizers and additives are available, they often come with environmental concerns and potential health risks. An eco-friendly alternative is to rejuvenate old potting mix without using chemicals, which is both cost-effective and beneficial for the environment.
By incorporating organic materials and sustainable practices, you can restore the vitality of your potting mix, ensuring your plants receive the nutrients and structure they need to thrive. Additionally, this method helps reduce waste by recycling existing materials, making it a win-win solution for both your garden and the planet.
Gathering Materials
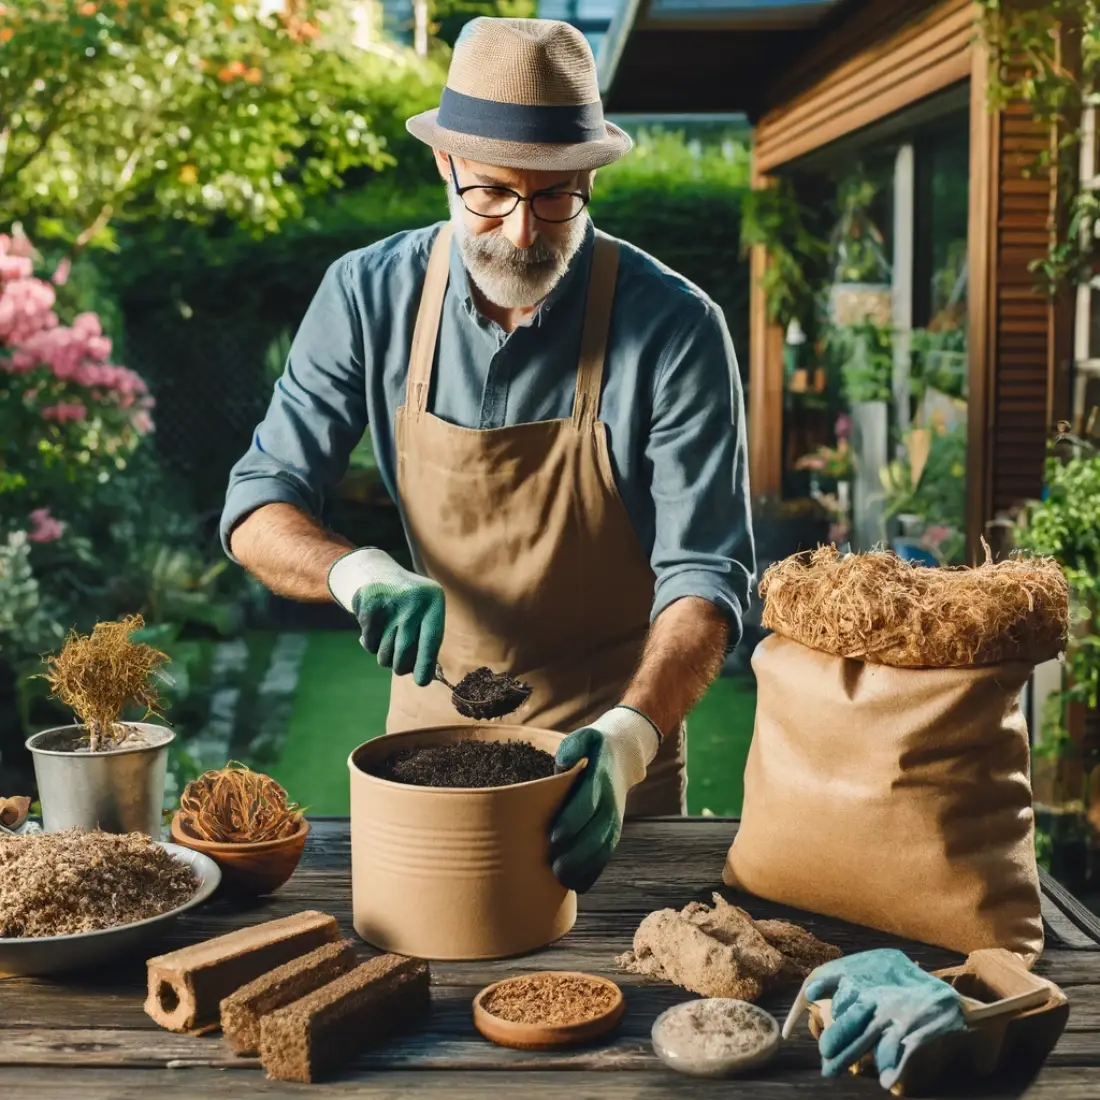
To rejuvenate old potting mix without using chemicals, you’ll need to gather the following materials:
- Old Potting Mix: Ensure that it is free from diseases and pests. If not, you may need to sterilize it (explained in a later step).
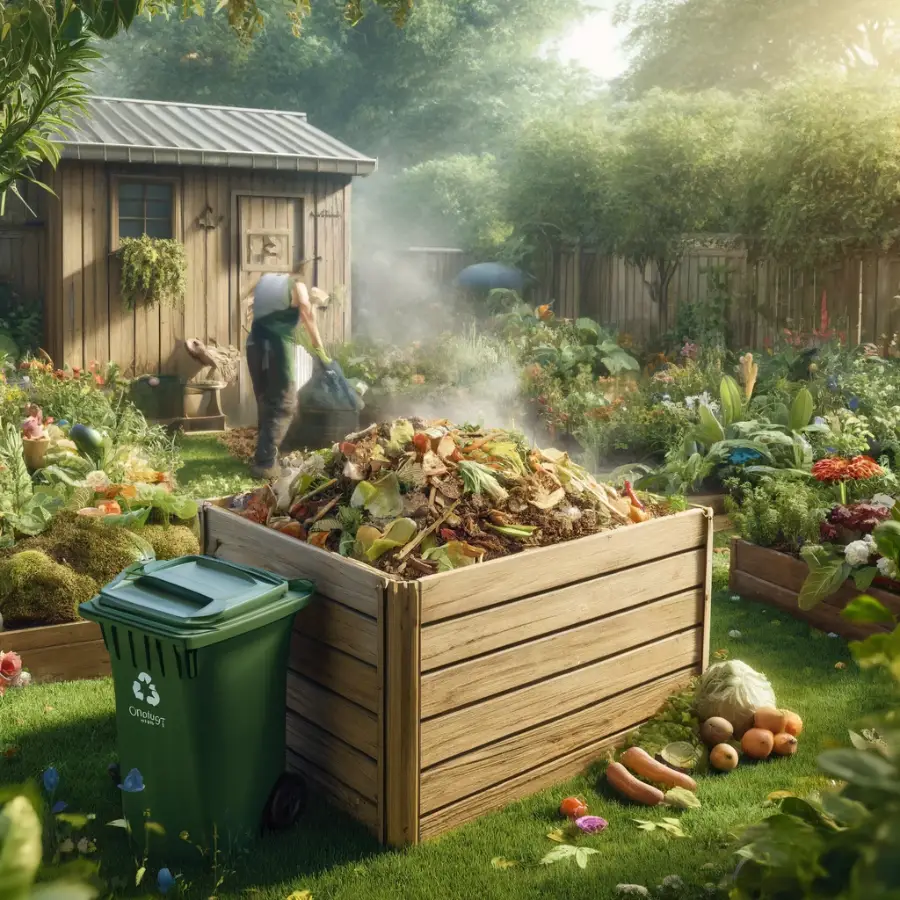
- Compost or Well-Rotted Manure: Rich in nutrients and beneficial microbes. It helps improve the soil structure and adds essential nutrients back into the potting mix.
- Coconut Coir or Peat Moss: Both materials help retain moisture and improve aeration. Coconut coir is a sustainable alternative to peat moss.
- Perlite or Sand: These materials enhance drainage and prevent the mix from becoming too compacted. Perlite is lightweight and improves aeration, while sand provides weight and stability.
- Worm Castings: An excellent natural fertilizer that adds nutrients and beneficial microbes to the potting mix. It also helps improve soil structure and water retention.
- Compost Tea or Aerated Compost Extract: A liquid solution made from compost that is rich in nutrients and beneficial microbes. It can be used to water the rejuvenated potting mix, enhancing its microbial activity.
Tools:
- Garden Fork: for mixing the materials together;
- Sieve: for removing large debris and ensuring a fine texture;
- Containers: to hold and mix the rejuvenated potting mix.
By gathering these materials, you will be well-equipped to begin the process of revitalizing your old potting mix in an eco-friendly and sustainable way.
Assessing the Old Potting Mix
Before rejuvenating your old potting mix, it’s crucial to assess its condition to determine the necessary steps for revitalization. Follow these steps to evaluate your potting mix:
Inspect for Diseases and Pests
- Visual Inspection: Look for any signs of fungal growth, mold, or insect infestations. Remove and discard any potting mix that appears to be contaminated.
- Odor Check: Healthy potting mix should have a fresh, earthy smell. If it smells sour, rotten, or musty, it may be contaminated with harmful pathogens.
Check the Texture and Structure
- Compaction Test: Squeeze a handful of the mix. If it forms a clump that doesn’t easily break apart, it might be too compacted.
- Drainage Test: Place some potting mix in a pot with drainage holes and pour water over it. Observe how quickly the water drains. If it drains very slowly or pools on the surface, the mix may need additional aeration.
Assess Nutrient Content
- Visual Indicators: Look for signs of nutrient depletion, such as faded color, poor plant growth, or lack of vigor in plants previously grown in the mix.
- DIY pH Test: Use a simple pH testing kit to check the acidity or alkalinity of the mix. Most plants prefer a pH between 6.0 and 7.0. Adjusting the pH may be necessary based on the results.
Evaluate Moisture Retention
- Dryness Check: If the mix dries out very quickly or stays too wet for long periods, it might indicate poor moisture retention. Adding materials like coconut coir or peat moss can help balance moisture levels.
Sterilizing the Potting Mix
Sterilizing your old potting mix is an important step if you suspect it contains pathogens, pests, or weed seeds. There are a few effective methods to sterilize potting mix without using chemicals:
Solarization Method
- Preparation: Spread the old potting mix in a thin layer (2-4 inches deep) on a plastic sheet in a sunny location.
- Covering: Place another clear plastic sheet over the potting mix, securing the edges to create a sealed environment.
- Duration: Leave the mix under the sun for 4-6 weeks. The heat generated will kill most pathogens, pests, and weed seeds.
- Monitoring: Check occasionally to ensure the mix remains evenly spread and the plastic cover stays intact.
Heat Treatment Method
- Preparation: Fill black plastic bags with the old potting mix. Ensure the bags are not too full to allow for air circulation.
- Sealing: Tie the bags securely and place them in a sunny spot.
- Duration: Leave the bags in the sun for several weeks, turning them occasionally to ensure even heat distribution.
- Temperature Check: The temperature inside the bags should reach at least 140°F (60°C) to effectively sterilize the mix.
Oven Sterilization Method
- Preparation: Preheat your oven to 180°F (82°C).
- Spread Mix: Place the old potting mix in a shallow baking tray, spreading it out evenly.
- Heating: Bake the potting mix for 30 minutes. Use a meat thermometer to ensure the mix reaches at least 160°F (71°C) throughout.
- Cooling: Allow the mix to cool completely before using it.
Microwave Sterilization Method
- Preparation: Fill microwave-safe containers with moist potting mix.
- Microwaving: Heat the containers on high for about 10 minutes per quart of mix. The mix should reach a temperature of 180°F (82°C).
- Cooling: Let the mix cool completely before using it.
Note: Sterilization can kill both harmful and beneficial organisms. After sterilizing, it’s important to reintroduce beneficial microbes to the potting mix by adding compost, worm castings, or compost tea.
Improving Structure and Aeration
Enhancing the structure and aeration of your old potting mix is essential for promoting healthy root growth and preventing compaction. Here are the steps to improve the structure and aeration of your potting mix:
Adding Organic Matter
- Compost: Mix in well-decomposed compost to improve the nutrient content and soil structure. Aim for a ratio of about 1 part compost to 3 parts old potting mix.
- Well-Rotted Manure: Incorporate well-rotted manure, which provides nutrients and enhances the organic matter content. Use it similarly to compost, ensuring it is fully decomposed to avoid burning plant roots.
Incorporating Coconut Coir or Peat Moss
- Coconut Coir: Soak the coir in water until it expands and becomes fluffy. Mix it into the potting mix at a ratio of about 1 part coir to 3 parts old potting mix. Coir is a sustainable choice that improves moisture retention and aeration.
- Peat Moss: Alternatively, you can use peat moss, which also retains moisture and improves aeration. Mix it in the same ratio as coconut coir. Note that peat moss is less sustainable due to its slower regeneration rate.
Mixing in Perlite or Sand
- Perlite: Add perlite to the potting mix to enhance aeration and drainage. Perlite is lightweight and helps prevent compaction. Mix in perlite at a ratio of about 1 part perlite to 4 parts old potting mix.
- Sand: Use coarse sand to improve drainage and add weight to the potting mix. Avoid using fine sand as it can lead to compaction. Mix in sand at a similar ratio to perlite.
Combining Materials
- Blending: Thoroughly mix all the components together using a garden fork or a similar tool. Ensure the new mix is well blended to create a homogeneous texture.
- Testing: Check the improved mix by squeezing a handful. It should be crumbly and not form a compact clump. Also, test the drainage by watering a small amount to ensure it drains well.
Optional: Adding Biochar
- Biochar: If available, add biochar to the potting mix. Biochar improves soil structure, enhances nutrient retention, and supports beneficial microbial activity. Mix it in at a ratio of about 1 part biochar to 10 parts potting mix.
Enhancing Nutrient Content
To ensure your rejuvenated potting mix provides the essential nutrients for healthy plant growth, follow these steps to enhance its nutrient content using natural and organic materials:
Adding Compost
- Compost: Mix in well-decomposed compost, which is rich in nutrients and beneficial microorganisms. Compost improves soil structure and provides a slow-release source of nutrients. Use approximately 1 part compost to 3 parts old potting mix.
Incorporating Worm Castings
- Worm Castings: Add worm castings to the mix. They are an excellent natural fertilizer, providing a rich source of nutrients and beneficial microbes. Use about 1 part worm castings to 10 parts potting mix. Worm castings also help improve soil structure and moisture retention.
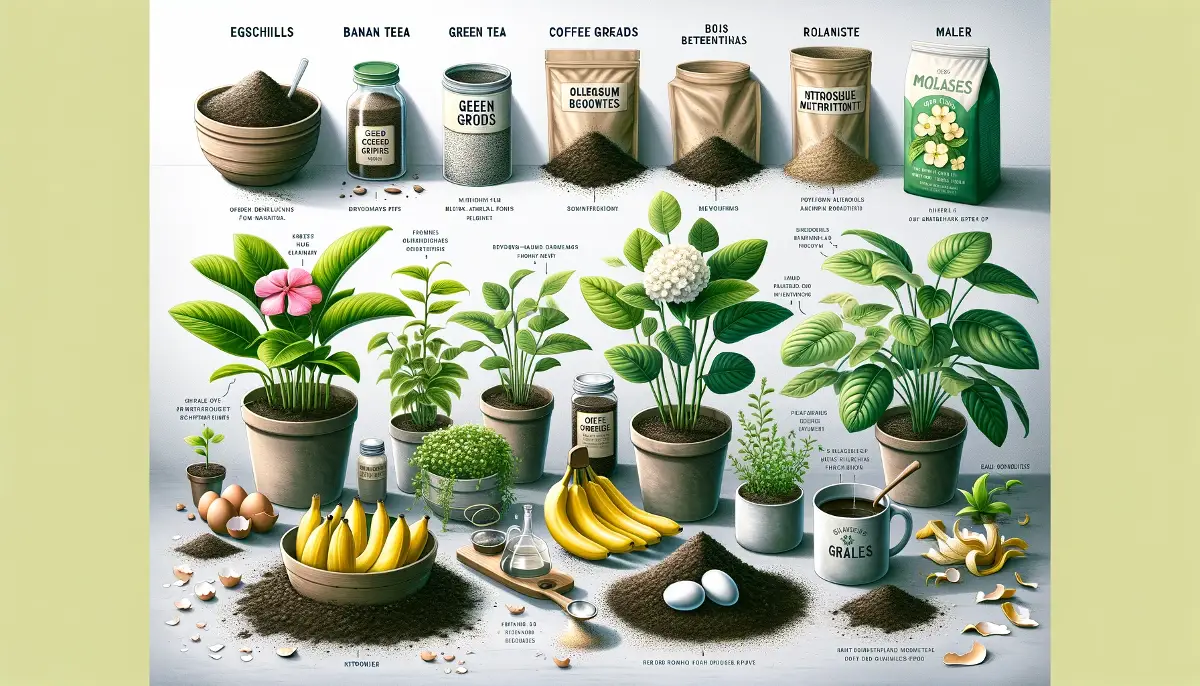
Using Natural Fertilizers
- Bone Meal: Incorporate bone meal for a slow-release source of phosphorus, which is essential for root development and flowering. Use according to package instructions, typically around 1 tablespoon per gallon of potting mix.
- Blood Meal: Add blood meal to boost nitrogen levels, promoting leafy growth. Be cautious with the amount, as too much nitrogen can burn plants. Follow the recommended dosage, generally around 1 tablespoon per gallon of potting mix.
- Kelp Meal: Use kelp meal as a source of trace minerals and growth hormones. It helps improve overall plant health and resilience. Mix in about 1 tablespoon per gallon of potting mix.
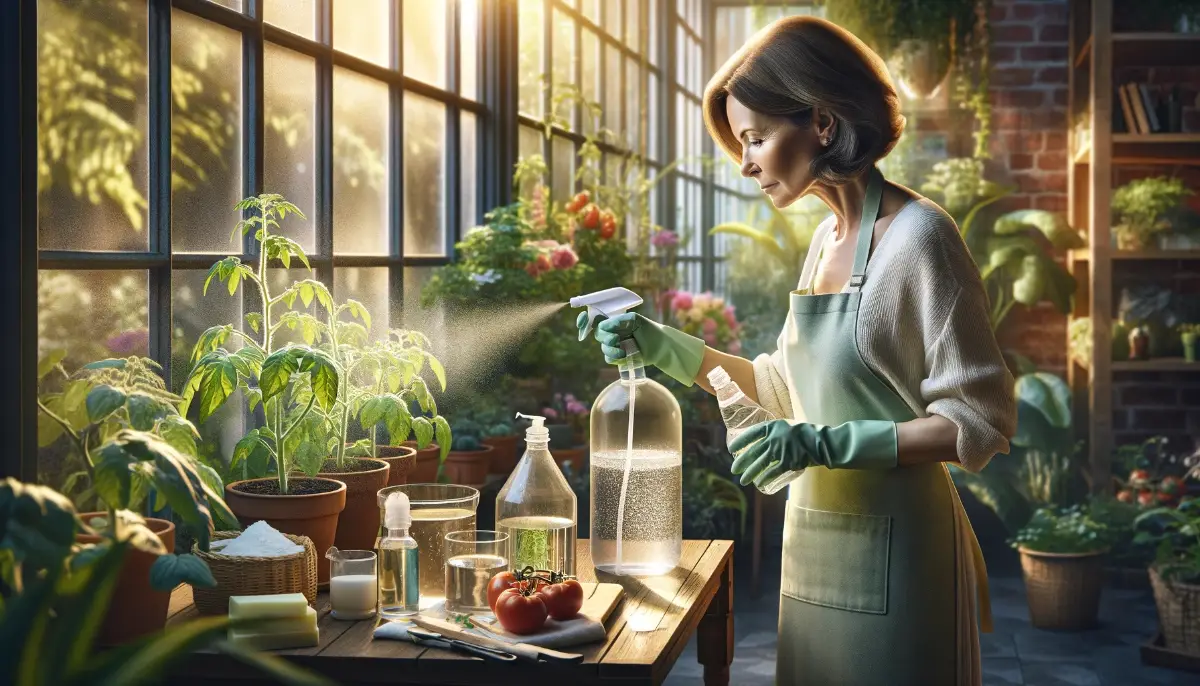
Brewing and Using Compost Tea
- Compost Tea: Prepare compost tea by steeping compost in water for 24-48 hours. Use a ratio of 1 part compost to 5 parts water. Aerate the mixture during brewing to increase microbial activity.
- Application: Water the potting mix with compost tea to introduce beneficial microbes and additional nutrients. This helps boost the microbial life in the mix, enhancing nutrient availability.
Incorporating Green Manures
- Green Manures: Mix in finely chopped green plant material, such as clover, alfalfa, or comfrey. These green manures break down and release nutrients into the potting mix over time, improving fertility and soil structure.
Adding Rock Dust
- Rock Dust: Incorporate rock dust, such as basalt or granite dust, to provide a slow-release source of minerals and trace elements. Use according to package instructions, typically around 1-2 tablespoons per gallon of potting mix.
Ensuring Balanced Nutrition
- Diverse Amendments: Ensure a balanced nutrient profile by using a variety of organic amendments. This helps provide a broad spectrum of nutrients, promoting overall plant health and growth.
- Testing: If possible, test the nutrient levels of the rejuvenated potting mix using a soil test kit. This can help you identify any deficiencies and adjust the amendments accordingly.
Balancing pH
Ensuring the pH of your rejuvenated potting mix is within the optimal range for plant growth is crucial. Most plants prefer a pH between 6.0 and 7.0. Follow these steps to balance the pH of your potting mix using natural methods:
Testing the pH
- Soil pH Test Kit: Use a soil pH test kit to measure the current pH of your potting mix. Follow the instructions provided with the kit for accurate results.
- Observation: Note the pH reading and compare it with the preferred pH range for the plants you intend to grow.
Adjusting the pH
To Raise pH (Make More Alkaline)
- Wood Ash: Add wood ash to the potting mix to increase the pH. Use it sparingly, as it can raise the pH quickly. Mix in about 1 tablespoon of wood ash per gallon of potting mix and retest after a few days.
- Lime: Incorporate agricultural lime (calcium carbonate) or dolomitic lime (which also adds magnesium) to raise the pH. Follow the package instructions for the correct amount, usually around 1-2 tablespoons per gallon of potting mix.
To Lower pH (Make More Acidic)
- Sphagnum Peat Moss: Mix in sphagnum peat moss to lower the pH. Peat moss is acidic and can help bring the pH down. Use about 1 part peat moss to 3 parts potting mix.
- Pine Needles: Add finely chopped pine needles to the mix. They are naturally acidic and can help reduce the pH over time.
- Sulfur: Use elemental sulfur or aluminum sulfate to lower the pH. These amendments work slowly, so apply according to the package instructions and retest the pH after a few weeks.
Re-testing the pH
- Patience: Allow time for the amendments to take effect, usually a few days to a few weeks depending on the material used.
- Repeat Testing: Retest the pH of the potting mix to ensure it has reached the desired level. Adjust further if necessary by adding more of the respective amendment in small increments.
Maintaining Balanced pH
- Regular Monitoring: Check the pH periodically, especially if you notice signs of nutrient deficiency or poor plant growth.
- Organic Matter: Continuously adding compost and organic matter can help buffer the pH, making it more stable over time.
Resting the Rejuvenated Mix
Once you have completed the steps to rejuvenate your potting mix, it is essential to test it to ensure it is suitable for planting. Here are the methods to test your rejuvenated mix:
Germination Test
- Choosing Seeds: Select quick-growing seeds such as radishes, lettuce, or beans for testing.
- Planting: Fill a small container or seed tray with the rejuvenated potting mix. Plant the seeds according to the instructions on the seed packet.
- Monitoring Growth: Water the seeds appropriately and place the container in a location with suitable light and temperature conditions. Monitor the germination rate and early growth.
- Evaluation: Healthy germination and robust early growth indicate that the potting mix is suitable for planting. If seeds do not germinate well or seedlings appear weak, it may suggest issues with the mix, such as poor nutrient content, improper pH, or inadequate structure.
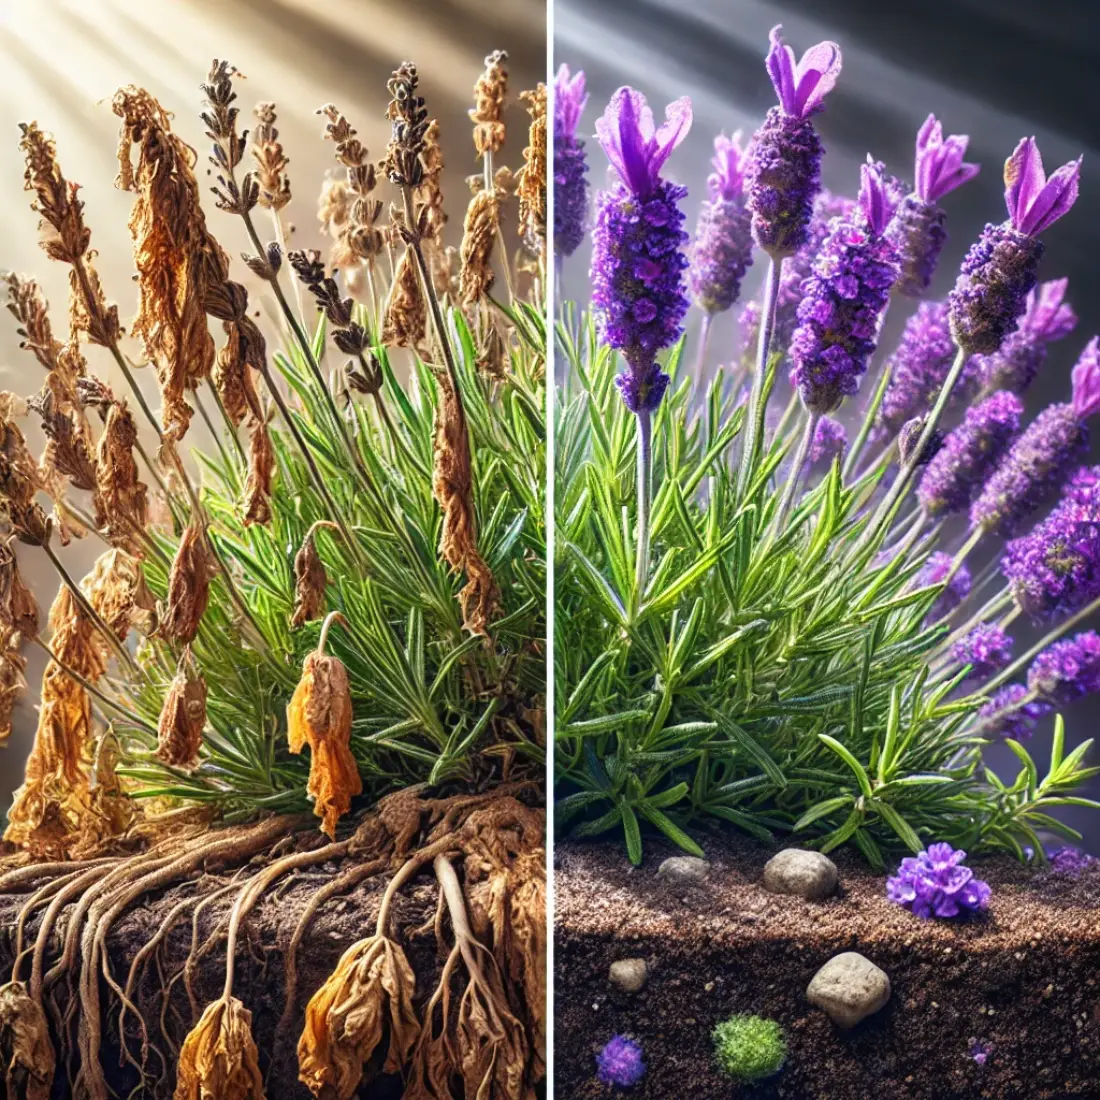
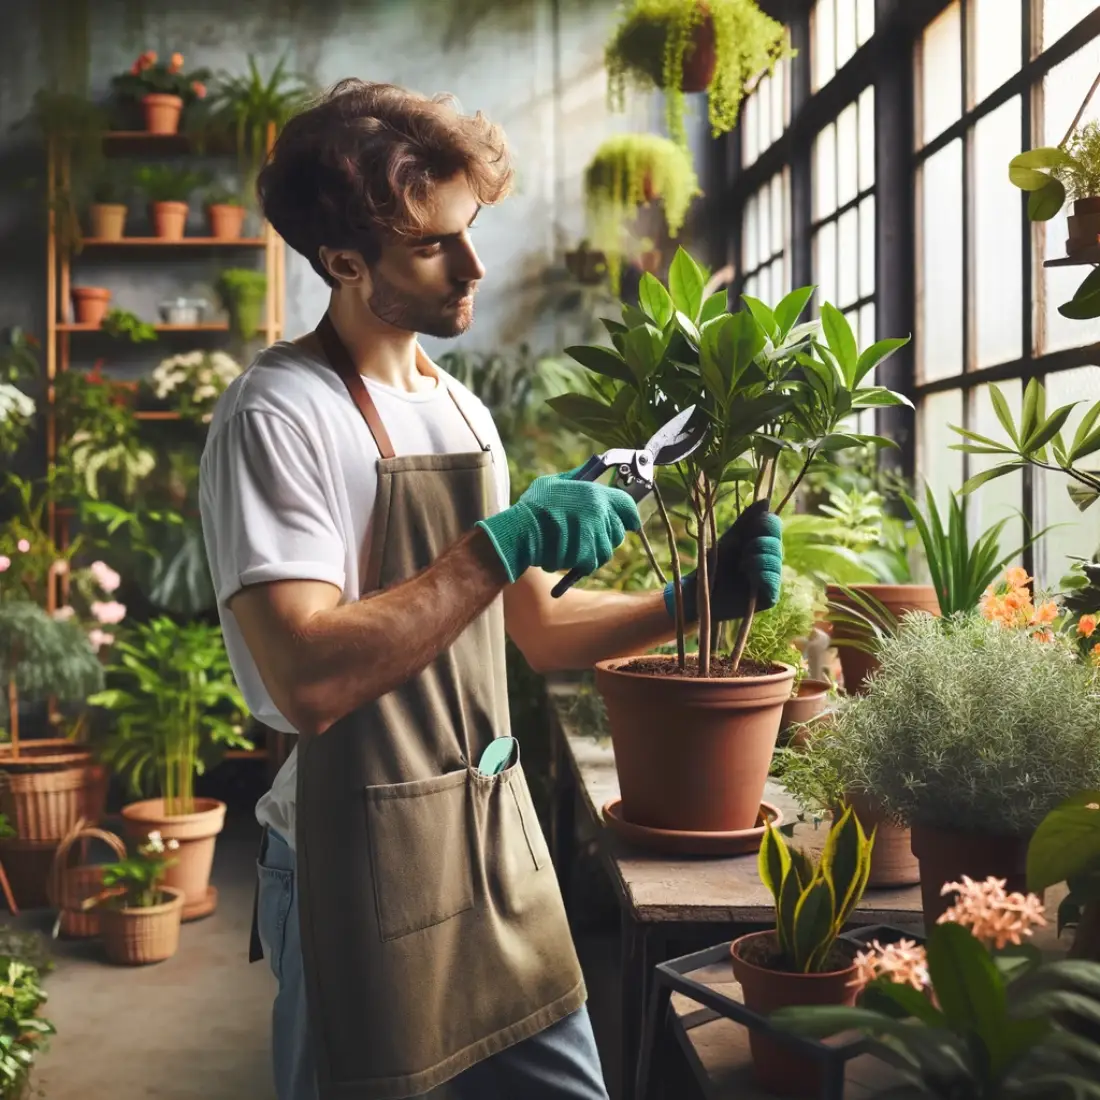
Observation of Plant Growth
- Transplanting: Transplant a few healthy plants into pots filled with the rejuvenated mix.
- Monitoring Health: Observe the plants over a period of a few weeks. Look for signs of healthy growth, such as vibrant color, strong stems, and new leaf development.
- Comparison: Compare the growth of these plants with those grown in fresh, high-quality potting mix if possible. This comparison can help identify any deficiencies or issues in the rejuvenated mix.
Water Retention and Drainage Test
- Initial Watering: Water the potting mix thoroughly and allow it to drain. Observe how quickly the water drains through the mix.
- Retention Check: Check the moisture level of the mix over the next few days. It should retain moisture without becoming waterlogged or drying out too quickly.
- Adjustments: If the mix drains too quickly or retains too much water, consider adjusting the composition by adding more perlite or organic matter as needed.
Soil Test Kit
- Nutrient Analysis: Use a soil test kit to analyze the nutrient content of the rejuvenated potting mix. Follow the instructions provided with the kit to measure levels of nitrogen, phosphorus, potassium, and other essential nutrients.
- pH Check: Re-test the pH of the potting mix to ensure it is within the optimal range for your plants. Adjust if necessary using natural amendments.
Microbial Activity Test (Optional)
- Microbial Count: For a more detailed analysis, you can send a sample of your potting mix to a soil testing laboratory to check for microbial activity. This can give you insights into the presence and activity of beneficial microorganisms.
- DIY Microbial Check: Alternatively, observe the breakdown of organic matter (like a small piece of compost) buried in the mix. Rapid decomposition suggests good microbial activity.
FAQs on Rejuvenating Old Potting Mix Without Chemicals
Why should I rejuvenate old potting mix instead of buying new mix?
Rejuvenating old potting mix is cost-effective, environmentally friendly, and reduces waste. It allows you to recycle existing materials and maintain a sustainable gardening practice.
How do I know if my old potting mix needs rejuvenation?
Signs that your potting mix needs rejuvenation include poor plant growth, compacted soil, poor drainage, and a lack of nutrients. If your plants aren’t thriving despite proper care, it’s time to rejuvenate the mix.
What is the first step in rejuvenating old potting mix?
The first step is to assess the old potting mix for diseases, pests, texture, and drainage. Remove any contaminated mix and ensure it’s not too compacted or poorly draining.
How can I sterilize old potting mix without chemicals?
You can sterilize old potting mix using methods such as solarization, heat treatment, oven sterilization, or microwave sterilization. These methods help eliminate pathogens and pests naturally.
What natural materials can I use to improve the structure and aeration of my potting mix?
To improve structure and aeration, you can add organic matter like compost or well-rotted manure, coconut coir or peat moss, and perlite or sand. These materials enhance moisture retention, aeration, and drainage.
How can I enhance the nutrient content of my rejuvenated potting mix?
Enhance nutrient content by adding compost, worm castings, natural fertilizers (like bone meal, blood meal, or kelp meal), and watering with compost tea. These organic amendments provide essential nutrients and beneficial microbes.
What should I do if the pH of my potting mix is not optimal?
To adjust pH, add wood ash or lime to raise it (make it more alkaline) and sphagnum peat moss or pine needles to lower it (make it more acidic). Regularly test and adjust the pH as needed.
How can I recharge the microbial life in my rejuvenated potting mix?
Reintroduce beneficial microbes by adding compost, worm castings, compost tea, mycorrhizal inoculants, and biochar. These materials support a healthy microbial ecosystem in your potting mix.
What tests should I perform on my rejuvenated potting mix before planting?
Perform a germination test, observe plant growth, conduct water retention and drainage tests, use a soil test kit for nutrient analysis and pH check, and optionally, test for microbial activity.
How often should I rejuvenate my potting mix?
Rejuvenate your potting mix at the beginning of each planting season or whenever you notice a decline in plant health and growth. Regularly adding organic matter and maintaining proper pH and nutrient levels can extend the life of your potting mix.