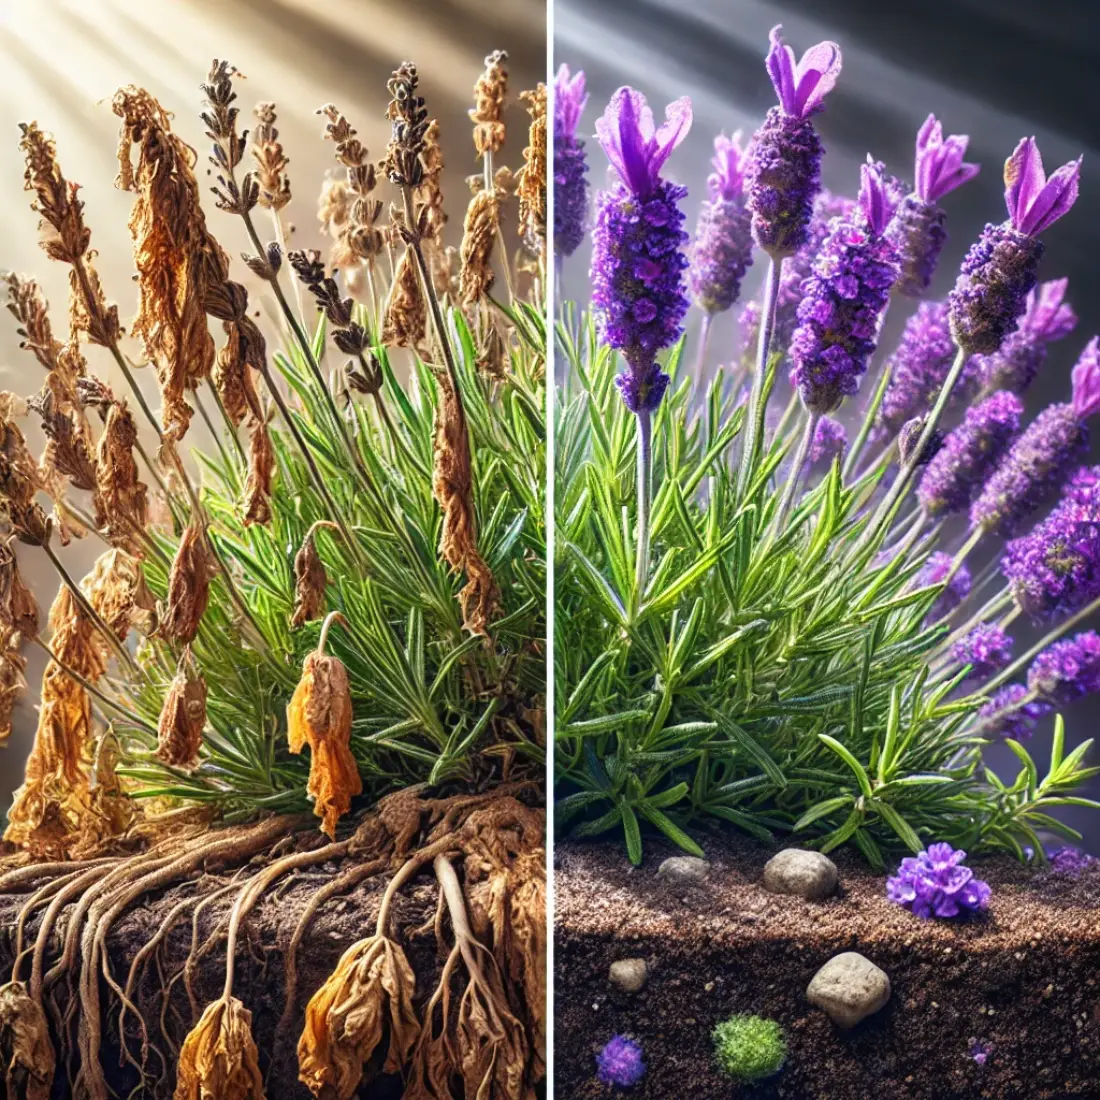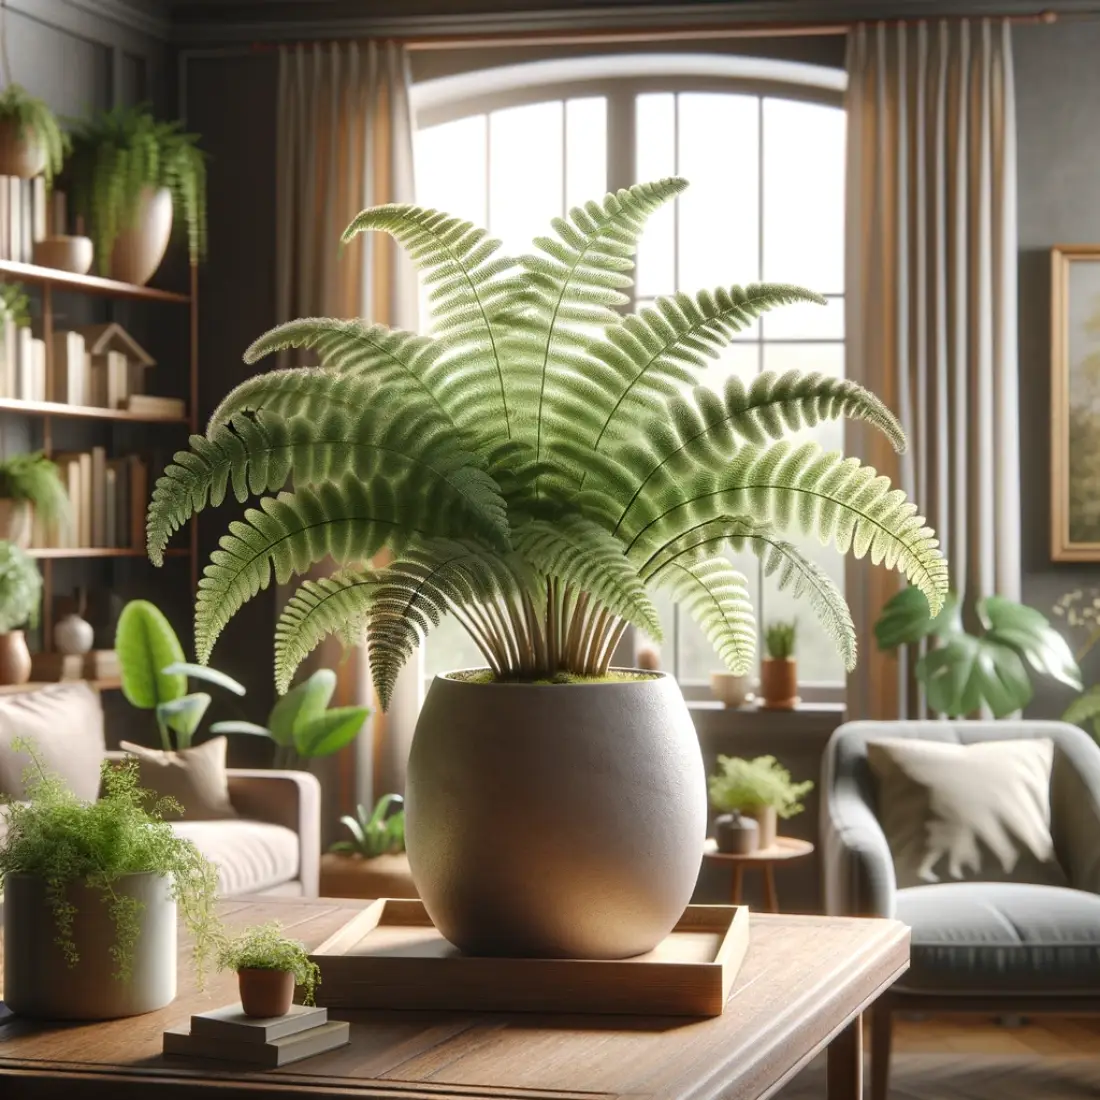
The Maidenhair Fern, scientifically known as Adiantum, is a beloved houseplant admired for its delicate, fan-shaped leaves and elegant appearance. In the wild, Maidenhair Ferns thrive in the humid, shaded environments of forest floors.
They are commonly found in temperate and tropical regions around the world, particularly in areas with consistent moisture and protection from direct sunlight.
Understanding its natural habitat helps in recreating similar conditions at home to ensure the plant’s health and growth.
Choosing the Right Environment
Light Requirements
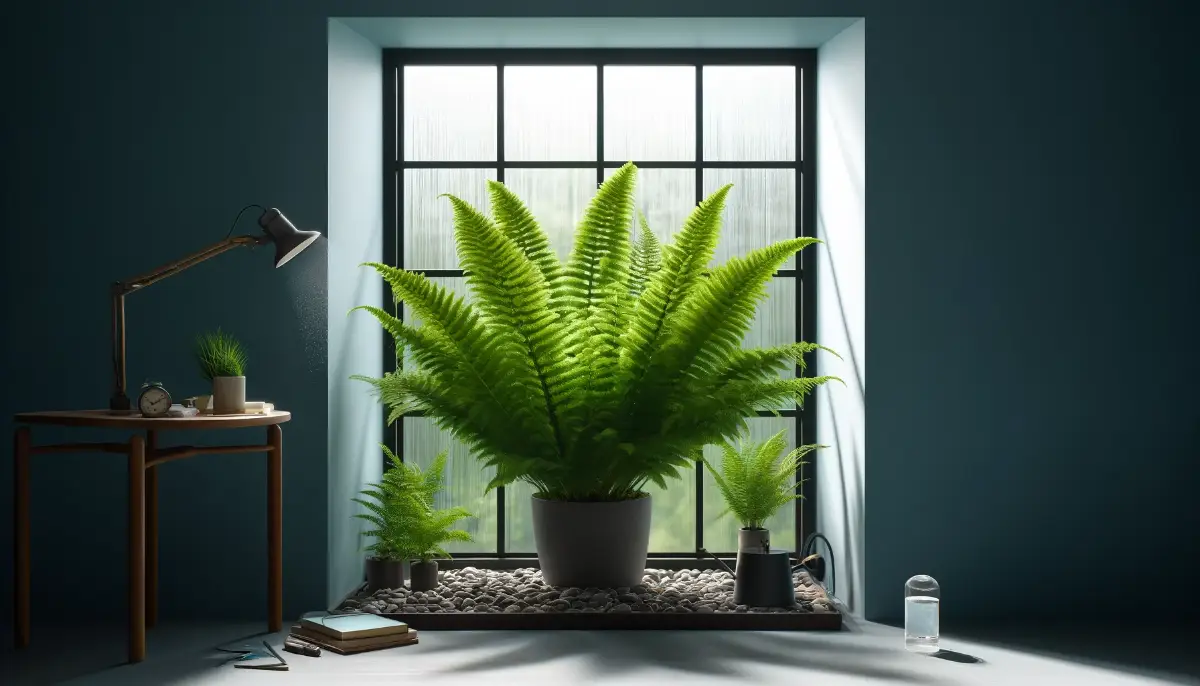
Indirect Light
- Maidenhair Ferns thrive best in bright, indirect light. Place them near a window where they can receive filtered sunlight.
- Direct sunlight can scorch the delicate leaves, leading to browning and damage.
Avoid Direct Sunlight
- Protect the fern from harsh, direct sunlight, especially during the peak hours of the day.
- If natural light is insufficient, consider using fluorescent lights to provide the necessary brightness.
Temperature
Ideal Range: 60-75°F (15-24°C)
- Maidenhair Ferns prefer a stable temperature within this range, which mimics their natural environment.
- Ensure that the temperature does not drop below 55°F (13°C), as the fern is sensitive to cold.
Avoid Drafts and Sudden Temperature Changes
- Keep the plant away from air vents, drafts, and sudden temperature fluctuations.
- Avoid placing it near windows or doors that frequently open to the outside, especially during winter.
Humidity
High Humidity Levels Required
- Maidenhair Ferns require a humid environment to thrive. Aim for a humidity level of 50-70%.
- Regular misting can help maintain humidity around the plant.
Use of Humidifiers or Pebble Trays
- If the ambient air is dry, particularly in heated or air-conditioned homes, use a humidifier to increase moisture levels.
- Alternatively, place the pot on a tray filled with water and pebbles. Ensure the pot is above the water level to prevent root rot.
Placement Considerations
Bathrooms and Kitchens
- These areas often have higher humidity levels, making them suitable places for Maidenhair Ferns.
- Ensure they still receive adequate indirect light.
Group with Other Plants
- Placing your fern among other plants can create a microenvironment with higher humidity.
- The collective transpiration from multiple plants raises the surrounding moisture level.
Creating the right environment is crucial for the health and growth of Maidenhair Ferns. By providing proper lighting, maintaining stable temperatures, and ensuring high humidity, you can mimic their natural habitat and help your fern flourish indoors.
Potting and Soil
Adequate Drainage
- Choose a pot with multiple drainage holes to prevent water from accumulating at the bottom, which can lead to root rot.
- Ensure that the potting container allows excess water to drain freely.
Proper Size and Material
- Select a pot that is appropriately sized for your Maidenhair Fern. A pot that is too large can hold excess moisture, while a pot that is too small can restrict root growth.
- Materials such as terracotta are excellent as they allow for better air circulation around the roots, although plastic pots can also work if they have sufficient drainage.
Soil Requirements
- Maidenhair Ferns thrive in soil that retains some moisture but also drains well. A rich, organic mix that can hold moisture without becoming waterlogged is ideal.
- A combination of peat moss, perlite, and potting soil often works well. This mixture ensures good aeration and moisture retention.
Recommended Mixes: Peat-based Potting Mix
- Peat-based potting mixes are particularly effective for Maidenhair Ferns as they maintain the right balance of moisture and drainage.
- You can create a custom mix by combining equal parts of peat moss, perlite, and a standard potting mix.
Repotting
When to Repot
- Repot your Maidenhair Fern every 1-2 years, or when you notice roots growing out of the drainage holes, indicating that the plant has outgrown its current pot.
- The best time to repot is in the spring when the plant is entering its active growing season.
Steps for Repotting
- Gently remove the fern from its current pot, being careful not to damage the delicate roots.
- Inspect the roots and trim any that are dead or damaged.
- Place the fern in the new pot, adding fresh potting mix around the root ball, and gently firm the soil around the roots.
- Water the plant thoroughly after repotting to help settle the soil and eliminate air pockets.
Potting Tips
Avoid Compacted Soil
- Ensure that the soil is not compacted as this can hinder root growth and water absorption.
- Lightly press the soil around the plant to ensure it is secure, but avoid packing it too tightly.
Use of Mulch
- Adding a thin layer of mulch on top of the soil can help retain moisture and keep the soil temperature stable.
- Organic mulches, such as shredded bark or leaf mold, are good options.
Proper potting and soil selection are essential for the health and growth of Maidenhair Ferns. By choosing the right pot, using a well-draining and rich organic soil mix, and repotting as necessary, you can create an optimal environment for your fern to thrive.
Watering Practices
Keeping Soil Evenly Moist
- Maidenhair Ferns require consistently moist soil. The soil should never be allowed to dry out completely.
- Water the plant regularly, ensuring that the soil remains evenly moist but not waterlogged.
Avoid Waterlogging
- While the soil should be kept moist, avoid overwatering, which can lead to waterlogged soil and root rot.
- Ensure that excess water can drain away by using a pot with adequate drainage holes and a well-draining soil mix.
Water Quality
- Maidenhair Ferns are sensitive to chemicals commonly found in tap water, such as chlorine and fluoride.
- Use filtered or distilled water to avoid potential damage to the plant.
Avoid Chlorinated Tap Water
- If you must use tap water, let it sit out overnight to allow chlorine to dissipate before using it to water your fern.
- Alternatively, you can use rainwater, which is naturally soft and free of chemicals.
Watering Frequency
During Growing Season
- Water the Maidenhair Fern more frequently during the active growing season (spring and summer).
- Check the soil moisture regularly and water when the top inch of soil feels slightly dry.
Dormant Period
- During the dormant period (fall and winter), reduce the watering frequency slightly, as the plant’s growth rate slows down.
- Maintain enough moisture to keep the soil from drying out completely.
Techniques for Effective Watering
Bottom Watering
Place the pot in a shallow tray filled with water and allow the plant to absorb water from the bottom. This encourages deeper root growth and ensures even moisture distribution.
Remove the pot from the tray once the top of the soil feels moist to prevent over-saturation.
Misting
Regularly mist the leaves to increase humidity around the plant and prevent the leaf edges from drying out.
Use a fine mist spray bottle to avoid water droplets pooling on the leaves, which can lead to fungal issues.
Signs of Proper and Improper Watering
Proper Watering
- Healthy, vibrant green leaves indicate proper watering practices.
- The soil remains consistently moist but not soggy.
Improper Watering
- Yellowing leaves can indicate overwatering or poor drainage.
- Brown or crispy leaf edges often signal underwatering or low humidity.
- Wilting or drooping leaves can be a sign of either overwatering or underwatering; checking soil moisture levels can help diagnose the issue.
Effective watering practices are crucial for the health and growth of Maidenhair Ferns. By maintaining consistent moisture, using appropriate water quality, and adjusting watering frequency based on the plant’s growth cycle, you can ensure your fern thrives in its indoor environment.
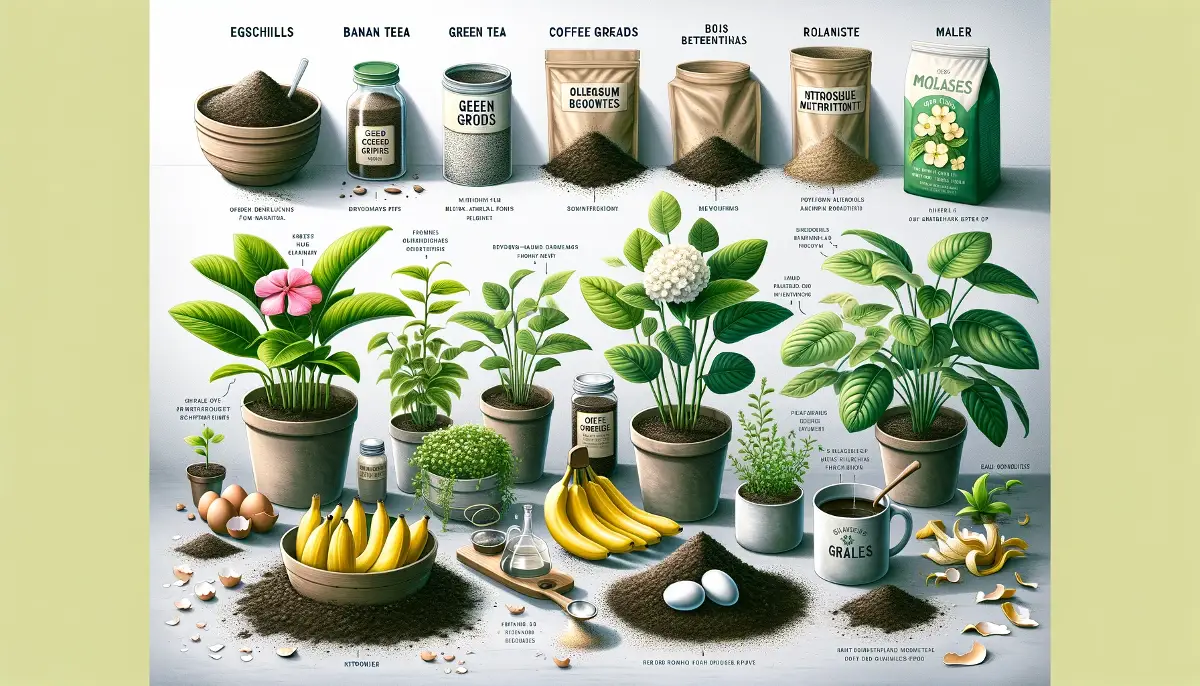
Organic Feeding and Fertilization
Balanced, Organic Fertilizer
- Use a balanced, organic fertilizer to provide essential nutrients without the risk of chemical buildup in the soil.
- Organic fertilizers are derived from natural sources and release nutrients slowly, ensuring a steady supply over time.
Types of Organic Fertilizers
- Liquid Seaweed Extract: Rich in micronutrients and beneficial for overall plant health.
- Fish Emulsion: Provides a balanced mix of nitrogen, phosphorus, and potassium (N-P-K).
- Compost Tea: A natural and nutrient-rich solution made from compost, ideal for promoting healthy growth.
Feeding Schedule
During Growing Season
- Feed the Maidenhair Fern monthly during the active growing season (spring and summer).
- Dilute the organic fertilizer to half the recommended strength to prevent over-fertilization, which can damage delicate roots.
Dormant Period
- Reduce the frequency of feeding during the dormant period (fall and winter).
- Fertilize every 6-8 weeks or suspend feeding altogether if the plant is not actively growing.
Application Techniques
Dilution and Application
- Always dilute liquid organic fertilizers according to the manufacturer’s instructions to avoid nutrient burn.
- Apply the diluted solution directly to the soil, avoiding contact with the leaves to prevent potential damage.
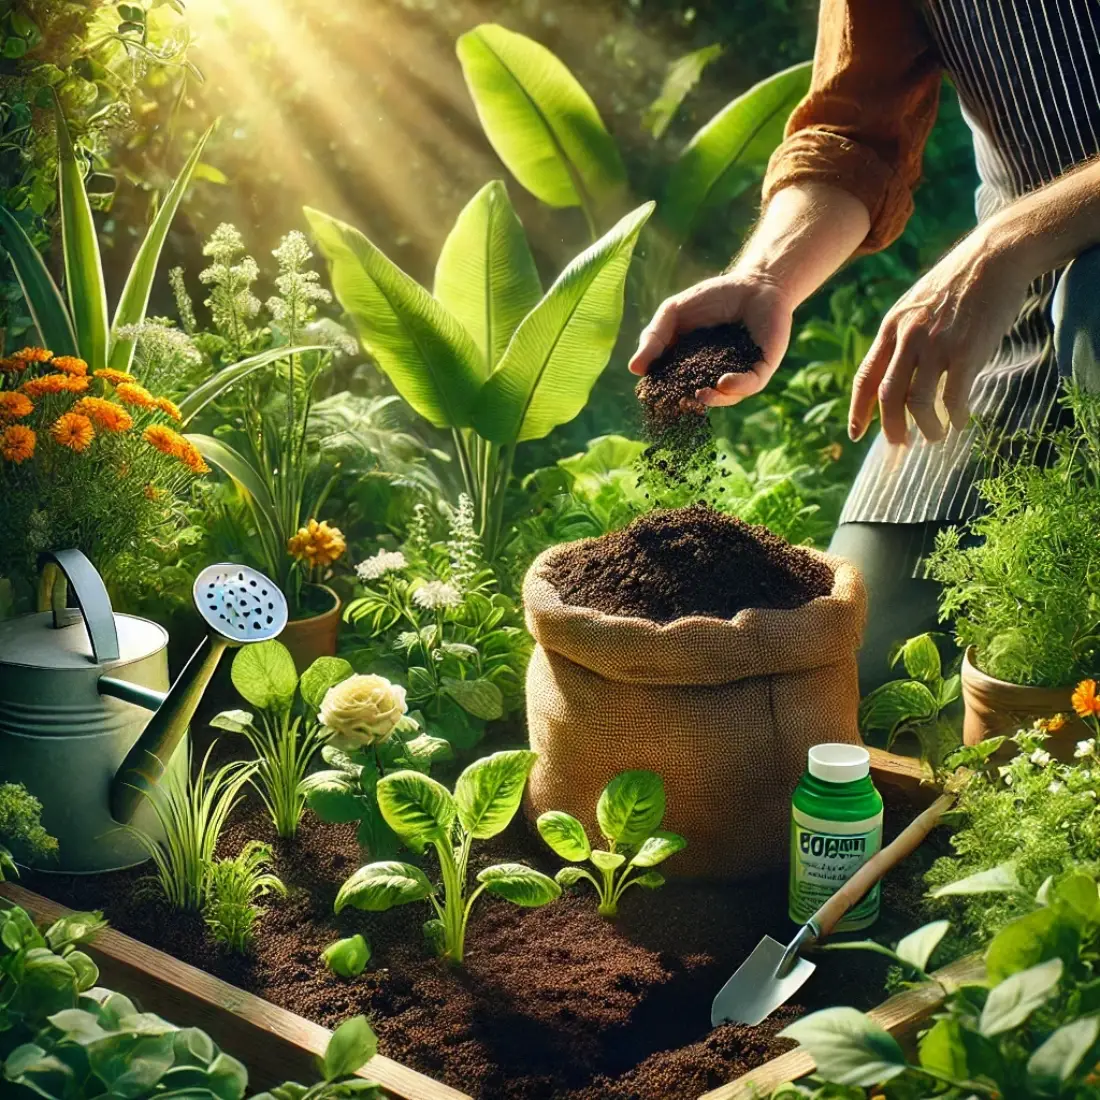
Top Dressing with Compost
- Add a thin layer of well-aged compost to the top of the soil. This acts as a slow-release fertilizer and improves soil structure and moisture retention.
- Gently mix the compost into the top inch of soil to ensure even distribution.
Monitoring and Adjusting
Observing Plant Response
- Monitor the fern’s growth and foliage color to gauge the effectiveness of the feeding regimen.
- Healthy growth and vibrant green leaves indicate that the plant is receiving adequate nutrition.
Adjusting Fertilization Based on Plant Needs
- If the fern shows signs of nutrient deficiency (e.g., yellowing leaves, stunted growth), consider increasing the frequency or concentration of feedings slightly.
- Conversely, if the plant shows signs of over-fertilization (e.g., brown leaf tips, salt buildup on soil), reduce the feeding frequency or dilute the fertilizer further.

Pruning and Maintenance
Identifying Unhealthy Fronds
- Regularly inspect your Maidenhair Fern for dead, yellowing, or damaged fronds.
- These fronds can detract from the plant’s appearance and may harbor pests or disease.
Pruning Techniques
- Use sharp, clean scissors or pruning shears to cut away dead or damaged fronds at their base.
- Make clean cuts to avoid tearing the stems, which can cause further damage and stress to the plant.
Encouraging New Growth
- Pruning away unhealthy fronds encourages the plant to direct its energy toward producing new, healthy growth.
- Regular pruning helps maintain the fern’s overall health and promotes a fuller, more attractive appearance.
Regular Cleaning
- Dust can accumulate on the delicate leaves of Maidenhair Ferns, obstructing light absorption and reducing photosynthesis.
- Gently dust the leaves with a soft brush or cloth to keep them clean. Alternatively, use a gentle stream of water to rinse the leaves, ensuring to avoid waterlogging the soil.
Preventing Pest Infestations
- Regular cleaning helps prevent pests like aphids, spider mites, and mealybugs, which can thrive in dusty environments.
- Inspect the plant regularly for signs of pests and address infestations promptly using natural remedies like neem oil or insecticidal soap.
General Maintenance Tips
Maintaining Humidity
- Maidenhair Ferns thrive in humid environments. Use a humidifier, mist the plant regularly, or place it on a pebble tray with water to maintain adequate humidity levels.
- Grouping plants together can also create a microenvironment with higher humidity.
Consistent Care Routine
- Establish a regular care routine that includes watering, feeding, pruning, and cleaning to keep your fern healthy and thriving.
- Consistency in care helps the plant adapt and grow steadily, avoiding stress from sudden changes in its environment.
Seasonal Maintenance
Spring and Summer Care
- During the growing season, increase watering frequency and feeding with a diluted, balanced organic fertilizer.
- Prune regularly to encourage new growth and maintain the plant’s shape.
Fall and Winter Care
- Reduce watering frequency slightly as the plant’s growth slows down.
- Maintain humidity levels and continue to monitor for pests, as indoor conditions can still promote infestations.
Propagation Methods
Best Time for Division
- The optimal time to propagate Maidenhair Ferns through division is in the spring, during the active growing season.
- This timing ensures the plant has the energy and resources to recover and grow after being divided.
Prepare the Tools and Materials
- Use clean, sharp scissors or pruning shears to make precise cuts.
- Have new pots and fresh potting mix ready for the divided sections.
Remove the Plant from the Pot
- Gently remove the Maidenhair Fern from its pot, taking care not to damage the delicate roots.
Separate the Root Ball
- Carefully divide the root ball into smaller sections, ensuring that each section has a good amount of roots and healthy fronds.
- Use your hands or a clean knife to make the divisions, being gentle to avoid excessive damage.
Repot the Divisions
- Plant each section in a new pot filled with fresh, well-draining potting mix.
- Water thoroughly to help the soil settle around the roots and support initial growth.
Care for the New Plants
- Place the newly potted divisions in a location with indirect light and high humidity.
- Maintain consistent moisture and monitor the plants for signs of stress or adjustment.
Spores
Collecting Spores
- Spores can be found on the underside of mature fronds, appearing as small, dark dots or clusters.
- Collect spores by placing a piece of paper under a frond and gently tapping it to release the spores onto the paper.
Sowing Spores
- Use a sterilized, well-draining soil mix or a special spore germination medium.
- Moisten the soil evenly before sowing the spores.
Sow the Spores
- Evenly distribute the collected spores over the surface of the moistened soil.
- Do not cover the spores with soil, as they need light to germinate.
Create a Humid Environment
- Cover the container with a clear plastic lid or a plastic bag to create a humid environment, essential for spore germination.
- Place the container in a location with bright, indirect light.
Maintain Conditions
Keep the soil consistently moist by misting regularly, but avoid waterlogging.
Maintain high humidity and monitor for mold or fungal growth, which can harm the developing ferns.
Transplanting Seedlings
Once the spores germinate and small fern fronds appear, gradually acclimate them to less humid conditions.
Transplant the young ferns into individual pots with well-draining soil when they are large enough to handle.
Tips for Successful Propagation
Both division and spore propagation require patience and gentle care.
Monitor the new plants regularly and adjust care practices as needed to support healthy growth.
Ideal Conditions for Growth
Provide the right environmental conditions, such as indirect light, consistent moisture, and high humidity, to ensure successful propagation.
Avoid direct sunlight and extreme temperatures, which can stress the young plants.
Gradual Acclimatization
When transitioning propagated plants to their new environment, do so gradually to avoid shock.
Slowly expose them to normal household conditions, reducing humidity levels and adjusting light exposure over time.

Dealing with Common Problems
Yellowing Leaves
Causes: Overwatering or Poor Drainage
- Overwatering can lead to waterlogged soil, which suffocates the roots and causes yellowing leaves.
- Poor drainage can also contribute to excess moisture, leading to root rot.
Solutions: Adjusting Watering Practices
- Ensure the soil is well-draining and that the pot has adequate drainage holes.
- Allow the top inch of soil to dry out slightly between waterings, and reduce the frequency of watering.
- Check for signs of root rot and trim away any affected roots if necessary. Repot the plant in fresh, well-draining soil.
Brown Leaf Tips
Causes: Low Humidity or Underwatering
- Low humidity levels can cause the delicate leaf tips to dry out and turn brown.
- Underwatering, where the soil is allowed to dry out too much, can also lead to brown tips.
Solutions: Increasing Humidity and Regular Watering
- Increase humidity around the plant by misting regularly, using a humidifier, or placing the pot on a pebble tray with water.
- Ensure consistent watering to keep the soil evenly moist. Do not let the soil dry out completely between waterings.
- Trim off the brown tips to maintain the plant’s appearance and monitor the plant for improvement.
Common Pests: Aphids, Spider Mites, Mealybugs
- Aphids are small, soft-bodied insects that cluster on new growth.
- Spider mites are tiny, often red, and leave fine webbing on the plant.
- Mealybugs appear as white, cottony masses on the stems and leaves.
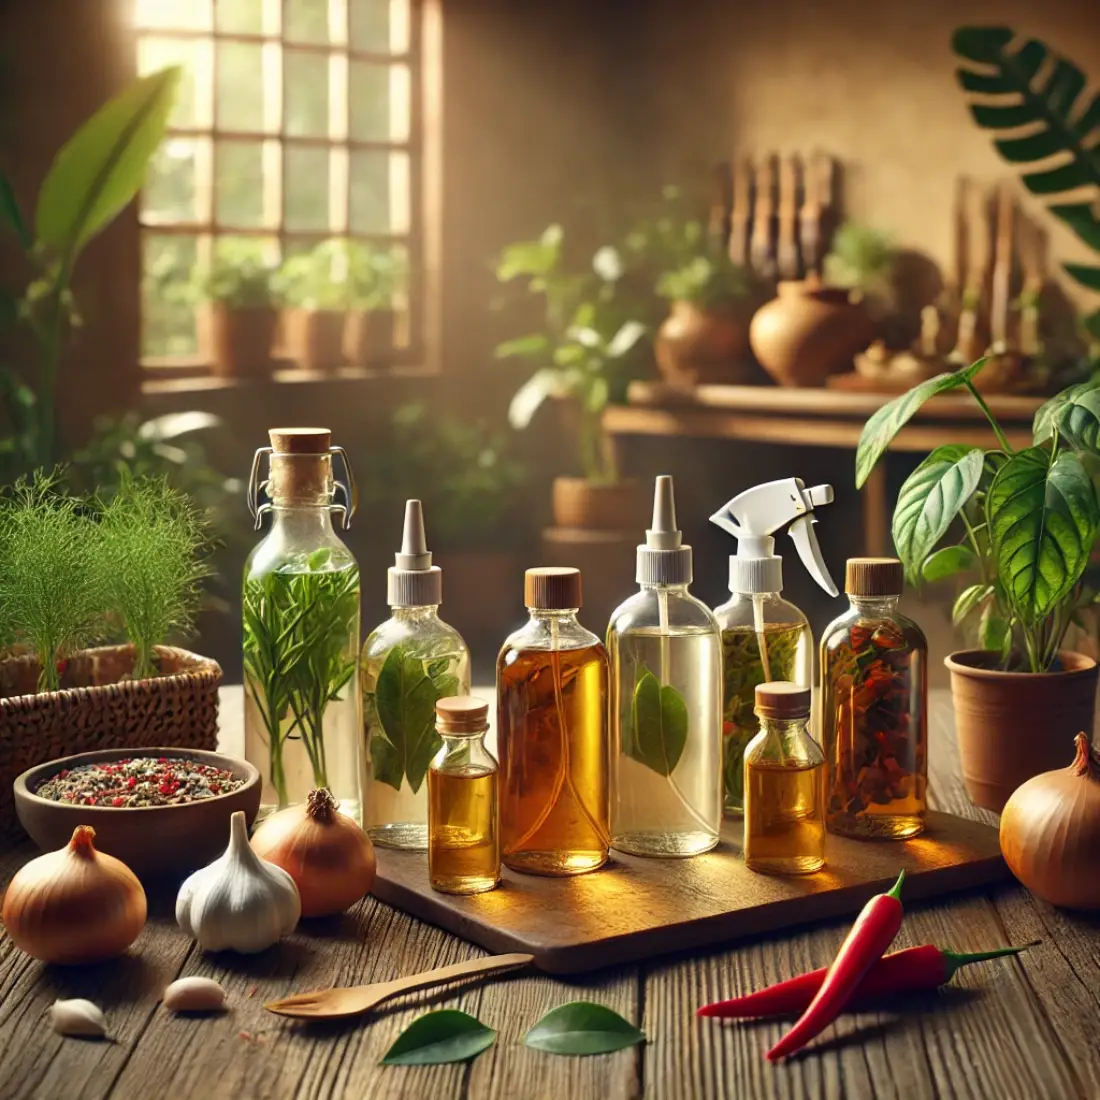
Treatment Options: Neem Oil, Insecticidal Soap
- Neem Oil: Mix neem oil with water according to the instructions and spray it on the affected areas. Neem oil acts as both a pesticide and a fungicide.
- Insecticidal Soap: Use a ready-to-use insecticidal soap or make a homemade solution with mild liquid soap and water. Spray it directly on the pests, ensuring good coverage.
- Manual Removal: For light infestations, wipe the pests off with a damp cloth or use a cotton swab dipped in alcohol to remove and kill them.
Leaf Drop
Causes: Environmental Stress, Drafts, or Sudden Changes
- Sudden changes in temperature, humidity, or light can stress the plant, causing leaf drop.
- Exposure to drafts or dry air from heating vents can also lead to leaf drop.
Solutions: Stabilizing Environment
- Maintain a stable environment with consistent temperature, humidity, and light levels.
- Place the plant away from drafts, heating vents, and air conditioners.
- Ensure the plant is not moved or exposed to sudden changes in its environment.
Stunted Growth
Causes: Nutrient Deficiency or Root Bound
- Lack of essential nutrients can lead to slow or stunted growth.
- If the plant is root-bound, it may not have enough space to grow properly.
Solutions: Feeding and Repotting
- Fertilize the plant with a balanced, organic fertilizer during the growing season to provide necessary nutrients.
- If the plant is root-bound, repot it into a slightly larger pot with fresh, well-draining soil. Ensure the new pot has adequate drainage.
Fungal Diseases
Causes: Overwatering or Poor Air Circulation
- Excessive moisture and poor air circulation can create a conducive environment for fungal diseases such as leaf spot or root rot.
Solutions: Improving Conditions
- Reduce watering frequency and ensure the soil has good drainage.
- Improve air circulation around the plant by spacing it adequately from other plants and avoiding overcrowded conditions.
- Remove and dispose of any affected leaves to prevent the spread of the disease.
By addressing these common problems promptly and effectively, you can maintain the health and vitality of your Maidenhair Fern. Regular monitoring and adjustments to care practices based on the plant’s needs will help prevent and resolve issues, ensuring a thriving fern.

FAQs about Maidenhair Fern (Adiantum)
How often should I water my Maidenhair Fern?
Maidenhair Ferns prefer consistently moist soil. Water them regularly, ensuring the soil is evenly moist but not waterlogged. Check the top inch of soil and water when it feels slightly dry. Avoid letting the soil dry out completely between waterings.
What type of light is best for a Maidenhair Fern?
Maidenhair Ferns thrive in bright, indirect light. They should be placed near a window with filtered sunlight. Direct sunlight can scorch the delicate leaves, so it’s important to protect them from harsh rays.
How can I increase humidity for my Maidenhair Fern?
Increase humidity by regularly misting the plant, using a humidifier, or placing the pot on a pebble tray filled with water. Grouping plants together can also help create a more humid microenvironment.
Why are the tips of my Maidenhair Fern’s leaves turning brown?
Brown leaf tips are often caused by low humidity or underwatering. Increase the humidity around the plant and ensure it is watered consistently to keep the soil evenly moist. Avoid letting the soil dry out completely.
How do I prune my Maidenhair Fern?
Prune your Maidenhair Fern by using sharp, clean scissors or pruning shears to cut away dead, yellowing, or damaged fronds at their base. Regular pruning encourages new growth and maintains the plant’s appearance.
What type of soil is best for Maidenhair Ferns?
Maidenhair Ferns prefer a well-draining, rich organic soil. A peat-based potting mix combined with perlite or sand works well. Ensure the soil retains moisture without becoming waterlogged.
How can I propagate my Maidenhair Fern?
Maidenhair Ferns can be propagated through division or spores. Division involves separating the root ball into smaller sections and repotting them. Spore propagation involves collecting and sowing spores on moist soil and maintaining high humidity for germination.
What should I do if my Maidenhair Fern has pests?
Common pests include aphids, spider mites, and mealybugs. Treat infestations with neem oil, insecticidal soap, or manually remove the pests with a damp cloth or cotton swab dipped in alcohol. Regularly inspect and clean the plant to prevent infestations.
Why are the leaves of my Maidenhair Fern turning yellow?
Yellowing leaves can be caused by overwatering, poor drainage, or insufficient light. Ensure the soil is well-draining and not waterlogged, and provide bright, indirect light. Adjust watering practices to avoid excessive moisture.
When should I repot my Maidenhair Fern?
Repot your Maidenhair Fern every 1-2 years or when it becomes root-bound (roots growing out of the drainage holes). The best time to repot is in the spring. Use a slightly larger pot with fresh, well-draining soil to accommodate growth.